Residency in Trébédan
This article tells the story of our week of immersive work in a kindergarten class of the Blé en Herbe school (Côtes d'Armor) with Nolwenn Guillou and her students. A look back, in pictures and drawings, to share our experiments in connection with educational issues, and our thoughts. On the program: discovering an organization based on work plans, redesigning do•doc, NFC tags, QR codes and tutorials made by the students, among other things.
Logbook of our residency at the Blé en Herbe school in Trébédan, Brittany.
After discovering and using our software do•doc during training sessions with kindergarten teachers, Lionel Rault (digital technology referent teacher in the Côtes d'Armor) got in touch with us, and now takes part in our thinking about how our tools should evolve based on teachers’ feedback and practices. A few months ago, he introduced us to Nolwenn Guillou, kindergarten teacher and head of the Blé en Herbe school in Trébédan (a village of 380 inhabitants, also in the Côtes d'Armor). In April 2018, after many exchanges, we went to her school and spent a week in her kindergarten class to observe, prototype and discuss our shared concerns and the educational issues at the heart of the tools we develop.
A preliminary phase of reflection brought out a shared concern about traces, and helped us identify issues at three levels: traces for the student, traces for the teacher and traces for the parents (see the workshop presented at Ecritech 9 2018 in Nice and Nolwenn’s interview here, in French).
This article tells the story of this week of immersive work in the kindergarten class of the Blé en Herbe school, and aims to share some of our thoughts and experiments, mainly through photos and drawings.
Monday April 9th, 2018
Discovering the class and meeting the students
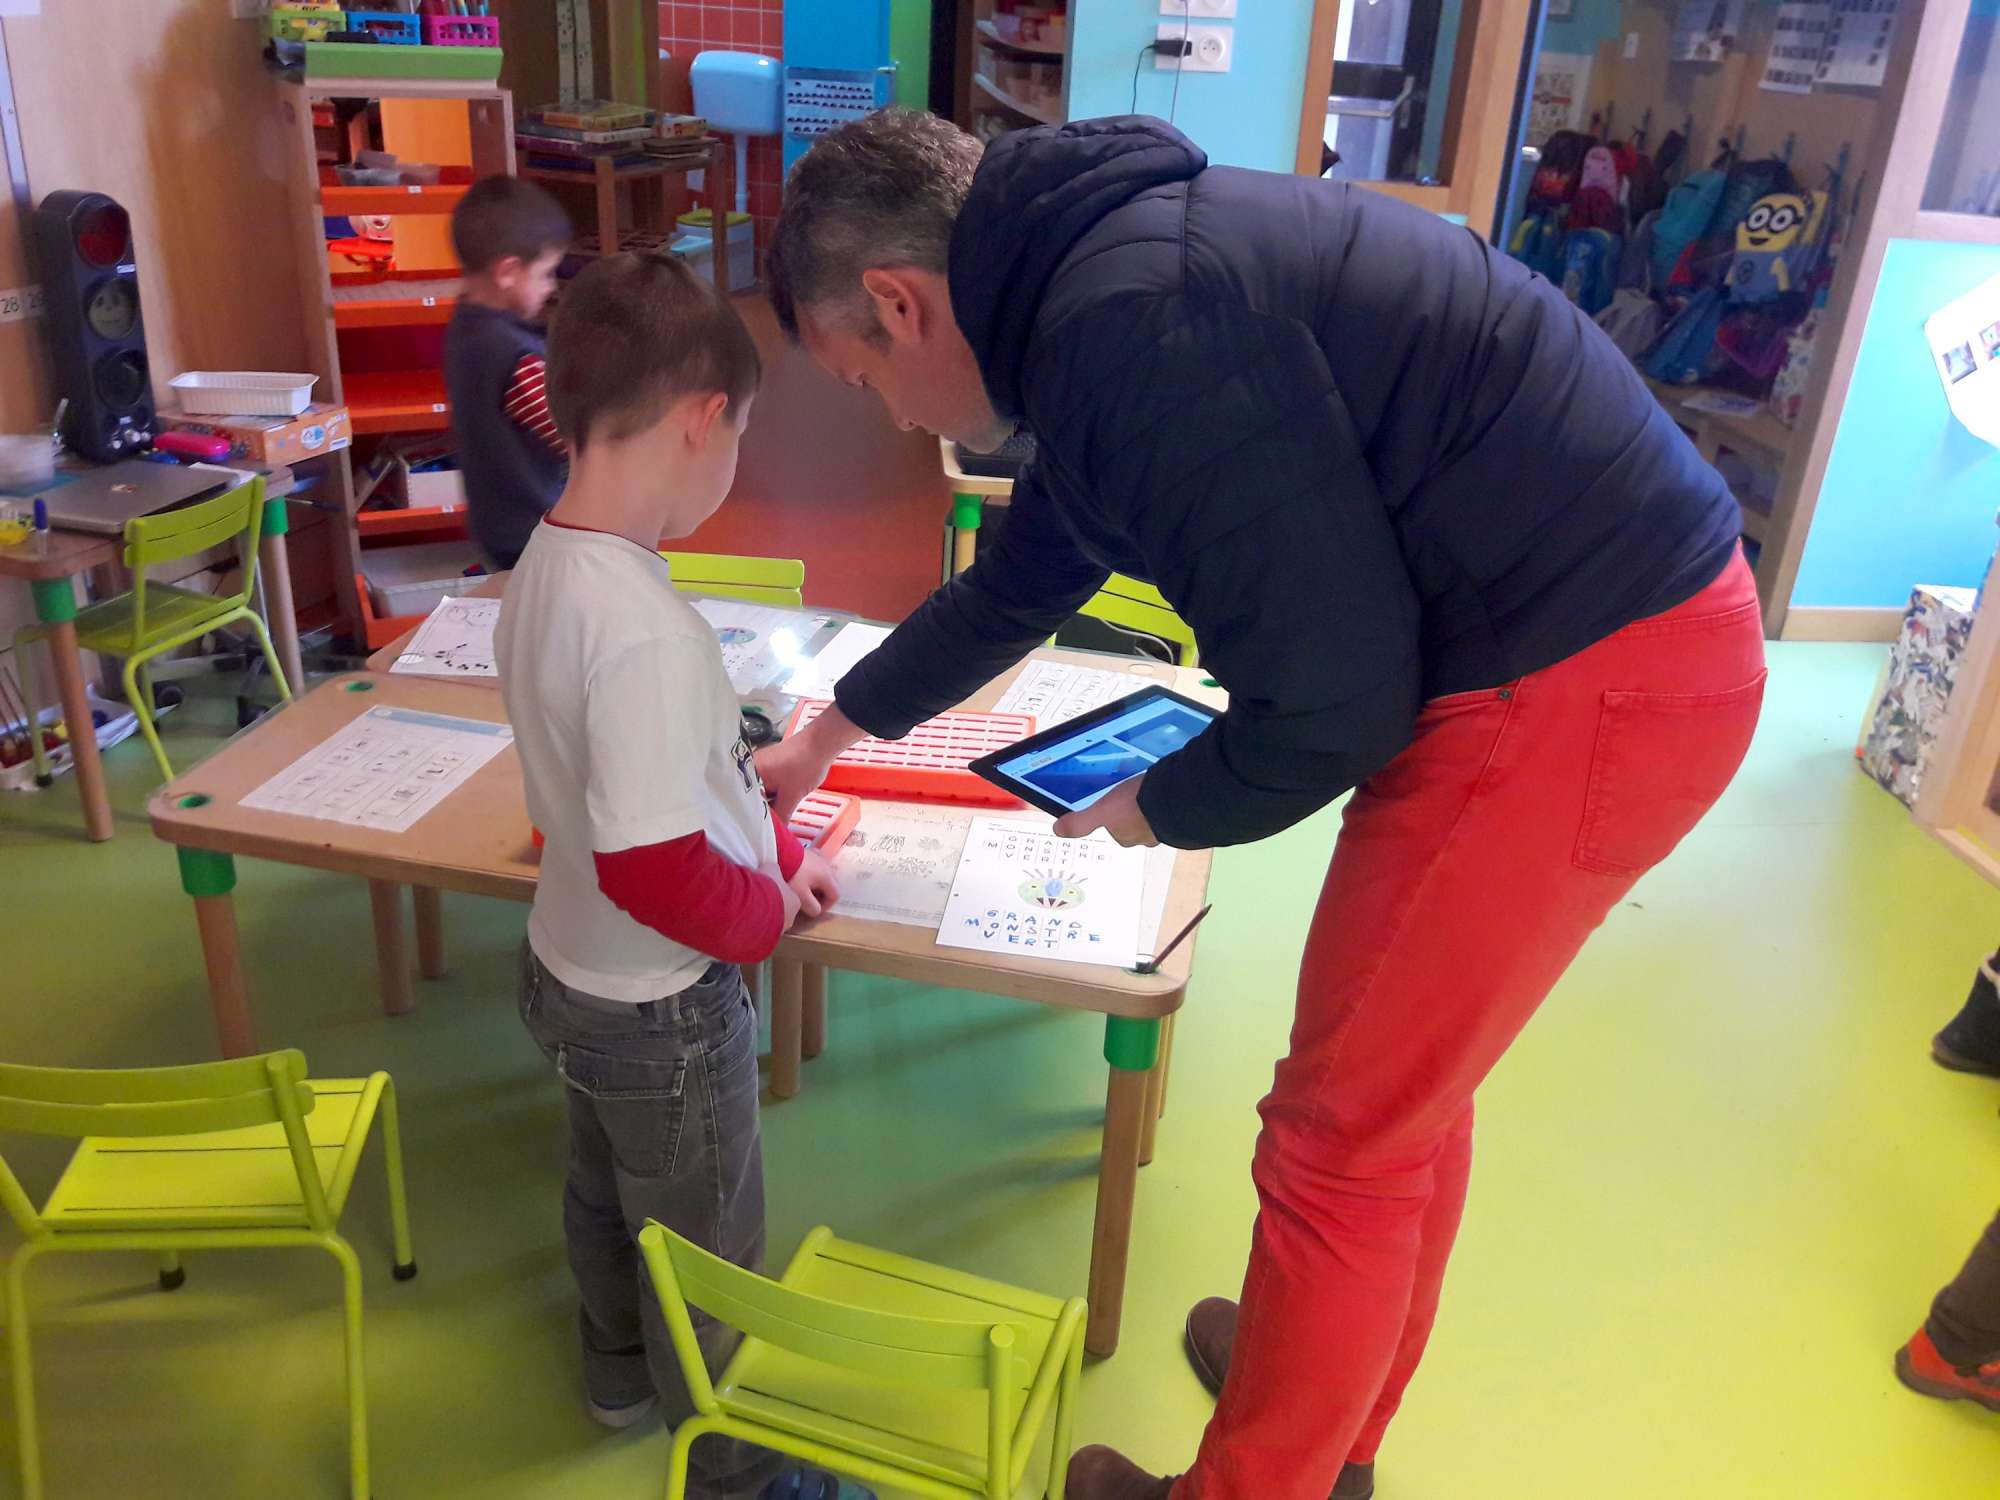
We arrived in Trébédan on Monday afternoon for a first day of observation and experimentation in Nolwenn’s class. We met her students (aged 4 to 6) and discovered how the class is organized, its environment and its various activity areas.

The students worked independently from work plans, during a time the class calls the “white trays”. During this time, each student starts by looking at their notebook, which contains the work plans, organized by difficulty and by “world”.

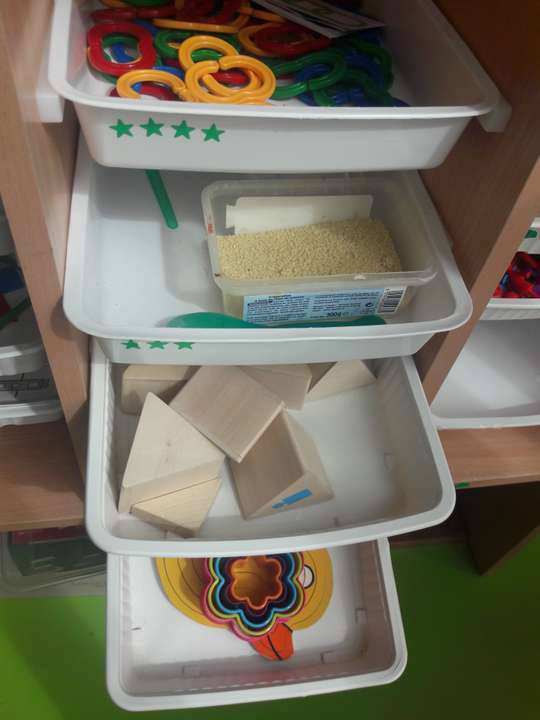
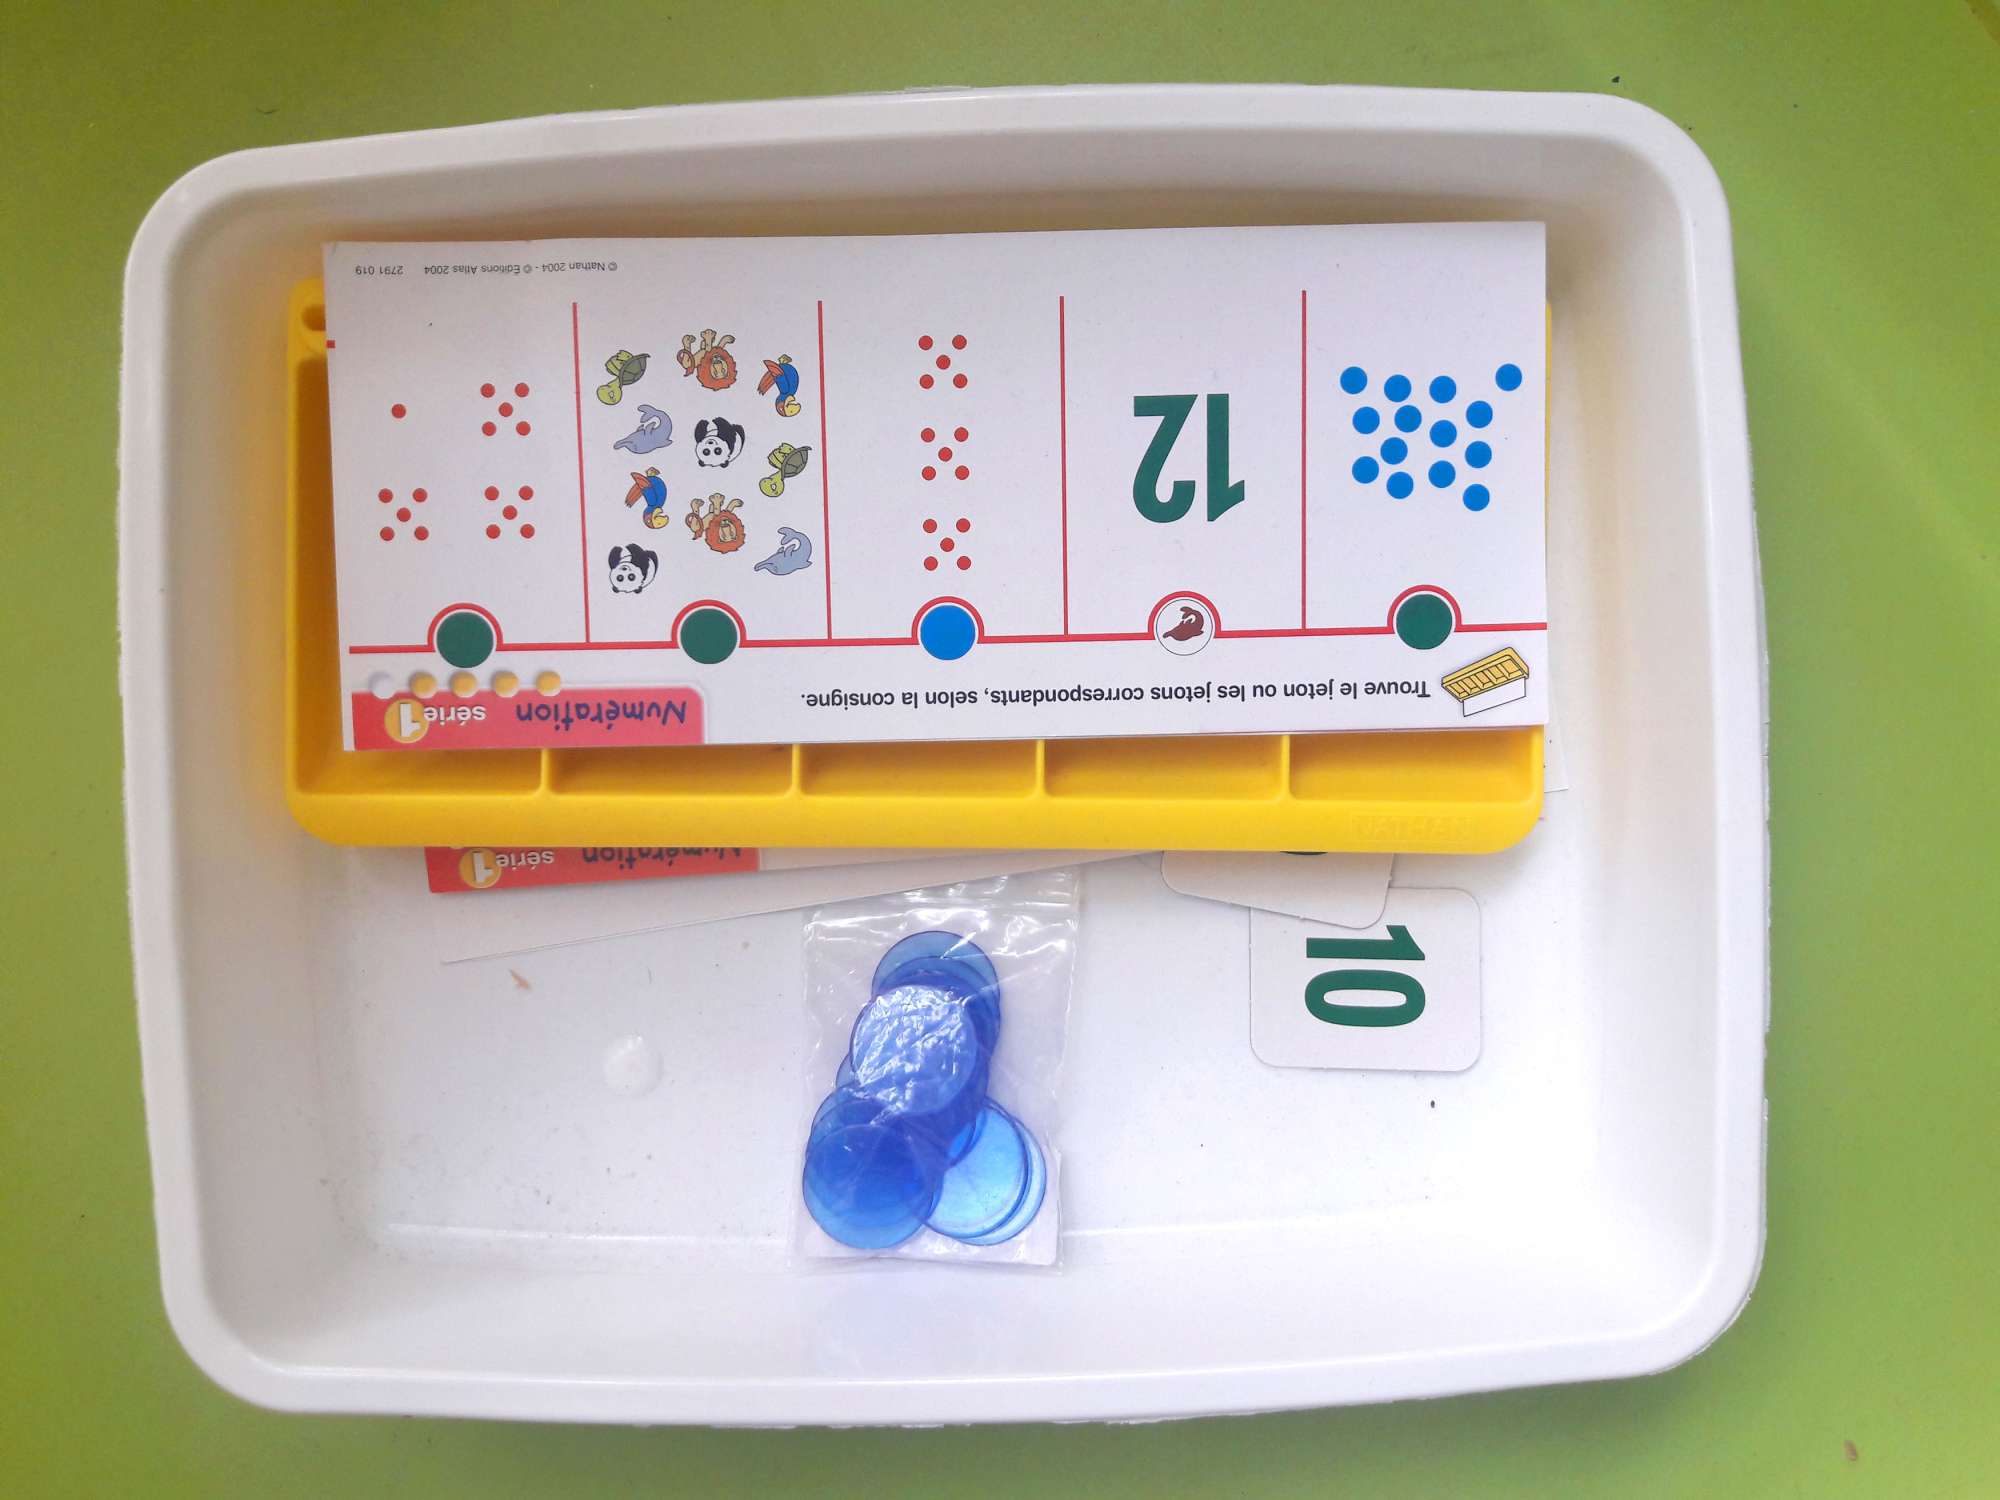
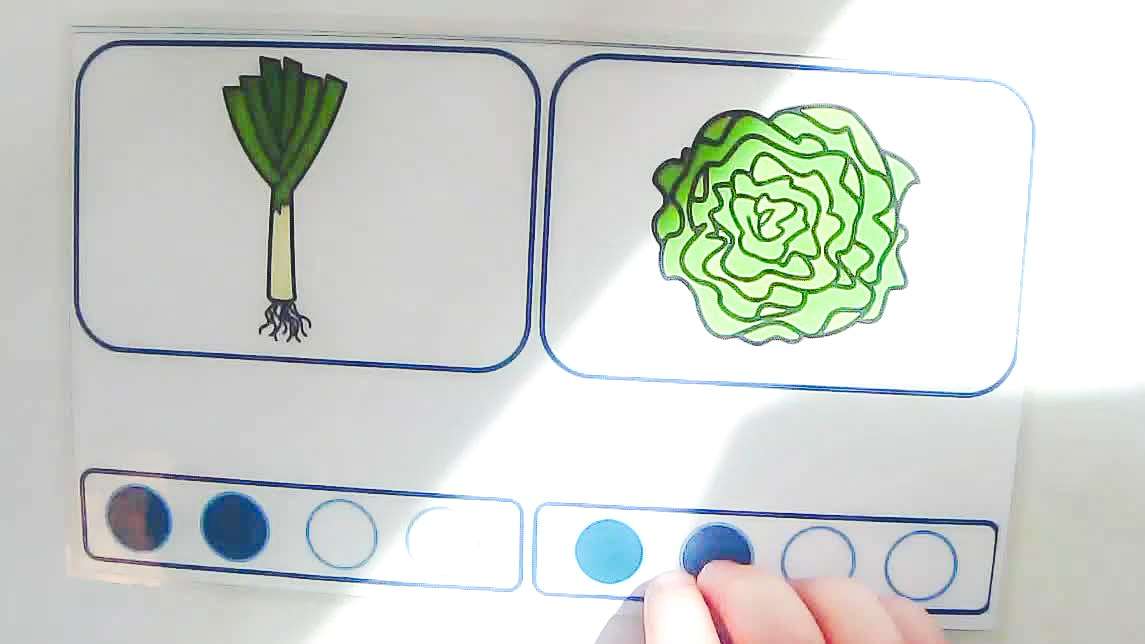
Once the student has identified the world and chosen a task in a work plan, they fetch a tray whose code matches the work plan (e.g. two yellow triangles). The tray contains the materials needed to do the task.
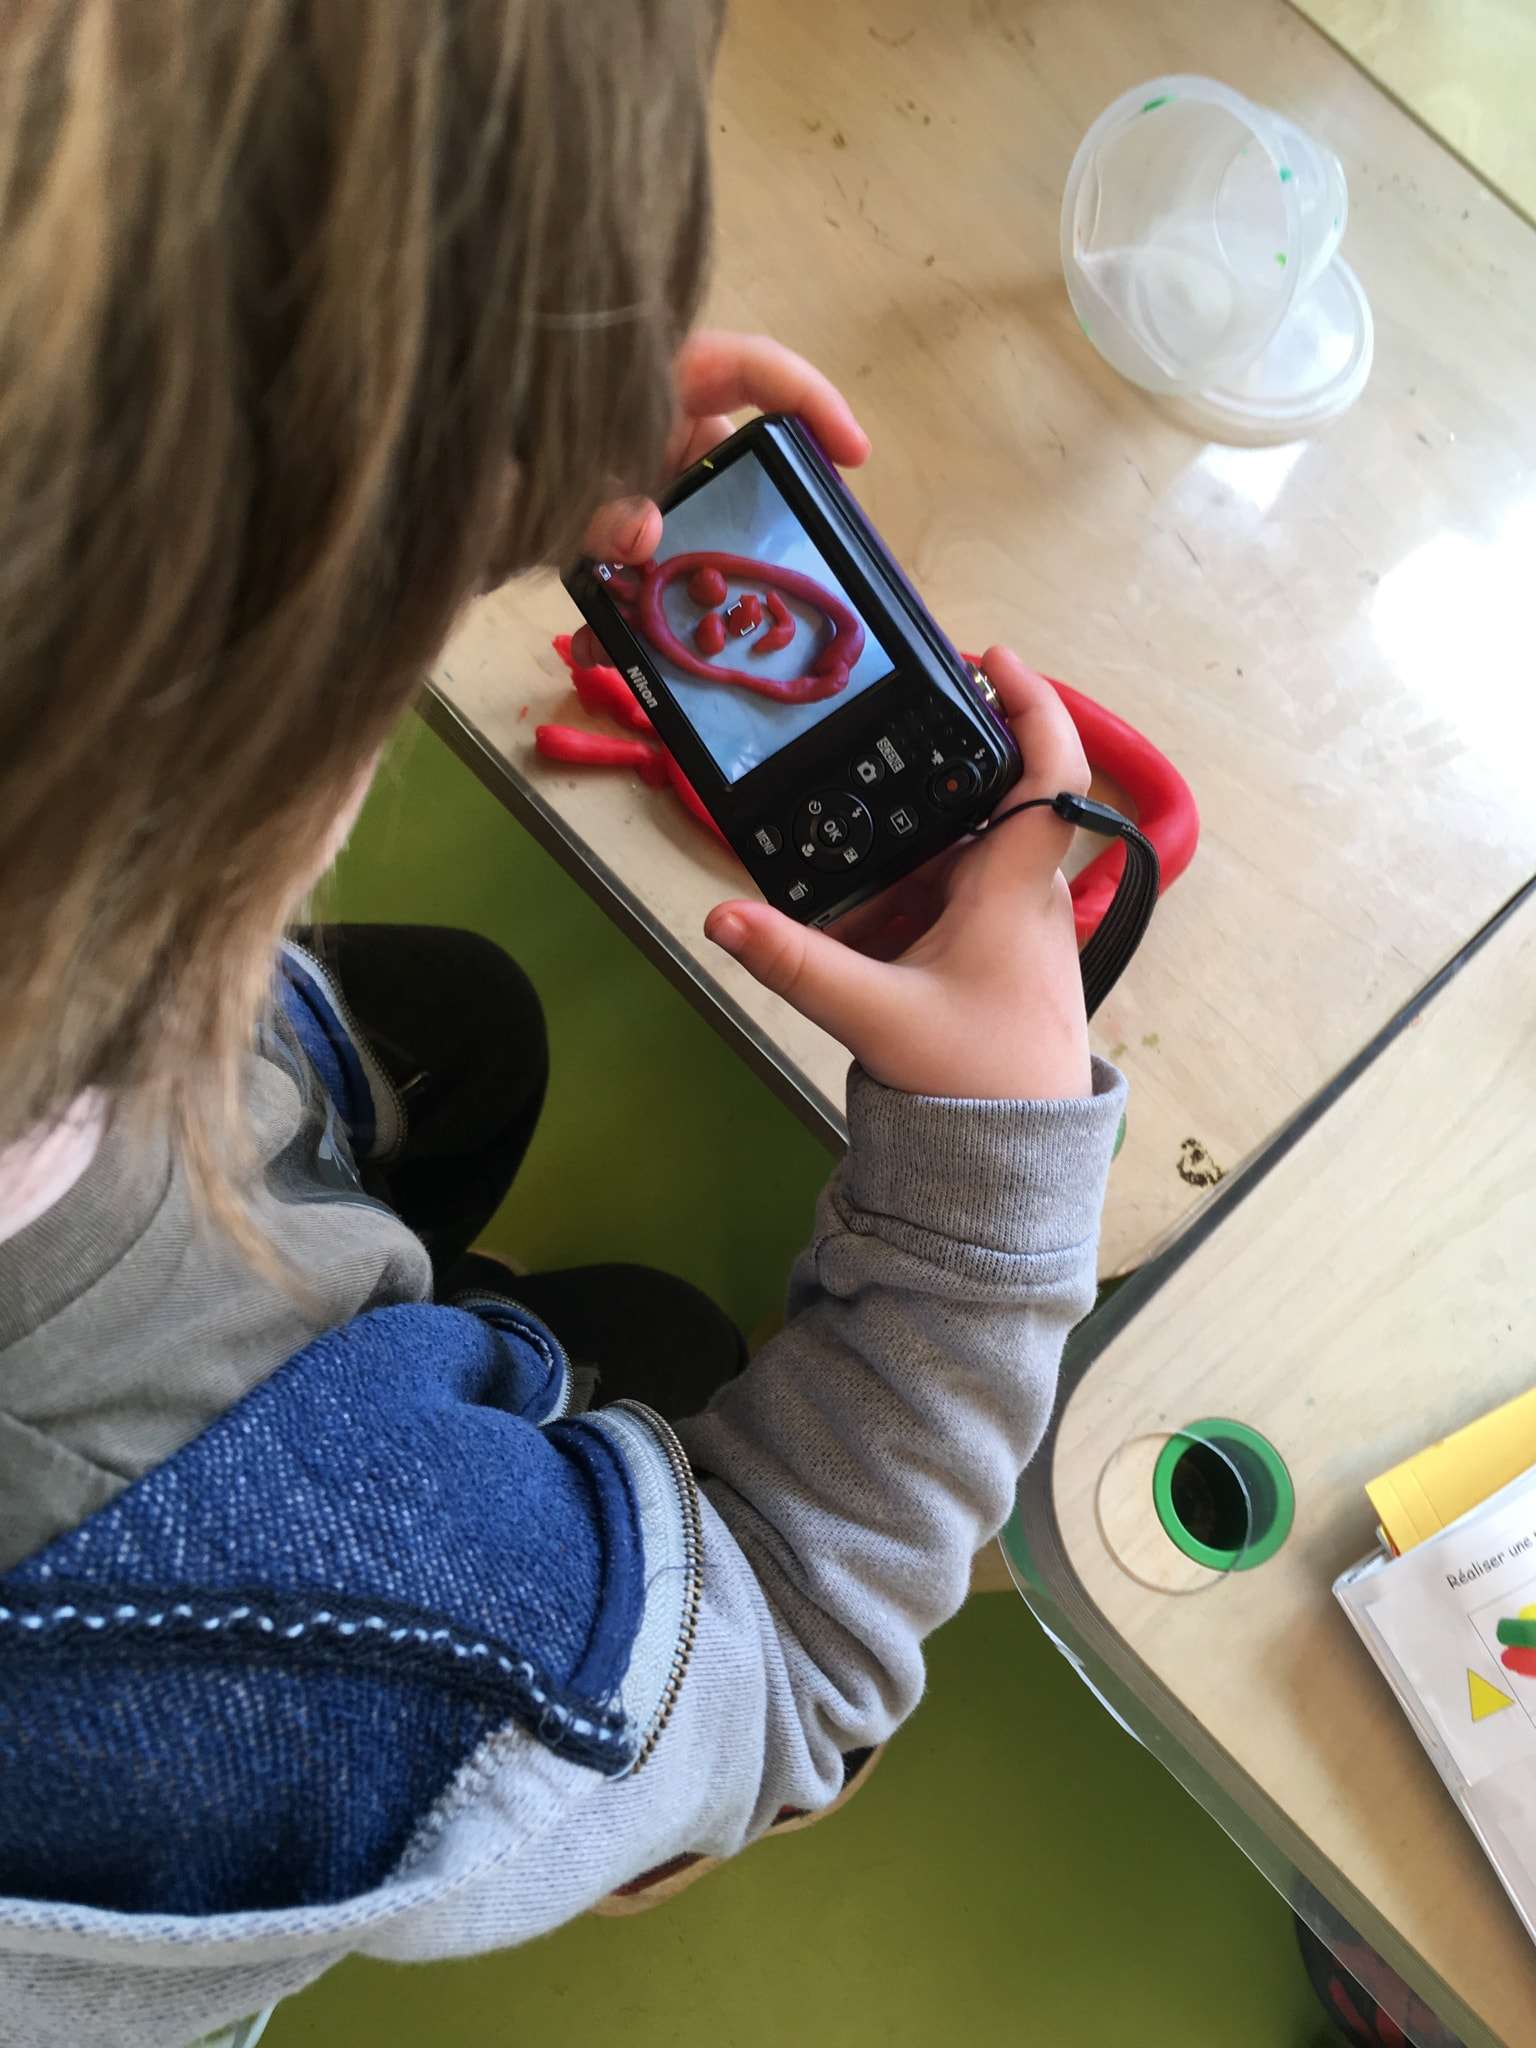
When students finish a task, they sometimes take photos of their work with a digital camera available in the classroom.
First steps with do•doc
Building on this photo-taking practice the students already knew, we started by having the students photograph their work with do•doc using our phones, connected to do•doc over the local network (that is, via wifi but without going through the internet).

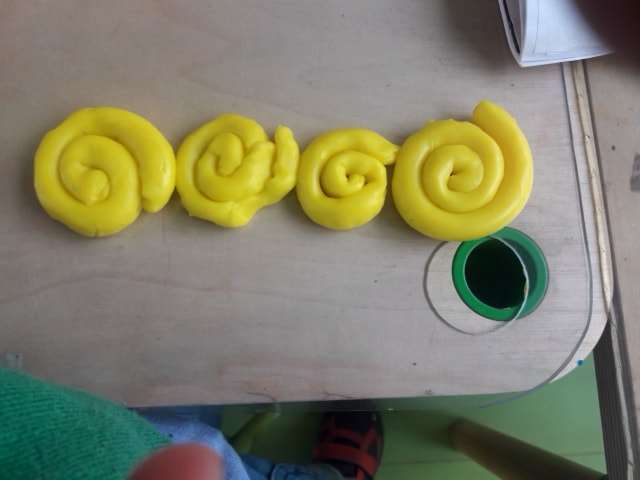
Then we quickly built a light station for taking pictures in the classroom, and showed the main features of do•doc to a few students, in groups. At first, we openly suggested they make short videos or animations based on the tasks identified in the work plans.

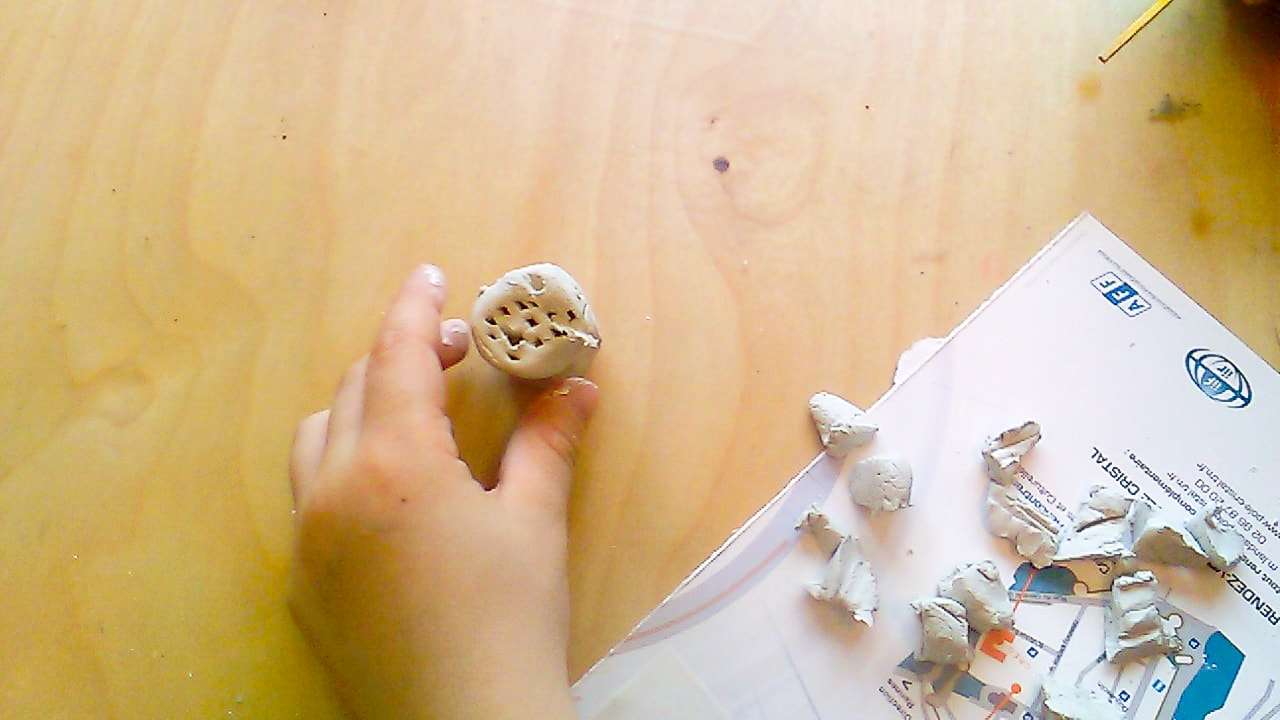
For example, two students first took photos to show how to make modeling clay hedgehogs with straws. Then they had fun telling stories with their two newly created characters.
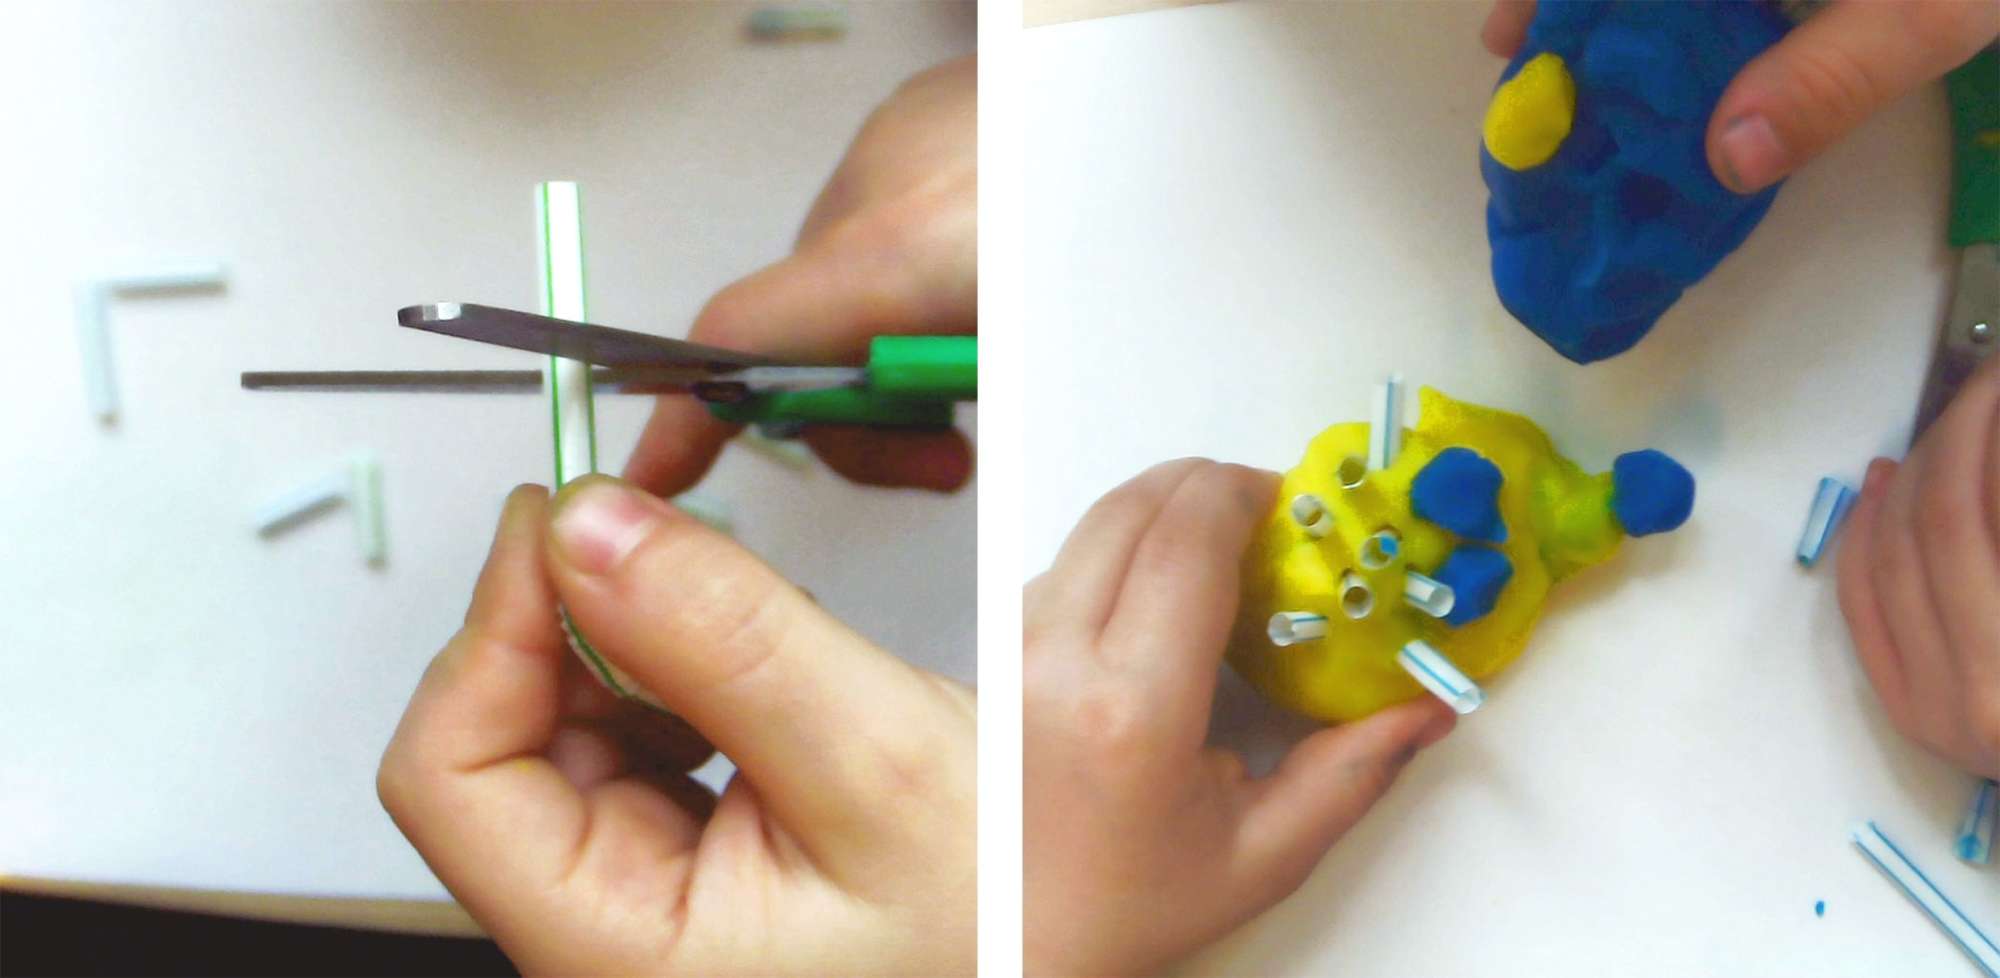
Another student, a master of modeling clay sculpture, came to make a video tutorial for his classmates.
He first recorded a video without sound, then recorded a soundtrack afterwards. This made us realize it would be ideal for students to see their video while recording the soundtrack, so that their audio comments match the image.

Collective remediation
At the end of the day, we showed all the students’ productions to the class, gathered in the shared area.

The images taken by the students served as a basis for collective remediation. For example, in the photo below, a student is counting.
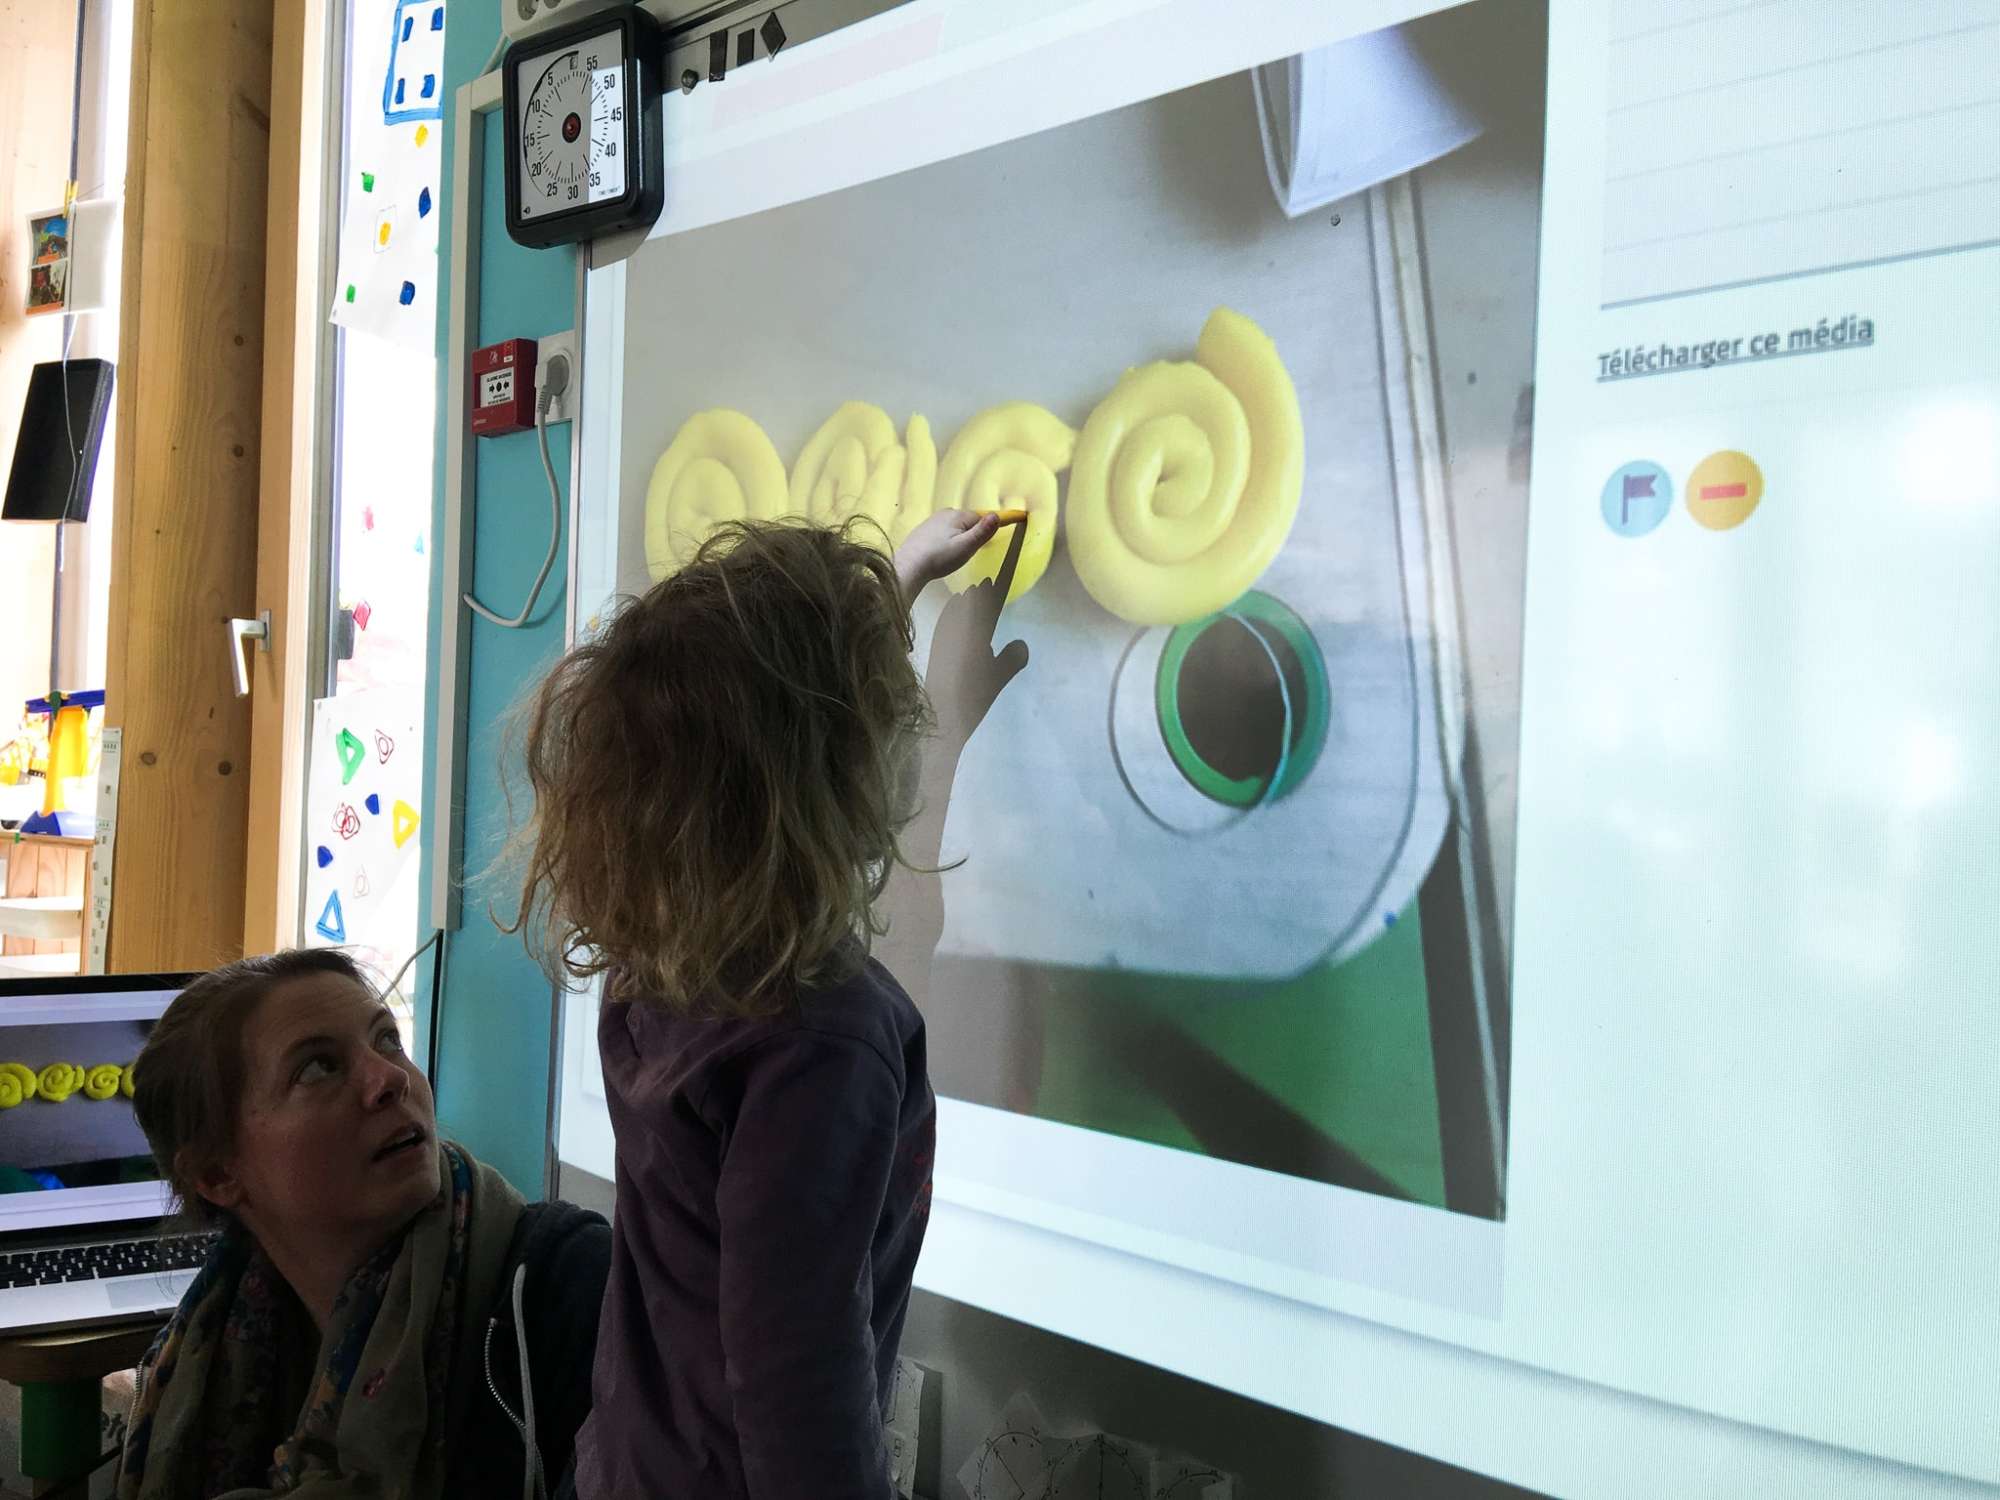
In the next one, a student identifies and explains what is right and what is wrong in another student’s photo, and what needs to be reworked.

We also discussed using the tutorial made earlier to learn how to roll and use modeling clay better. The videos were therefore identified as a resource available in the classroom, which students can use on their own. This requires students to have free access to a tablet and to easily find, in the interface, the resource matching the task they want to do (knowing that kindergarten children can’t read yet). We then imagined that the thumbnail images shown in the interface could reuse the codes of the work plans designed by Nolwenn.
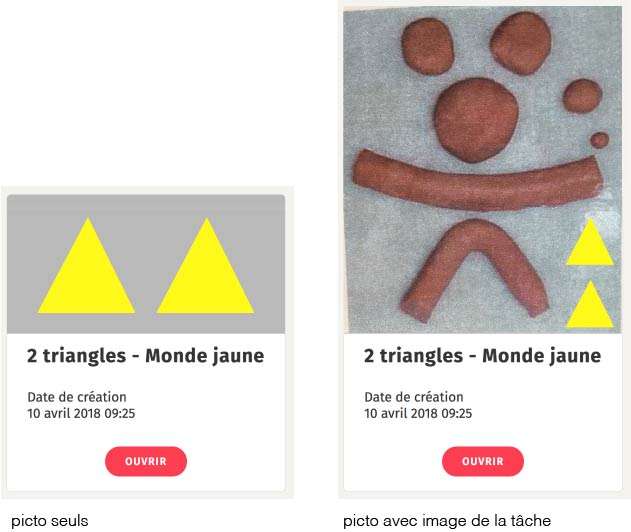
At the end of the afternoon, we decided to continue the next day with students creating tutorials, based on the white trays. In particular, we wanted to test students rewatching the videos and see whether it helps them do the tasks.
Tuesday April 10th, 2018
Identifying everyone’s skills to produce tutorial resources
On Tuesday morning, we first attend the morning “ritual” activities (roll call, story reading and number recognition, for example).

Then we try to find out which tutorials would be interesting to make and useful for the students. This means identifying, for each student, the tasks they have mastered and those they find difficult. This allowed us to decide together which child would make which tutorial, to help other students in the class.
All kinds of tutorials were made during the day, some as animations, others as videos (with sound recorded live or afterwards) or as photos. We also tried to vary the ways of working: sometimes students made the tutorials alone, sometimes in pairs.

From making these tutorials, we noted a few things and set up some rules in the classroom:
- For sound to be recorded, the rest of the class needs to be quiet when a student is recording. So we decided that at the start and end of each take, students shout “Action!”, which becomes a signal for the other students to be silent.
- Since students are used to working individually on their work plan, collaboration doesn’t come naturally. We encouraged some of them to work together, and noticed positive aspects both in the sharing of work it requires and in the mutual help that develops between students.
For example, two students worked on counting with 5 plastic caps numbered from 1 to 5. In the video, the students wanted to put the caps in ascending order and say the number each time they placed a new cap. The student who had to say the numbers still had trouble identifying and naming them, while the student placing the caps knew how to. He then helped his classmate by trying to find memory tricks for her to identify the numbers correctly, and they did 14 takes in total! After these 14 attempts, since the student still couldn’t do a full take without a mistake, we decided to keep one of the videos and record the soundtrack separately later. That way, the student could watch the video without sound and re-record herself as much as she wanted, on her own.

On the downside of group work, some students tend to lose focus on the task, get excited and disturb the rest of the class, which requires setting rules beforehand and well-defined time slots.
3. We also noticed that some students were very shy and not very keen to make videos. In these cases, Nolwenn suggested we insist a bit, precisely to build these students’ self-confidence by showing them what they were capable of; we did so, with rather conclusive results.
Collective remediation
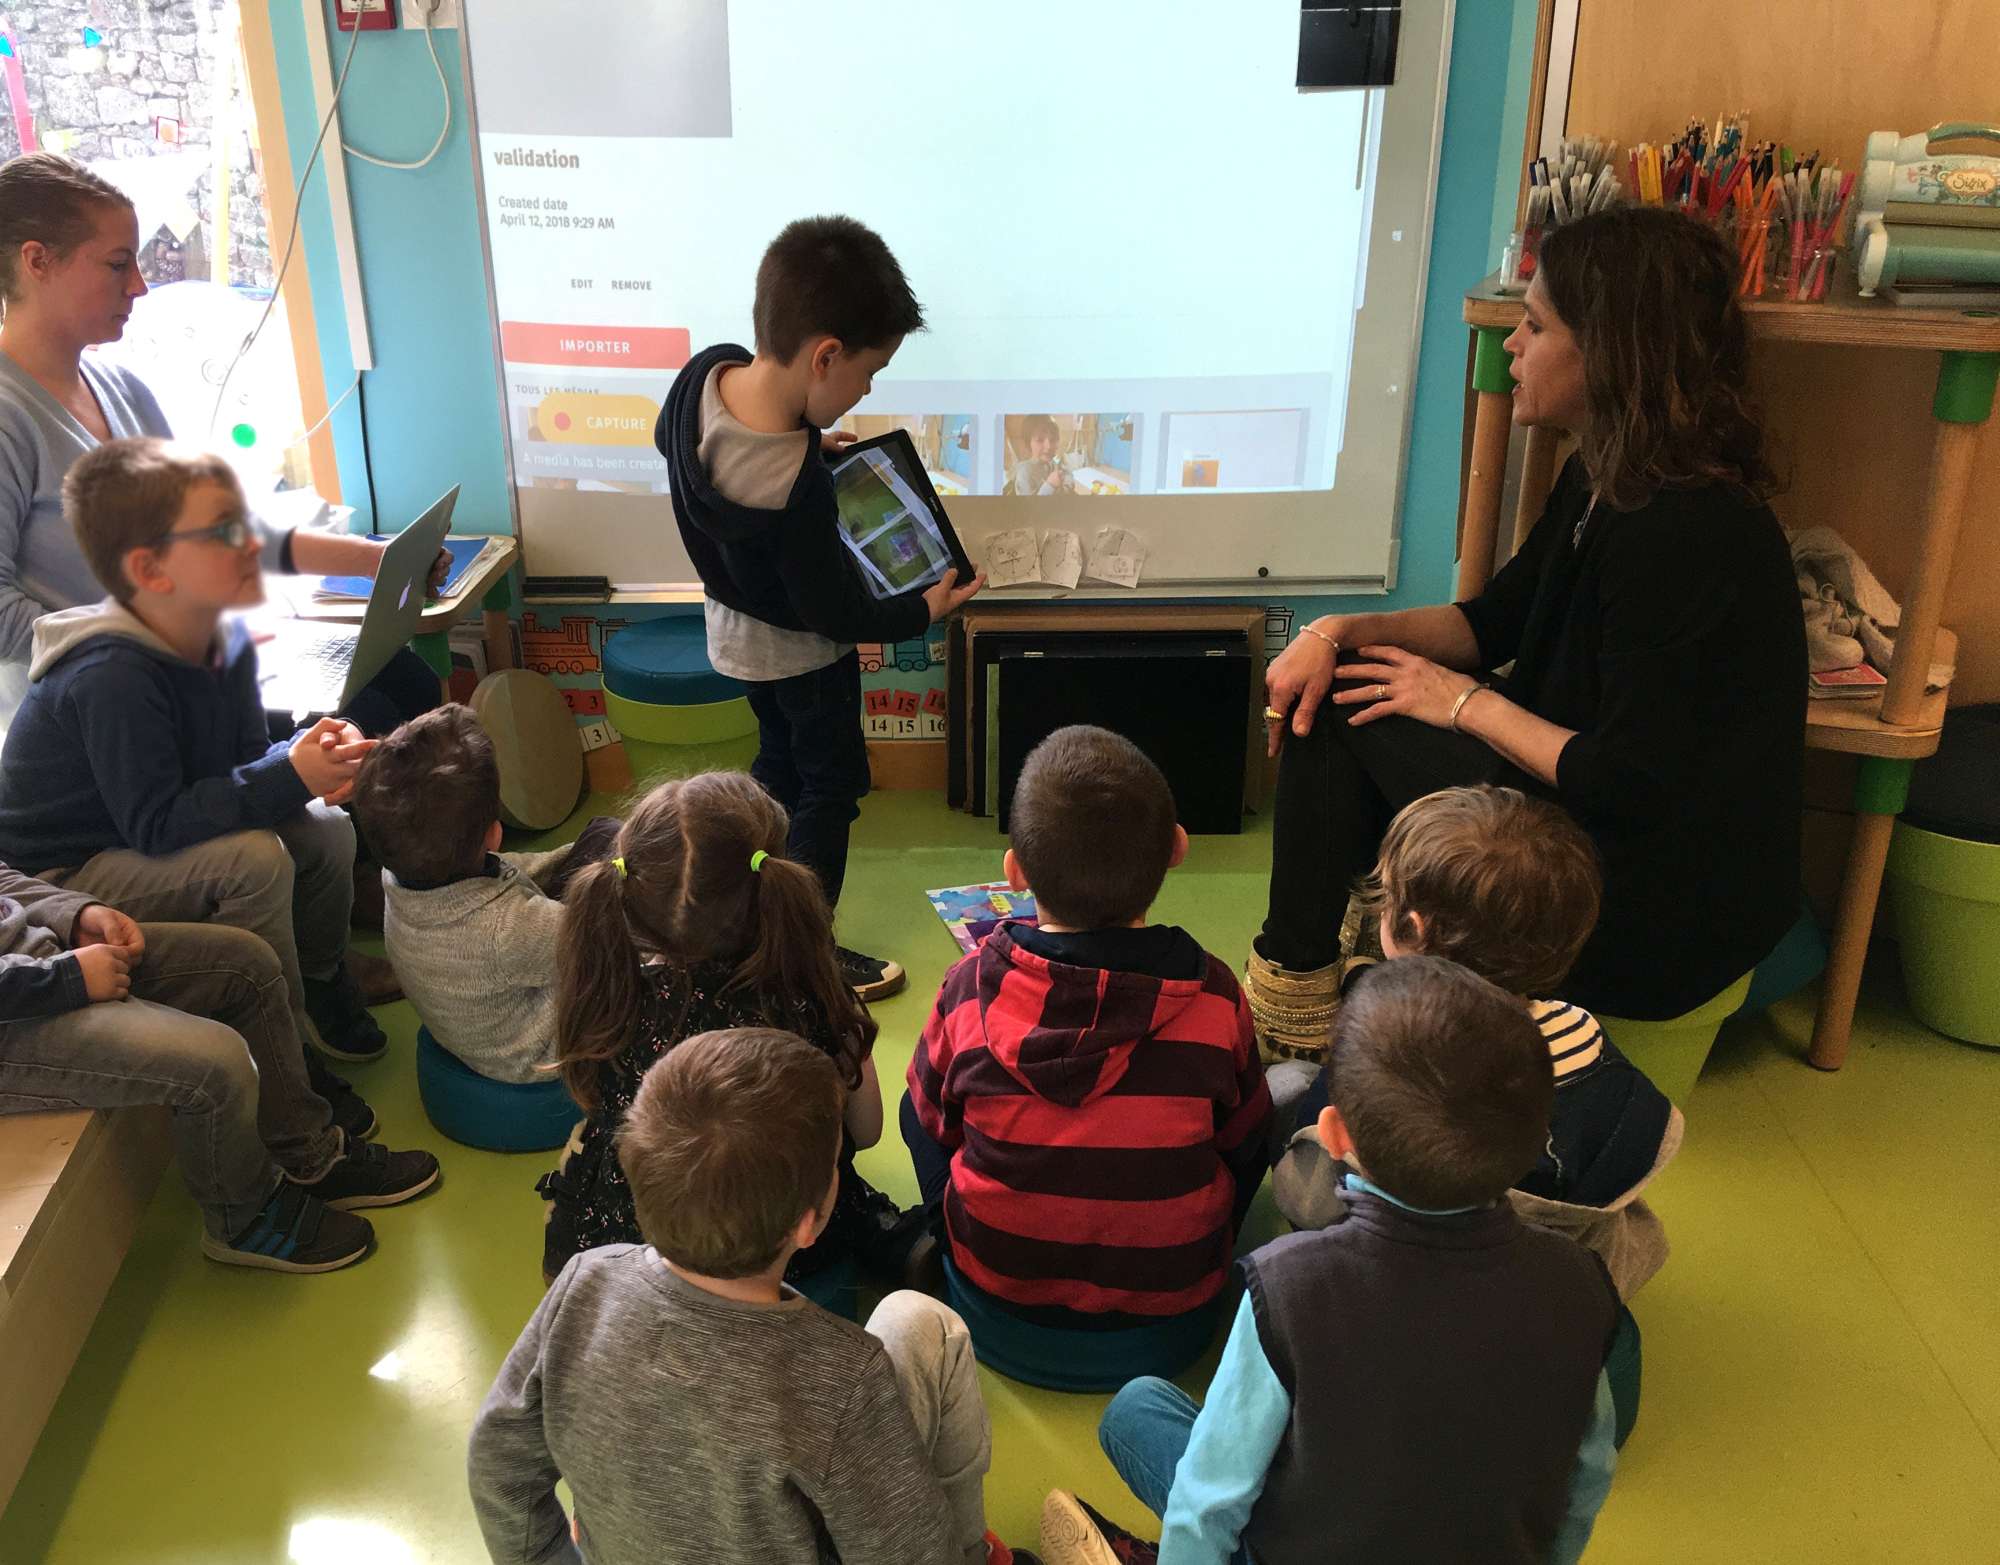
Again, we organized a group session at the end of the day and each student presented what they had done. Here too, their productions were used as a basis for remediation on some learning points and to define vocabulary.
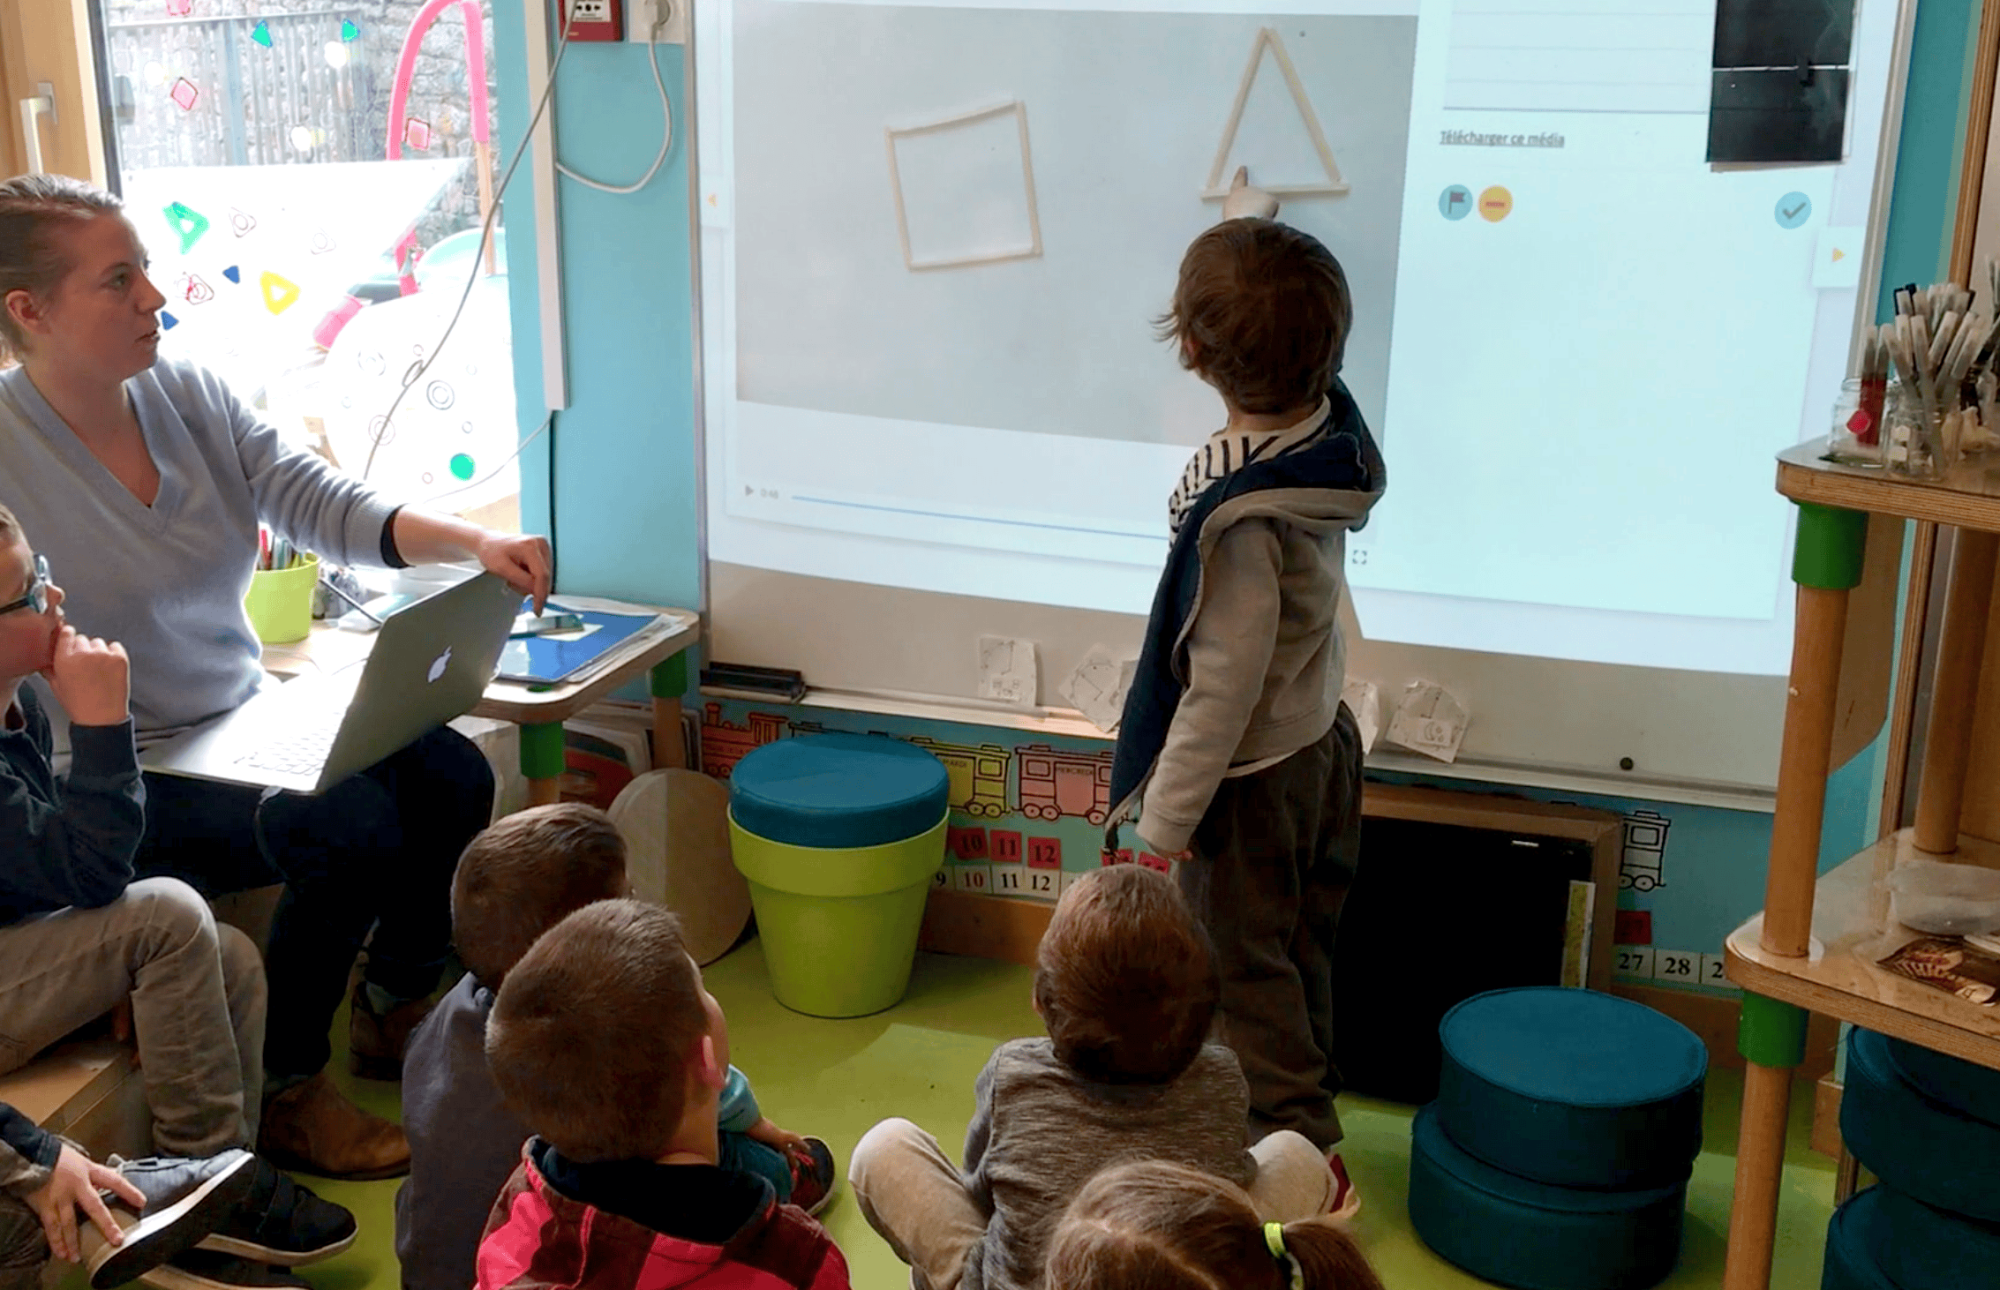
At the end of this group session, we explained again to the students what the traces taken with do•doc were for.
On the one hand, they are used to validate work plans (“to show the teacher how I did my work”). On the other hand, they can also help other students (“traces for others”) or be used to stage things the students love and tell stories with (“traces for oneself”).
We also discussed taking pictures and framing, and presented the different devices that can be used to take photos and videos (tablet, phone, station).
Lessons for developing the interface and the station
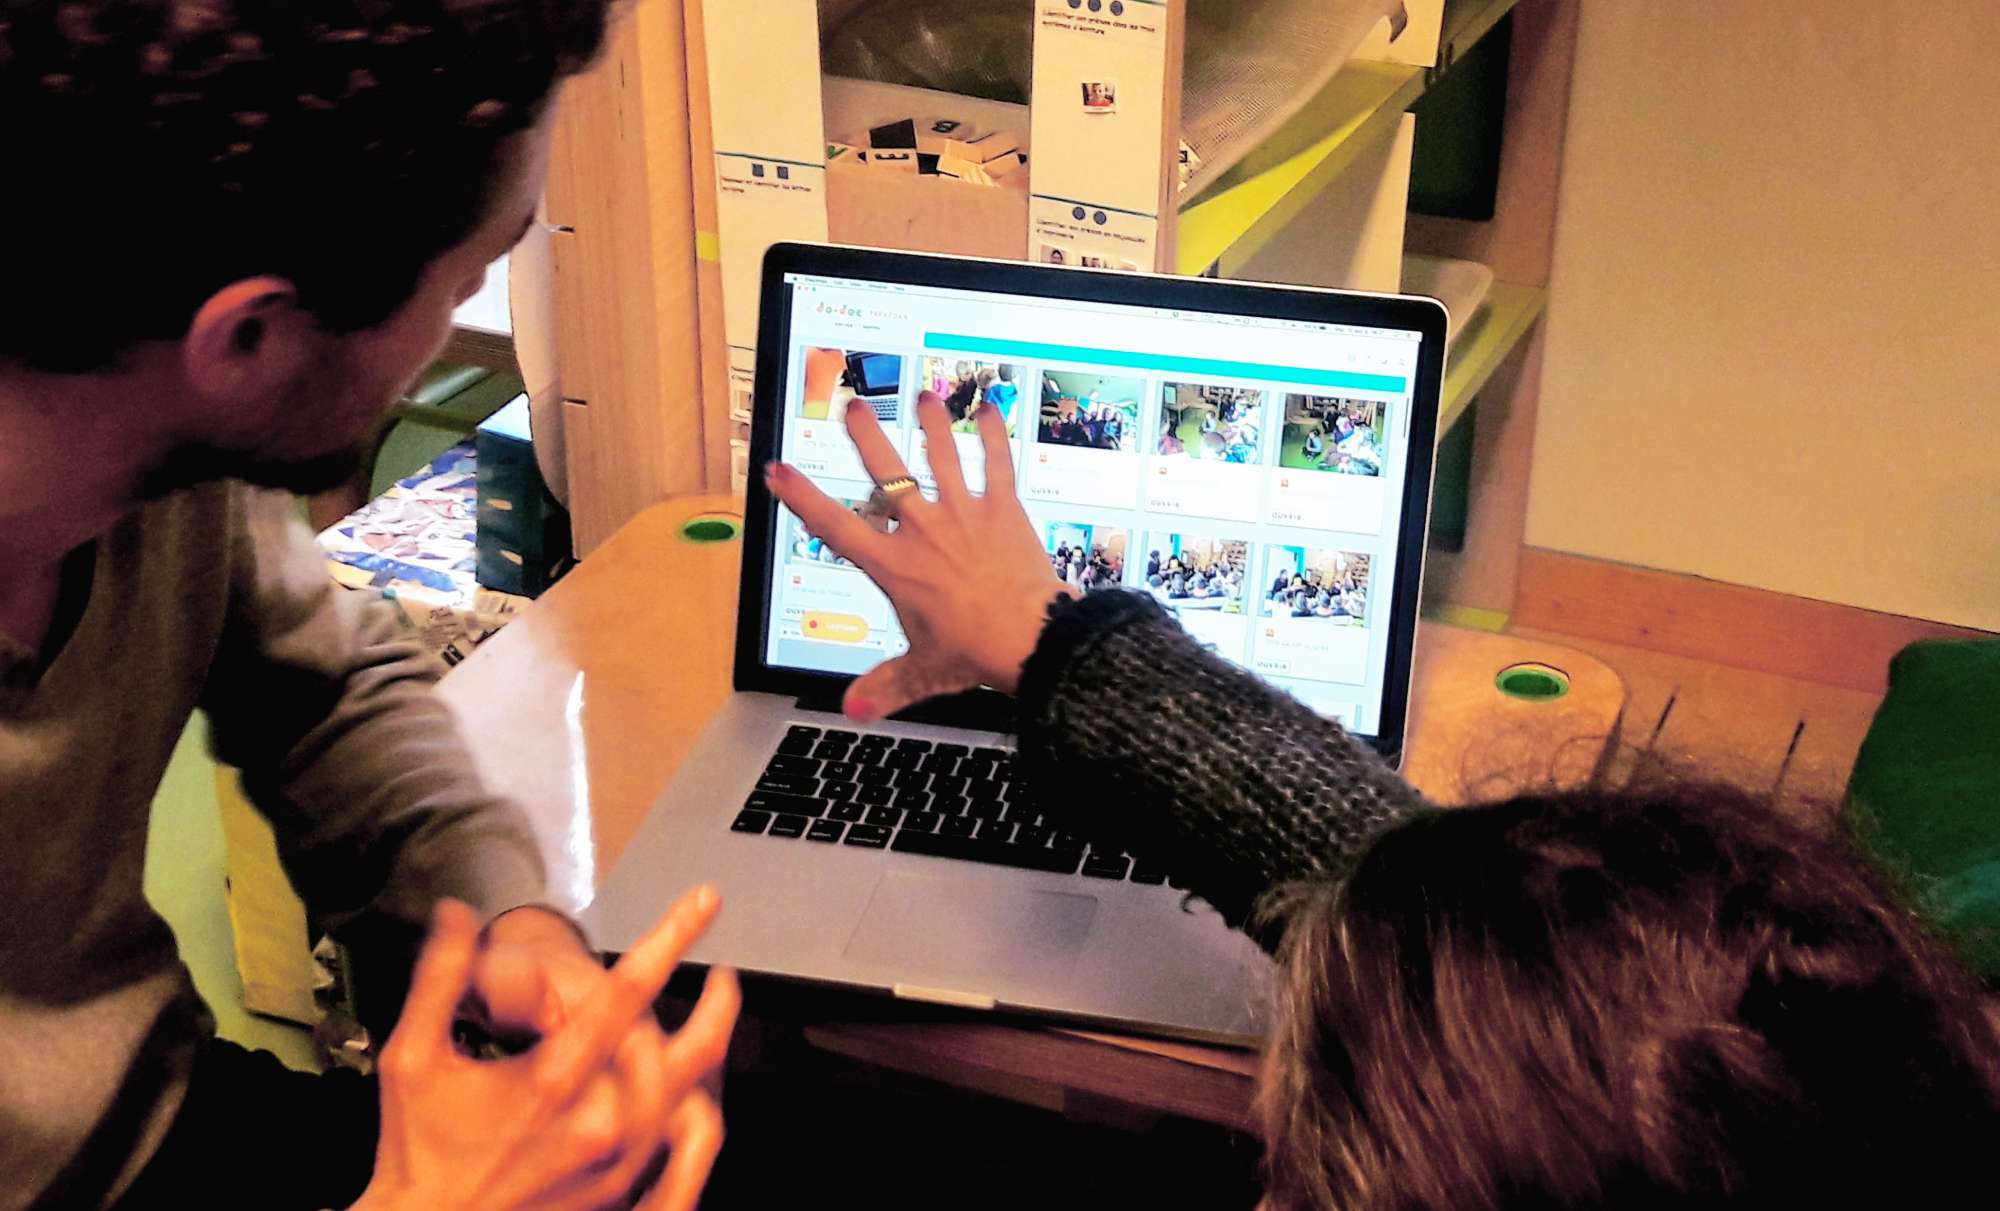
- QUESTIONING A DESIGN PRINCIPLE: A CHOICE TO MAKE AFTER EACH CAPTURE?
We decide to question one of our very first design choices: the double view during capture (view of the live feed and view of the last recorded media). Given the status of traces for the students, it seems relevant to offer them, after each recording, to state what the recording is for. We think of three options:
- Sending it to the library (“I keep this media for myself” -- to come back to it later, for example).
- Sending it for validation (“I consider what I did to be a final version and I send it to the teacher so she can assess my work”)
- Sending it to the trash (“this is not worth keeping”).
- CREATING A LIST OF AUTHORS AND ADAPTING THE INTERFACE TO EACH
- A specific interface for the teacher, with a view of the media recently created by each student for validation, and multiple filters.
- A student interface, showing the content created by the student and the resource content selected by the teacher.
- Simplified identification (tangible elements + students’ photos) and automatic tagging of recorded media (basic metadata: student name, date, media type, classification by the student).
-
NAVIGATING THE INTERFACE WITH TANGIBLE ELEMENTS BUILT INTO THE ENVIRONMENT (OR IN THE TRAYS)
To make navigating the interface easier, each media and each page of do•doc can be associated with a QR code. QR codes can be printed and placed next to the white trays or anywhere else in the classroom. By scanning the code, students directly access the resources associated with a work plan, and can record their media and see the ones they already recorded for the same task. QR codes thus become a navigation aid, with markers linking the physical world of the classroom to spaces in the interface. -
BEING ABLE TO SEE A PREVIOUSLY RECORDED MEDIA WHILE CREATING A NEW ONE
This would be useful to record an audio track on a video (syncing the voice to the image) or to follow a tutorial and reproduce it at the same time. -
THE RELEVANCE OF A “POT” FEATURE
We had been thinking about a feature we call the “pot” (marmite), and realized how important it is in these school situations. It is a feature that combines media according to predefined recipes. For example, by combining an image with a sound, this feature would produce a commented image (a still image plus the soundtrack), or combine a video with a soundtrack recorded later.
-
ADAPTING THE STATION TO THE CLASSROOM
We plan for a station to be built into one of the classroom’s “huts”, to create a dedicated recording space that is always available. We imagine adapting the furniture with 3D printed parts to build this station and place the elements (webcam, etc.).


At the end of the day, Mr. Alain Van Sante, digital education delegate (DANE) of the Rennes academic region, visited the class. Our discussion seems to confirm the directions taken and discussed with Nolwenn and Lionel Rault. From his point of view, the idea of a follow-up notebook to support learning through work plans seems relevant, and we specify some of the priority features to add to the interface. Among them, the one that seems essential is identifying students and having different interfaces for the teacher and for the students.
Wednesday April 11th
Setting up the 3D printer
We set up our 3D printer in one of the classroom huts and modeled 3D parts adapted to the classroom furniture, so that our wooden rods and joint system could attach directly to the tables.
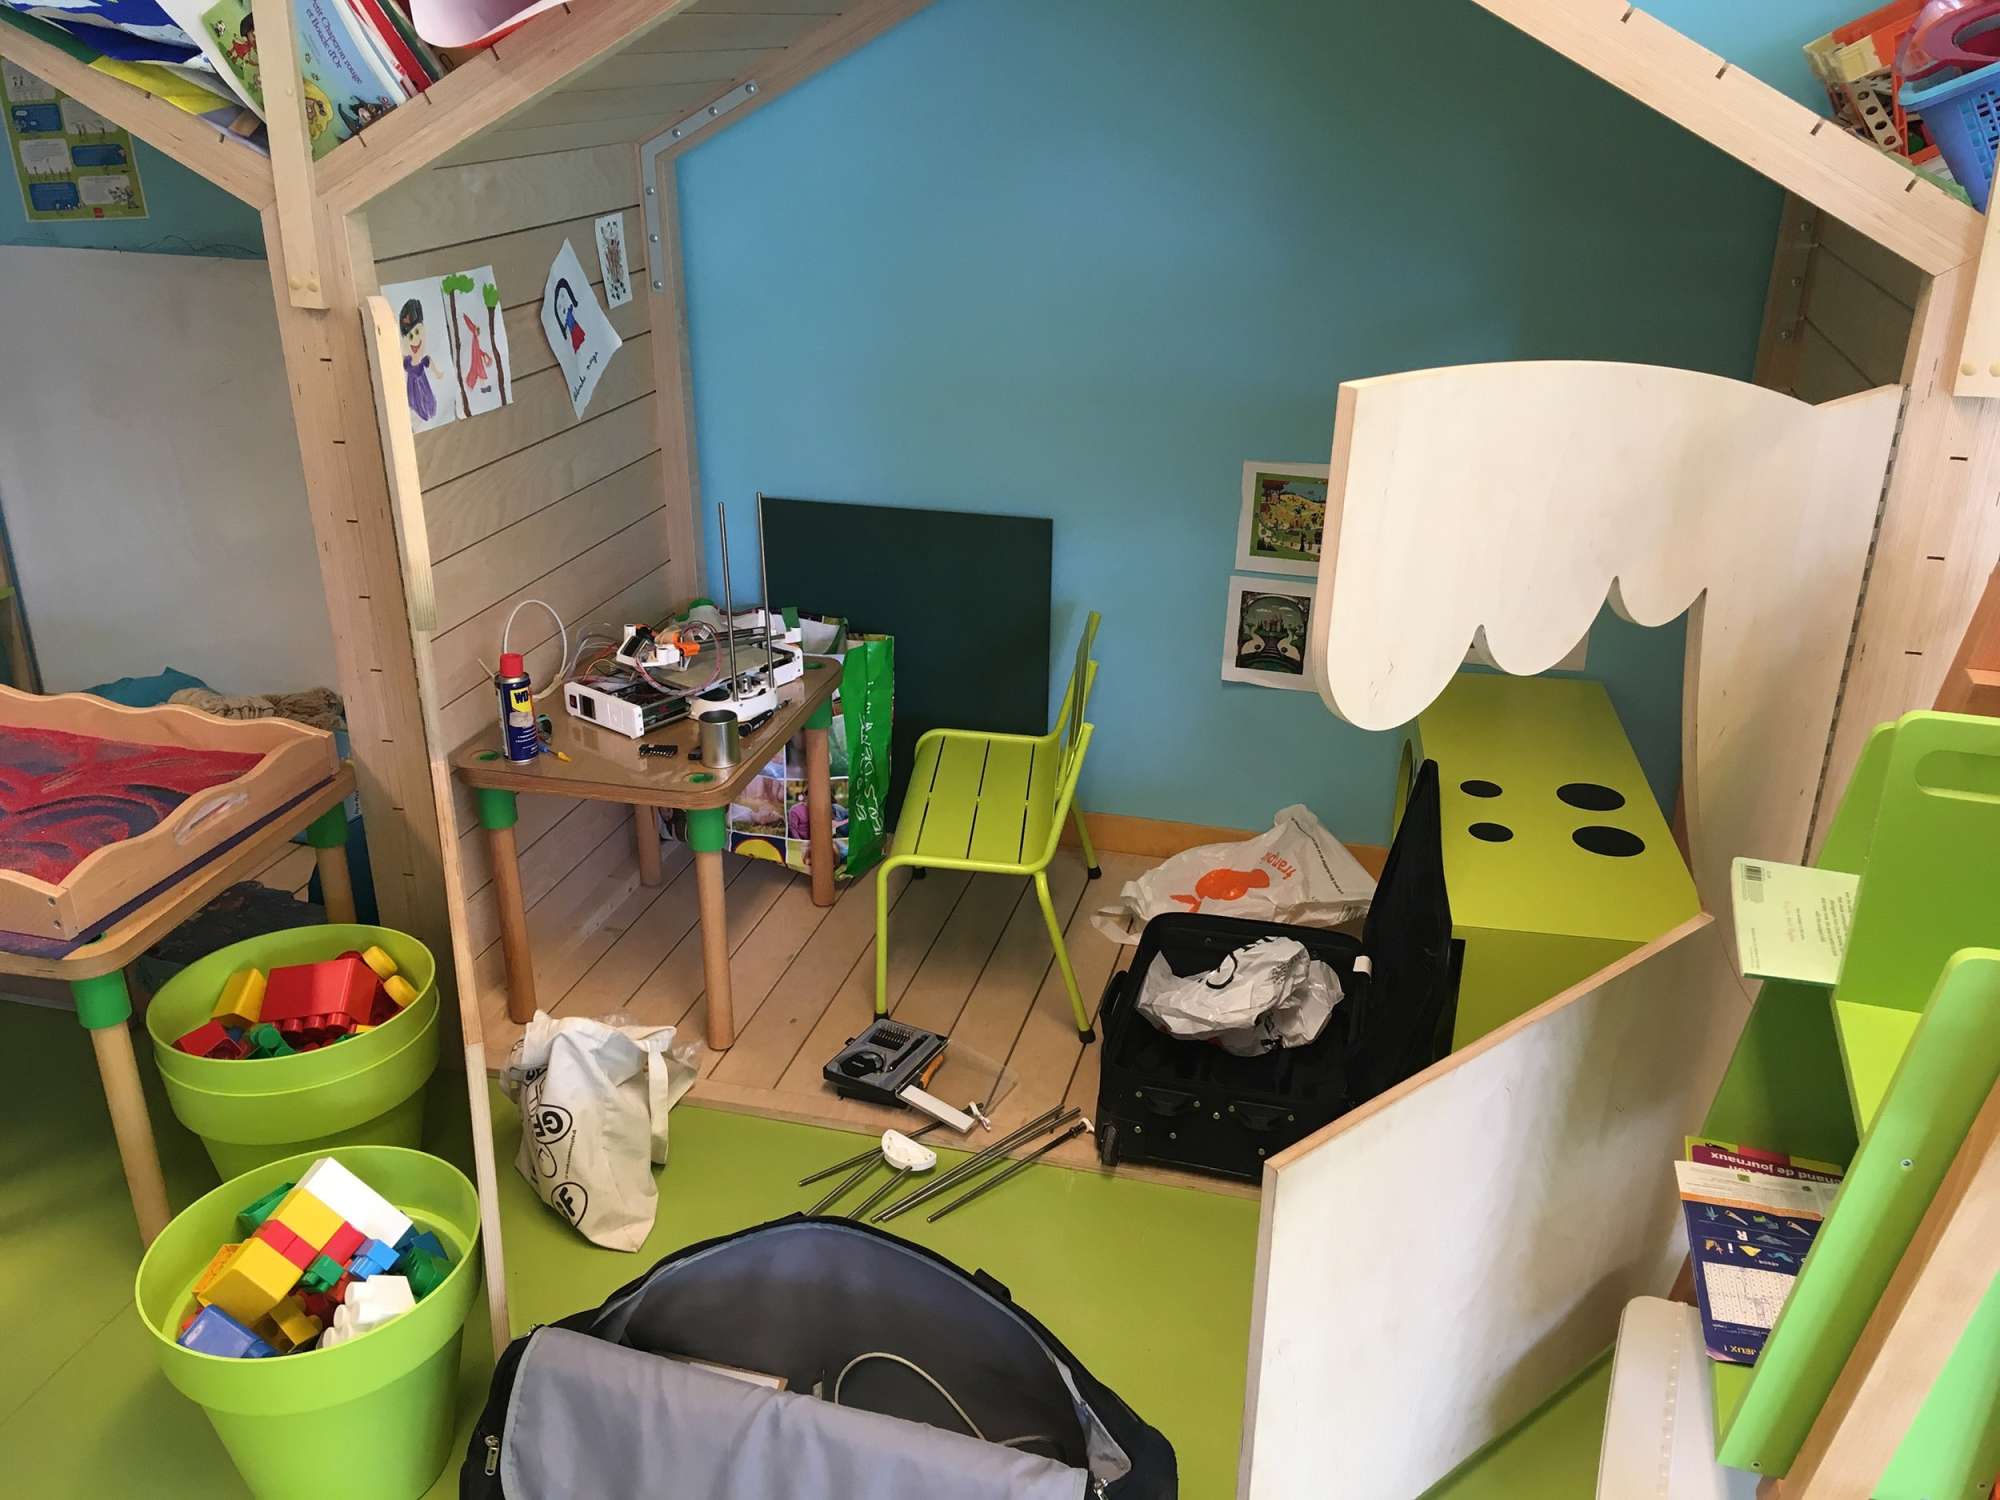

Building a station adapted to the furniture
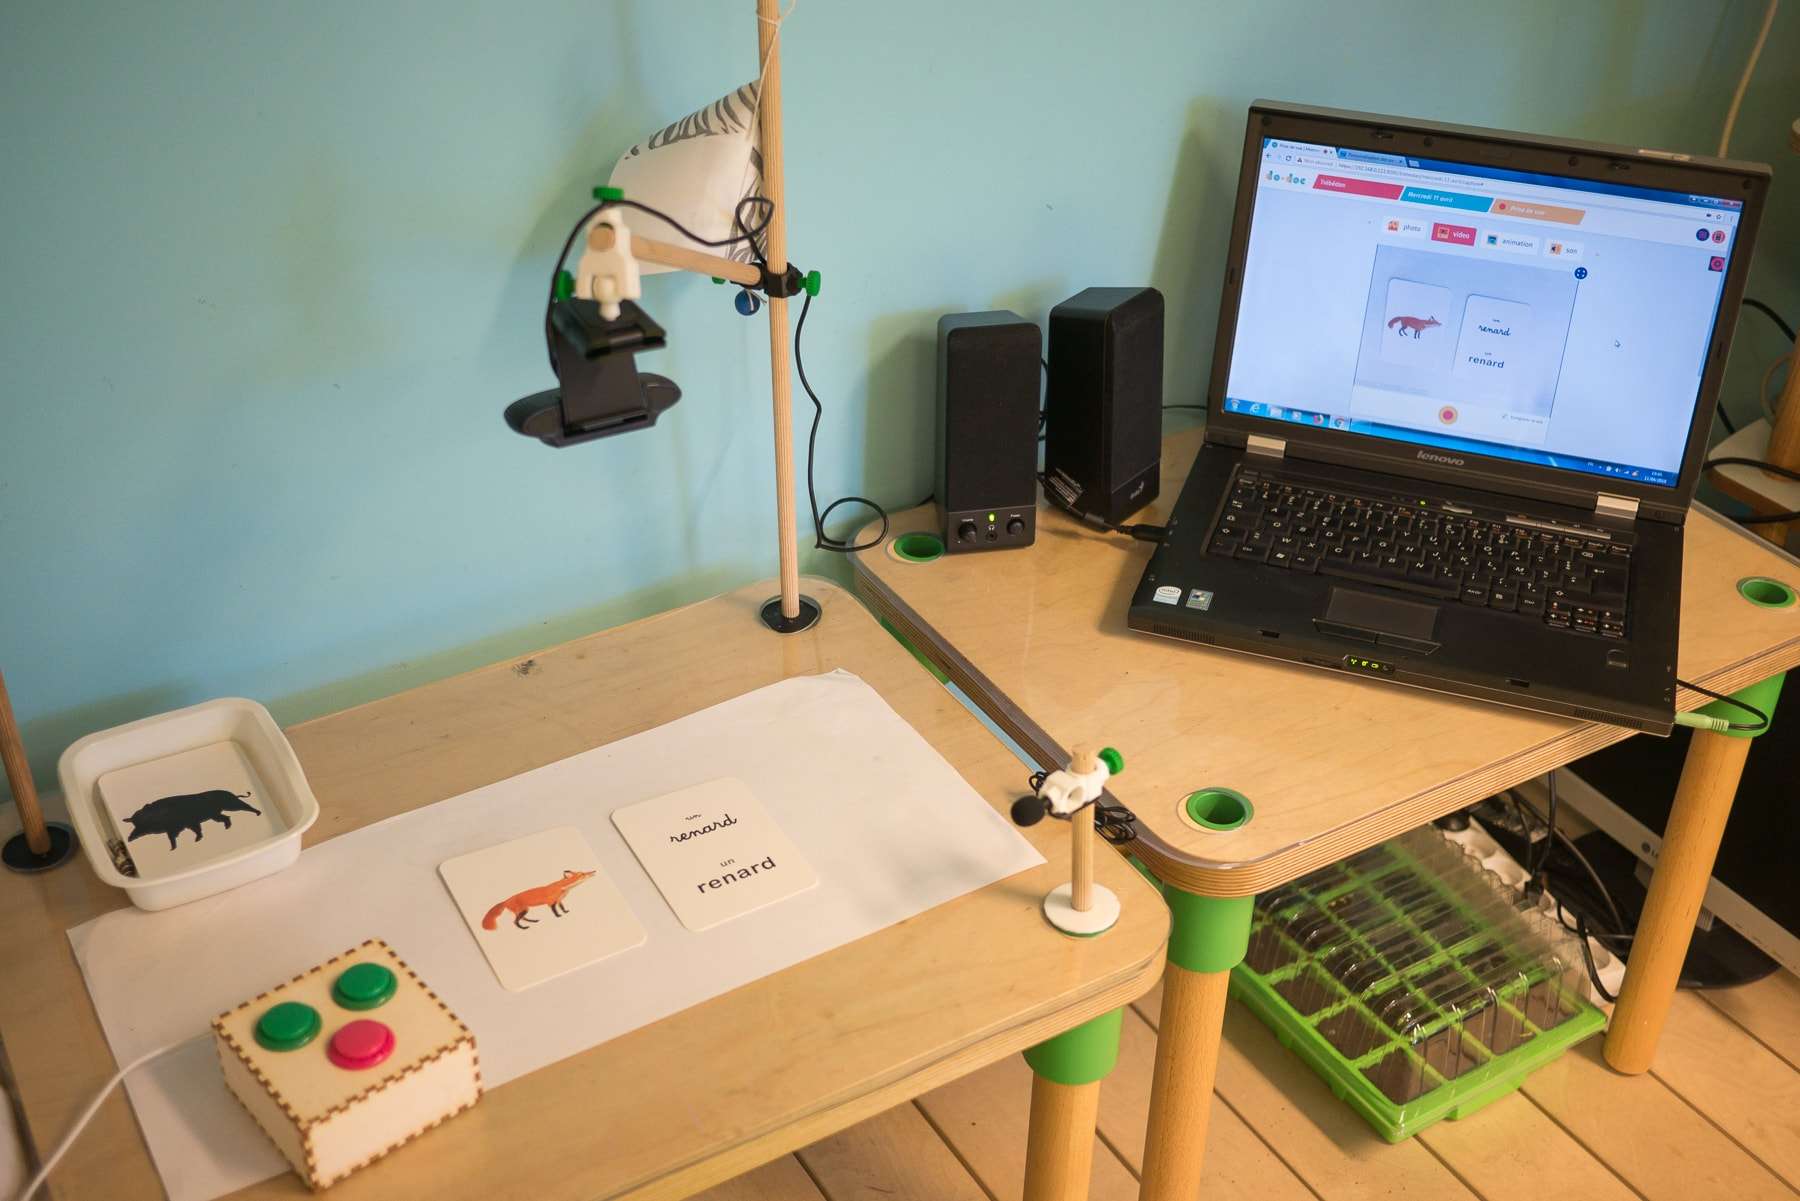
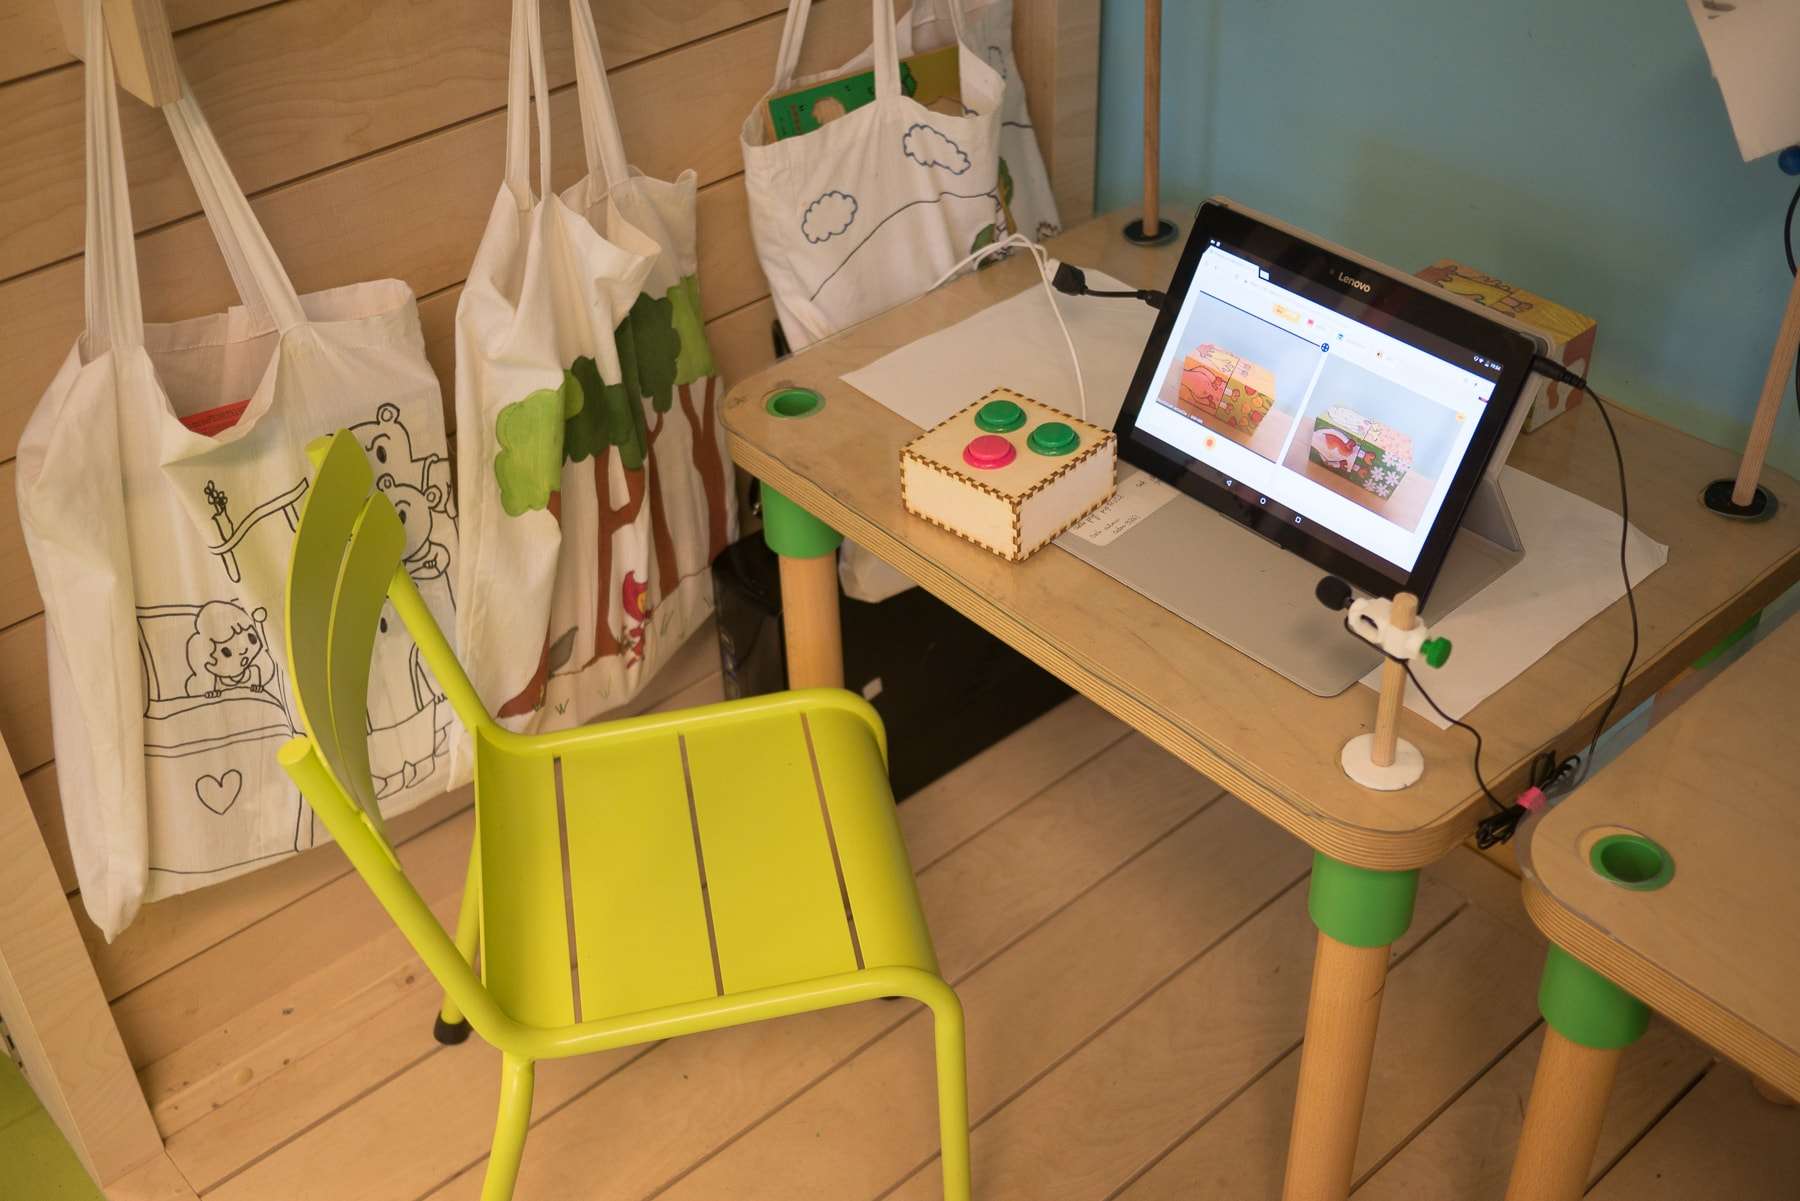
Then, during the morning, we set up a dedicated do•doc station in one of the huts. The station includes a computer running do•doc, a webcam and a microphone, as well as the do•doc box. It can also hold a phone or a tablet as needed. The system is adaptable and can also hold set decorations or lights, among other things. Outside or inside the station, we also kept using several devices connected to the same network at the same time (tablets and phones). Files created on one device instantly show up on all the others, without going through the internet, so students can find their content wherever they created it.
![view of the station in one of the huts, with the microphone and the box, the computer and other joints designed to hold a phone or other accessories [set, lights...]](https://latelier-des-chercheurs.fr/media/pages/ateliers/residence-a-trebedan/112989d3d9-1791902298/1090805-2000x.jpg)

- Adjusting the webcam’s colors and brightness
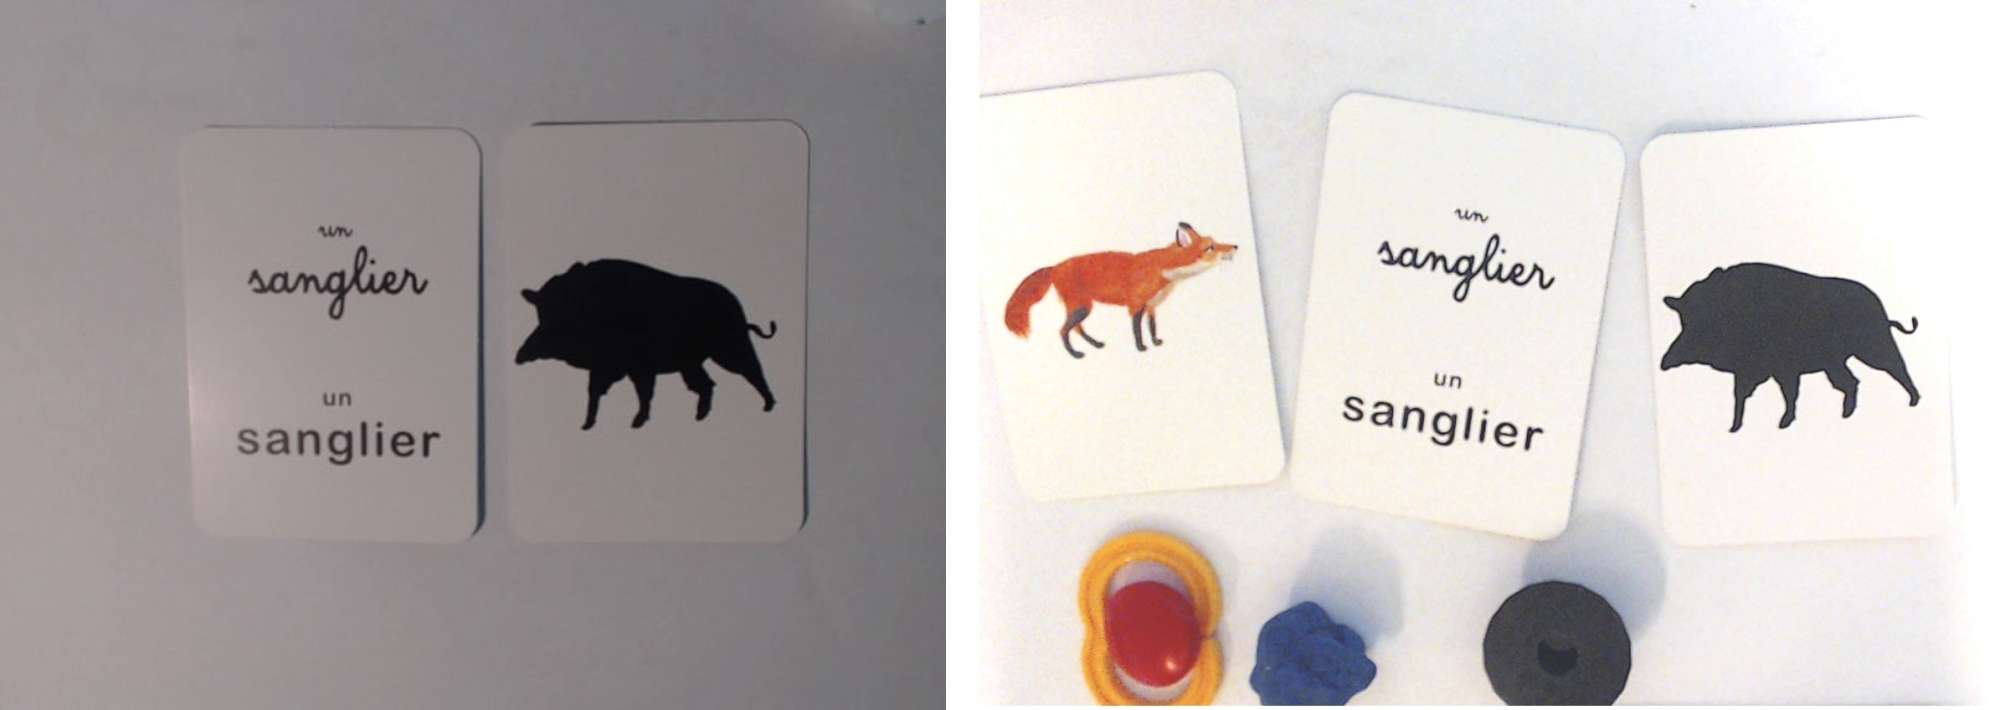
To deal with color and low-light issues (common when using webcams), it can be useful to download a small piece of software to adjust the rendering by hand before taking photos or videos. There are several, depending on the camera brand and the computer’s operating system.
Example 1 for Logitech
Example 2 for Mac
before / after, adjusted with the Logitech software -- note that the hut is very dark and these images were taken without extra light.
Redesigning the interface
Adding authors: identifying students
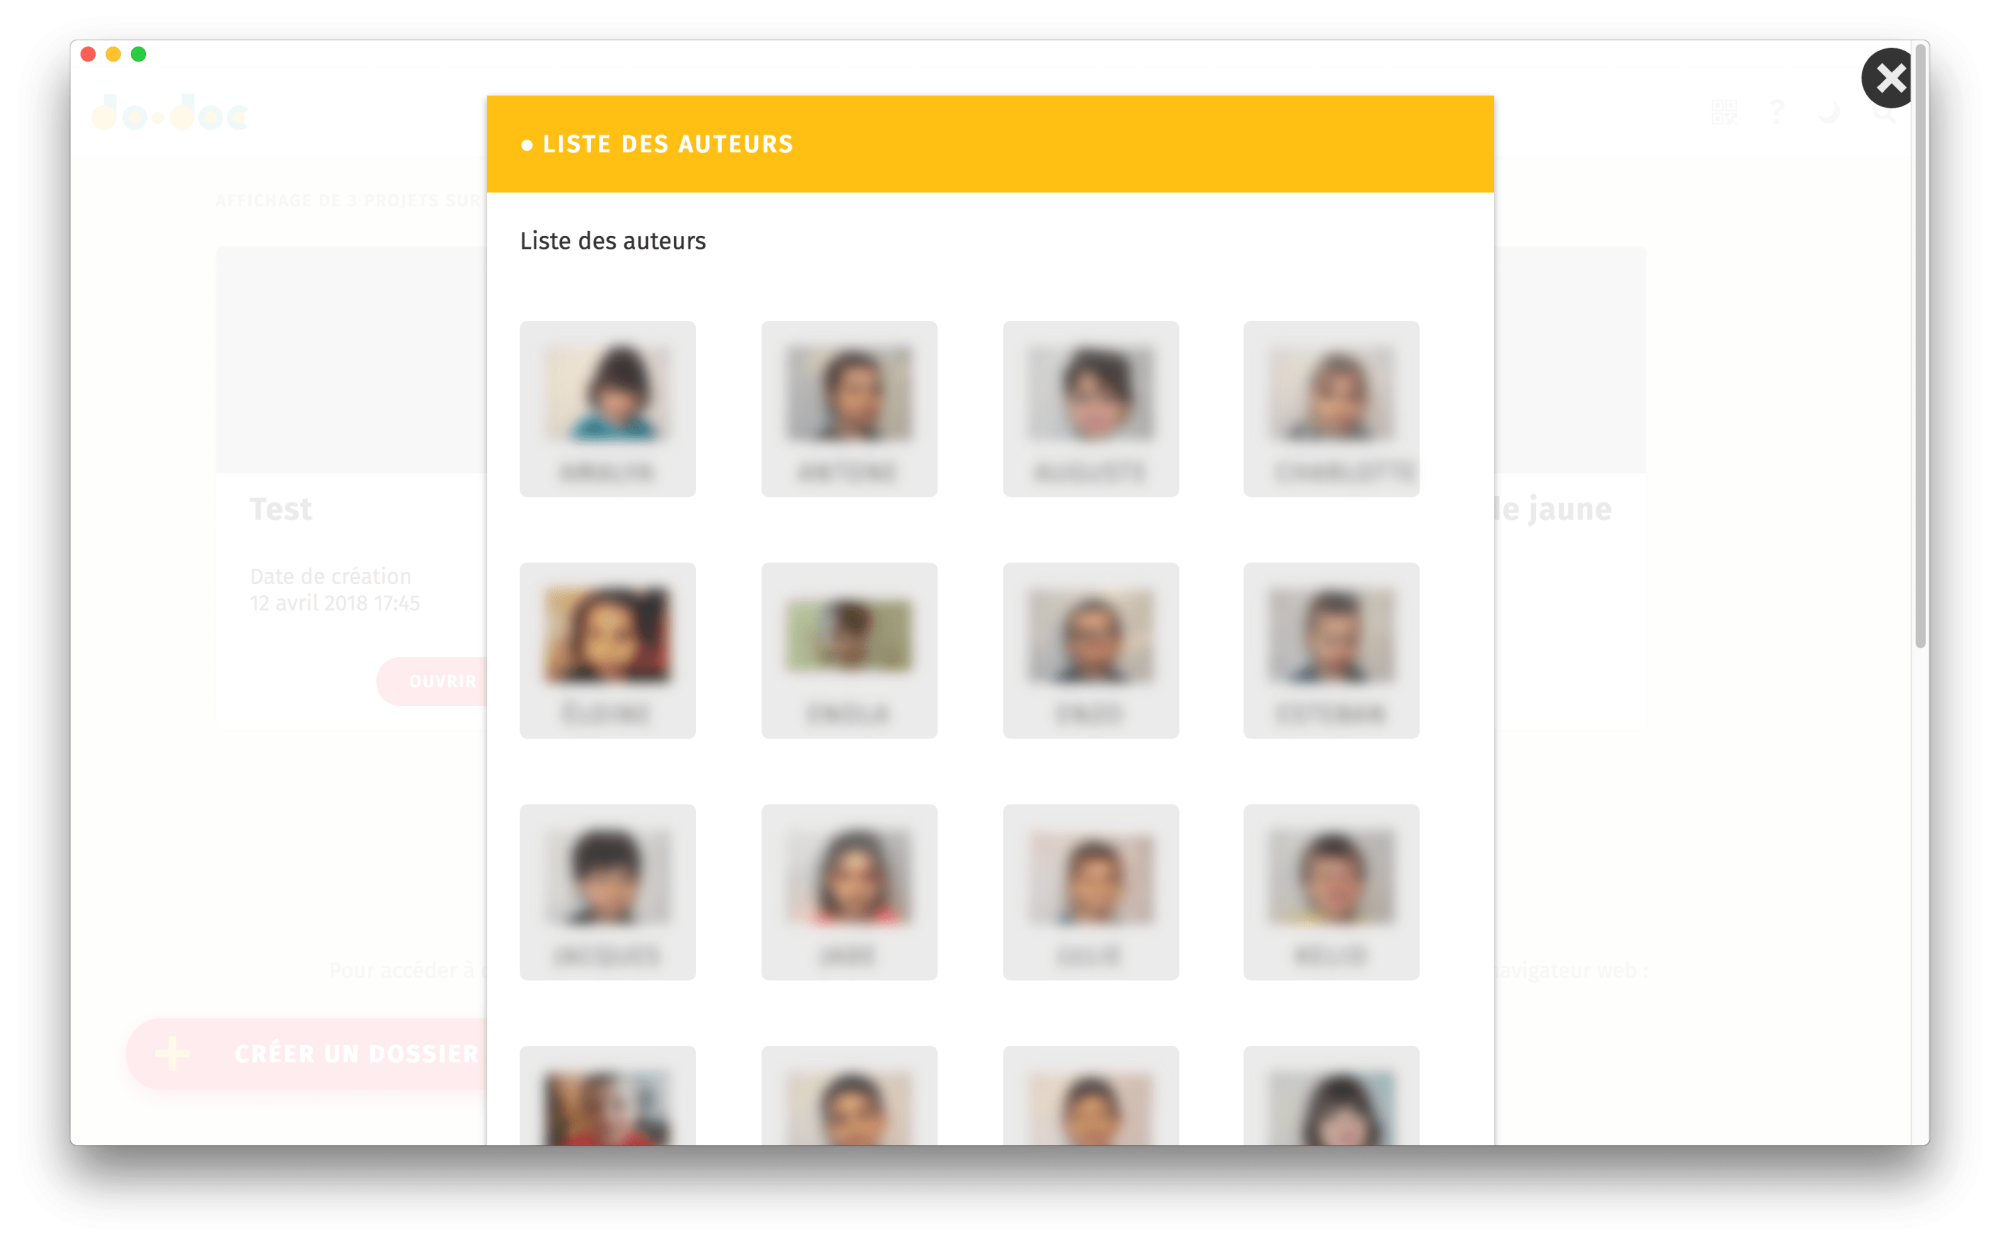
The do•doc interface — which we evolved during the week and which will become version 7 — now lets users identify themselves. At the top, in the middle of the navigation bar, there is a button: clicking it opens a modal window with a list of authors (with the option to add more if needed). Here, we used the students’ portraits and wrote their names in capital letters (this is how the students of this class read their first names).
“Work plan” page
Then, the tiles on the home page reuse the work plans defined by Nolwenn: clicking a tile takes you to the corresponding work plan page (e.g. two triangles of the yellow world). A section at the top left shows which work plan you are in, and the section at the top right, on a blue background, shows the resources associated with each task of the work plan (prepared by Nolwenn or suggested by the students). To mark a media as a resource, you tag it as a favorite (a feature only available when logged in as a teacher).

QR codes
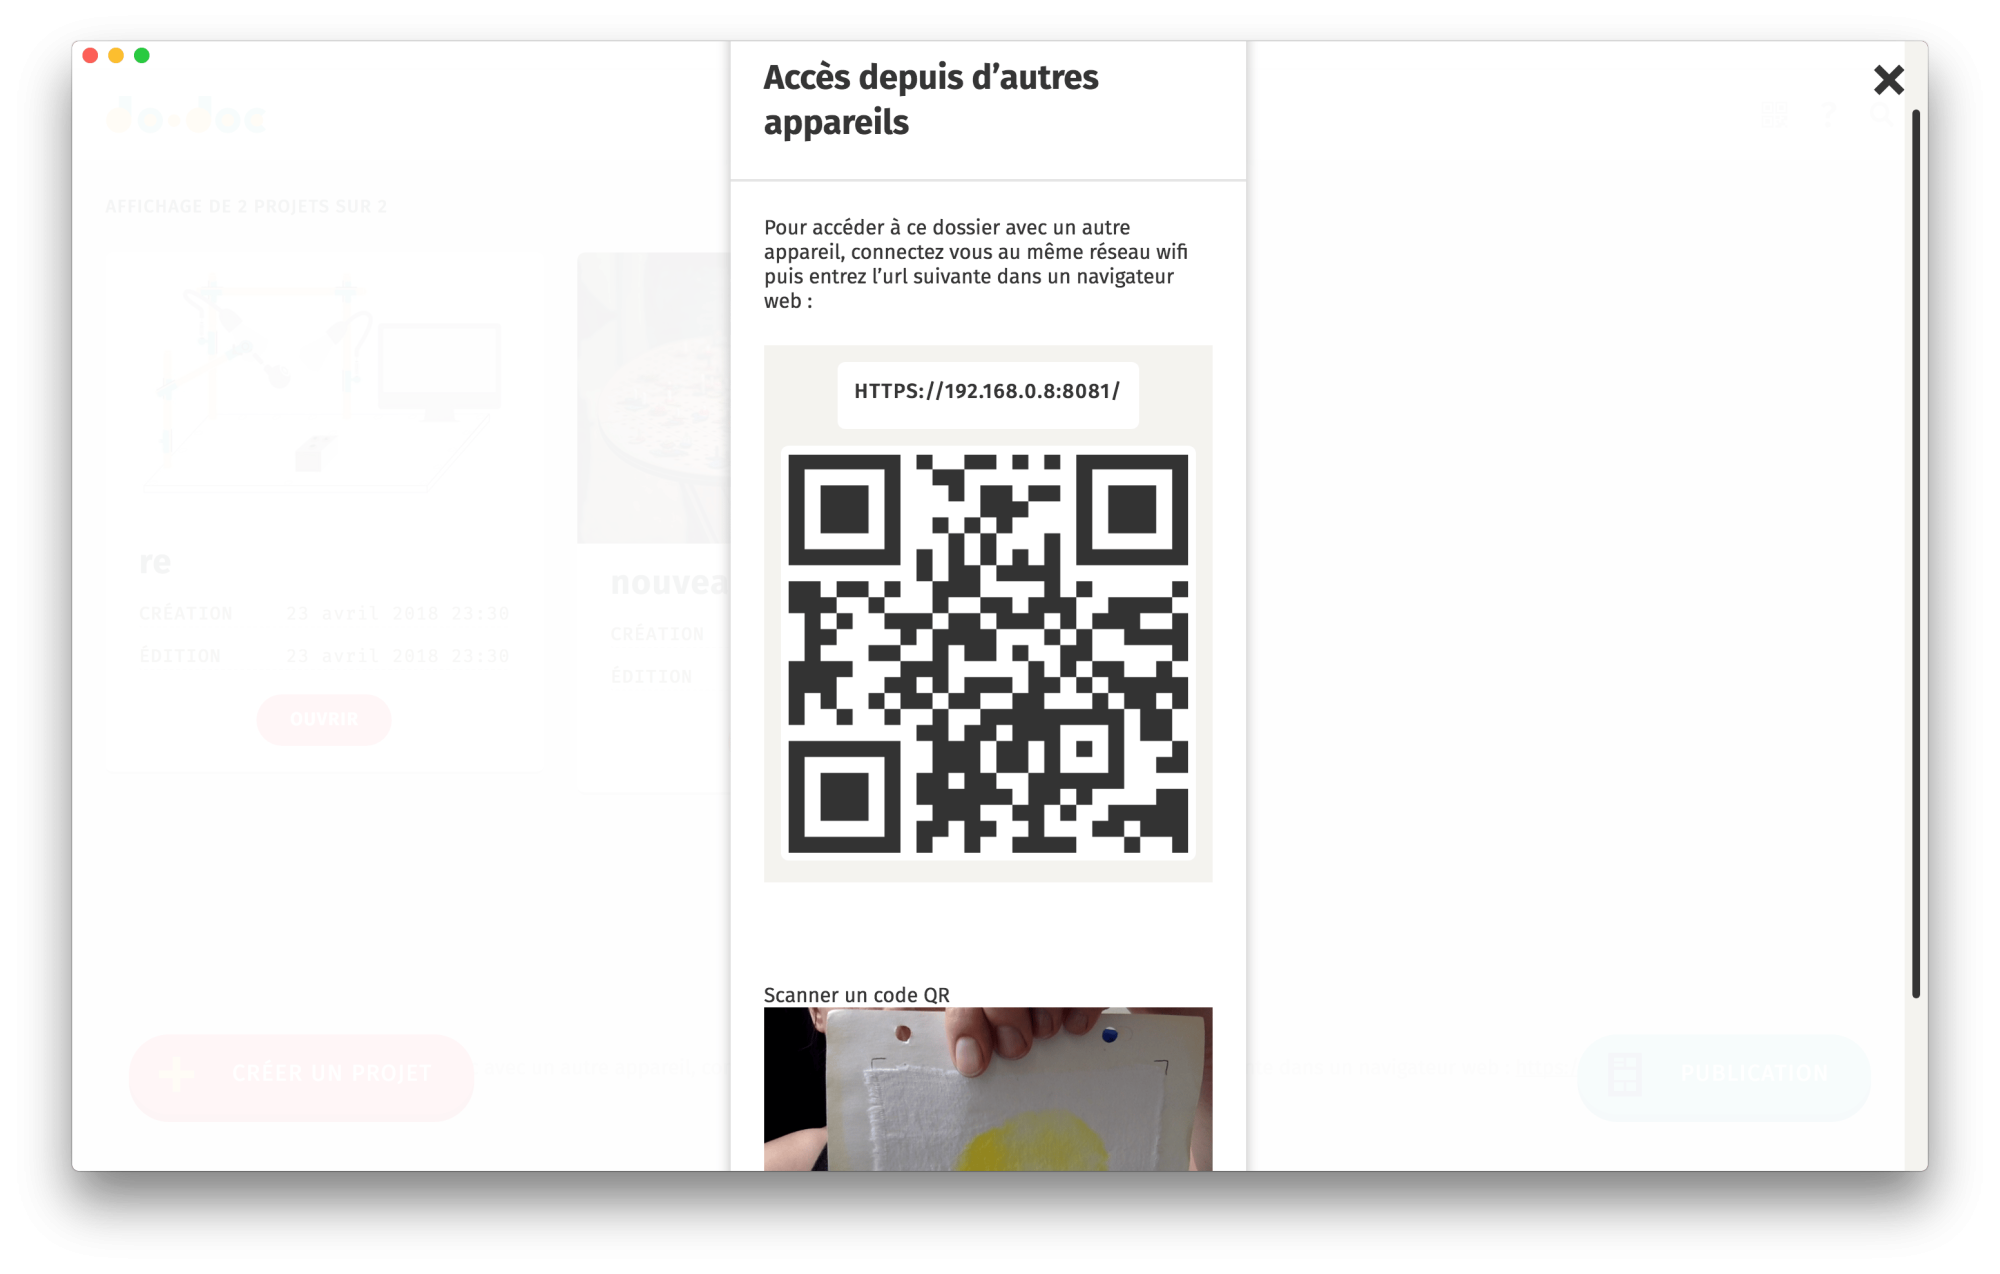
The first of the icons at the top right lets you generate, print and read a QR code. If you are on a page, the QR code of that page is generated; if you are viewing a media, the QR code of that specific media is generated. To make reading codes easier, the feed of the camera connected to the device is shown below the printable QR code. So if you show a QR code to the camera, it can now be read directly from the do•doc interface (without opening a specific app).
Thursday April 12th
Nolwenn and her students take ownership of the tools
After implementing these changes, we test everything on Thursday morning. This time, we try to step in as little as possible and rather help Nolwenn and the students get to grips with the tools.

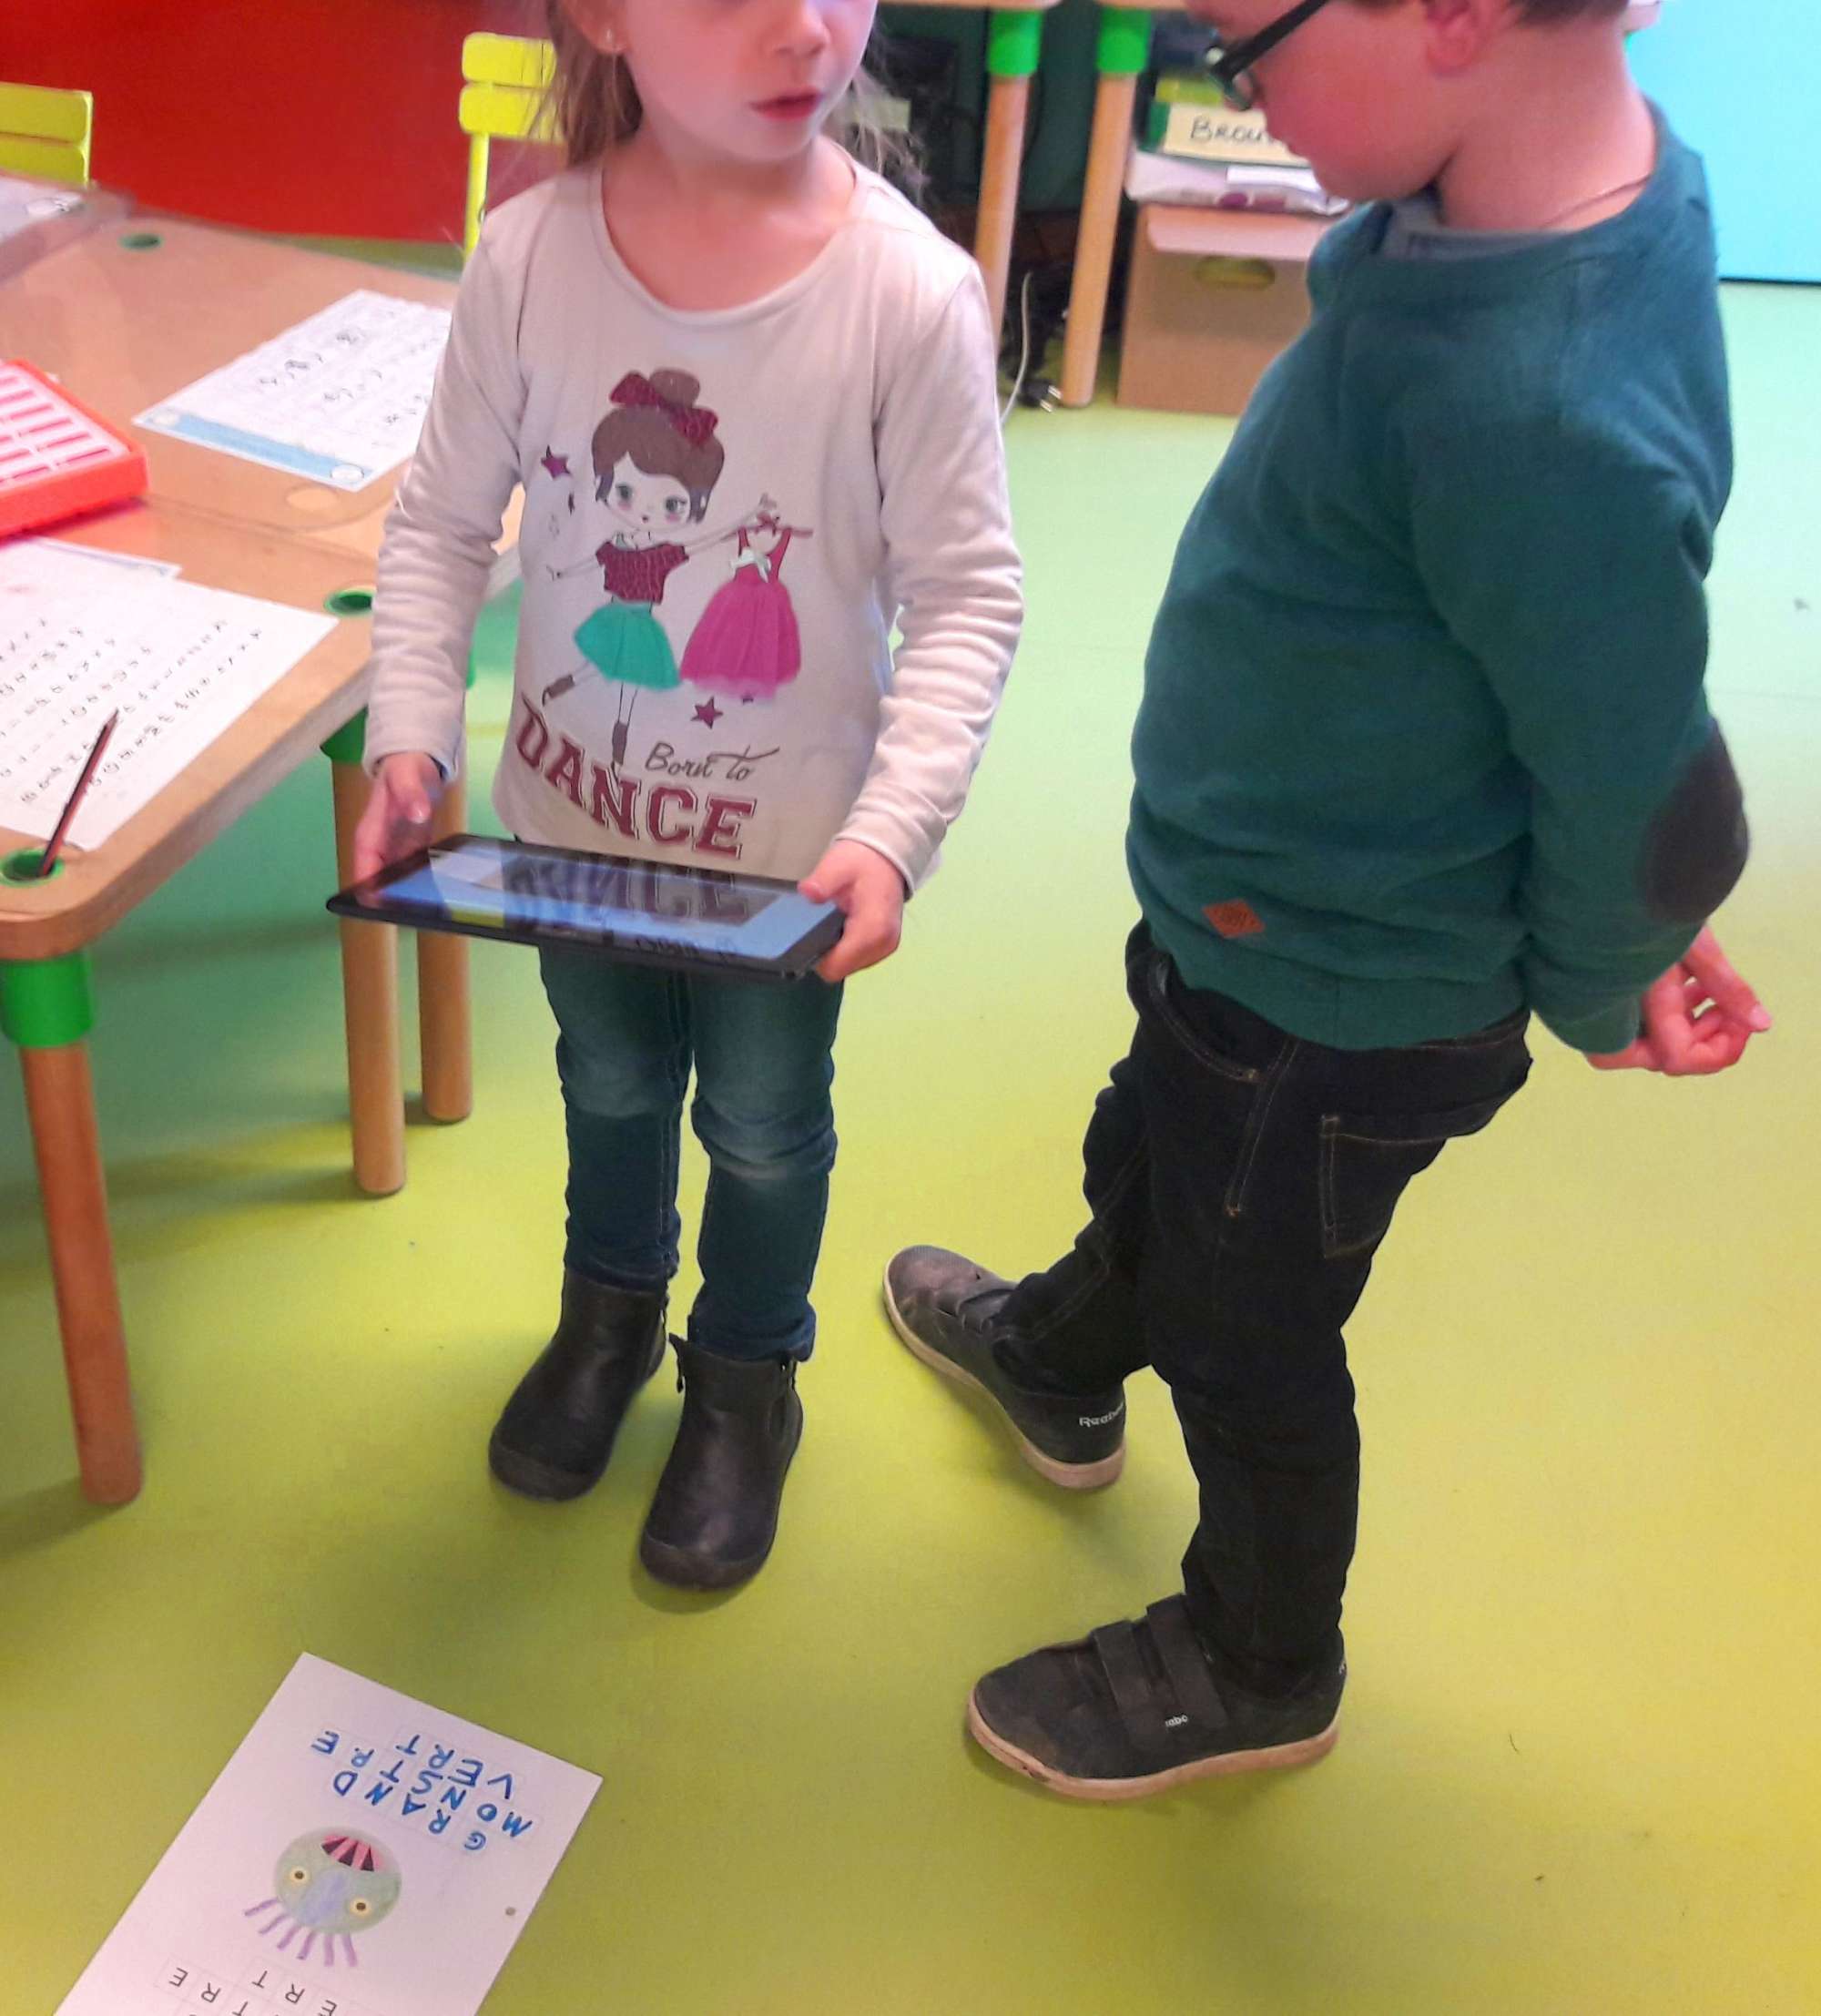
We notice that when taking photos “on the fly”, simply to create “assessment” traces, it is easier to use the tablet or, if the work can be moved, to come to the do•doc station in the hut. For kindergarten students, handling the tablet requires some dexterity, but once the flip cover is removed, they find ways to rest the tablet on a knee and take the photo. They can also help each other with this step. The phone’s buttons are too small, and it is a bit hard for the students to tap the screen accurately.
Creating avatars to identify students
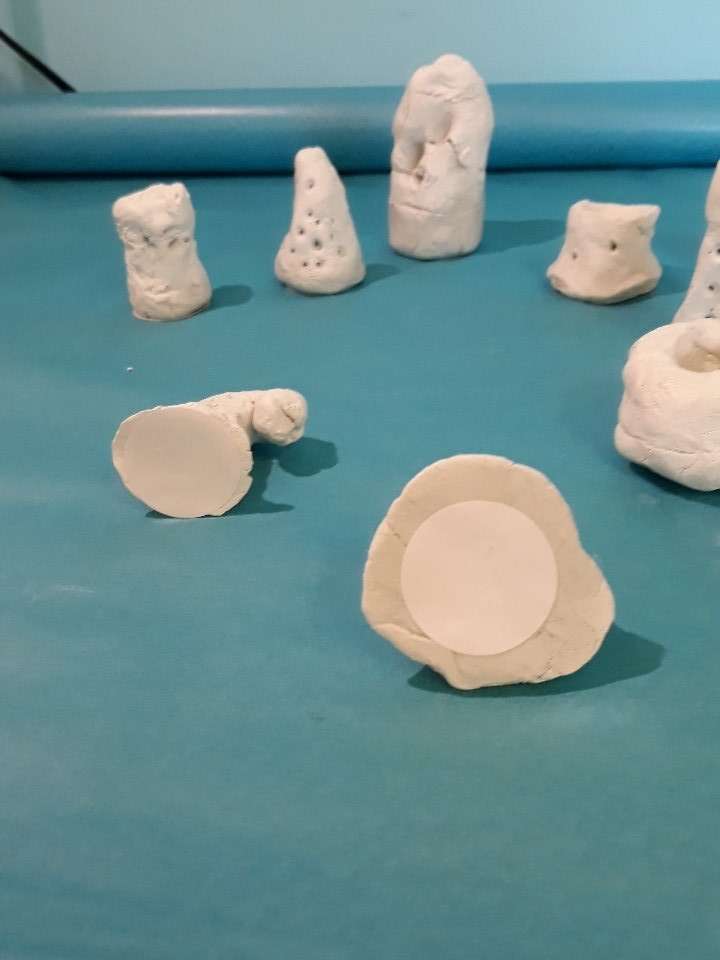
To make identification easier when students come to take photos or other media at the station, we thought of creating small sculptures — a kind of avatar — for each of them. Using NFC technology and tags stuck under these small personalized sculptures, students can be recognized by the interface simply by setting down the object.
So the students started by making their sculpture with air-dry modeling clay, the only constraint being that a round tag about 2 cm in diameter had to be stuck under each sculpture.
In the end, we have a beautiful series of sculptures representing the students, all different yet consistent with each other.

Tests with the students at the station
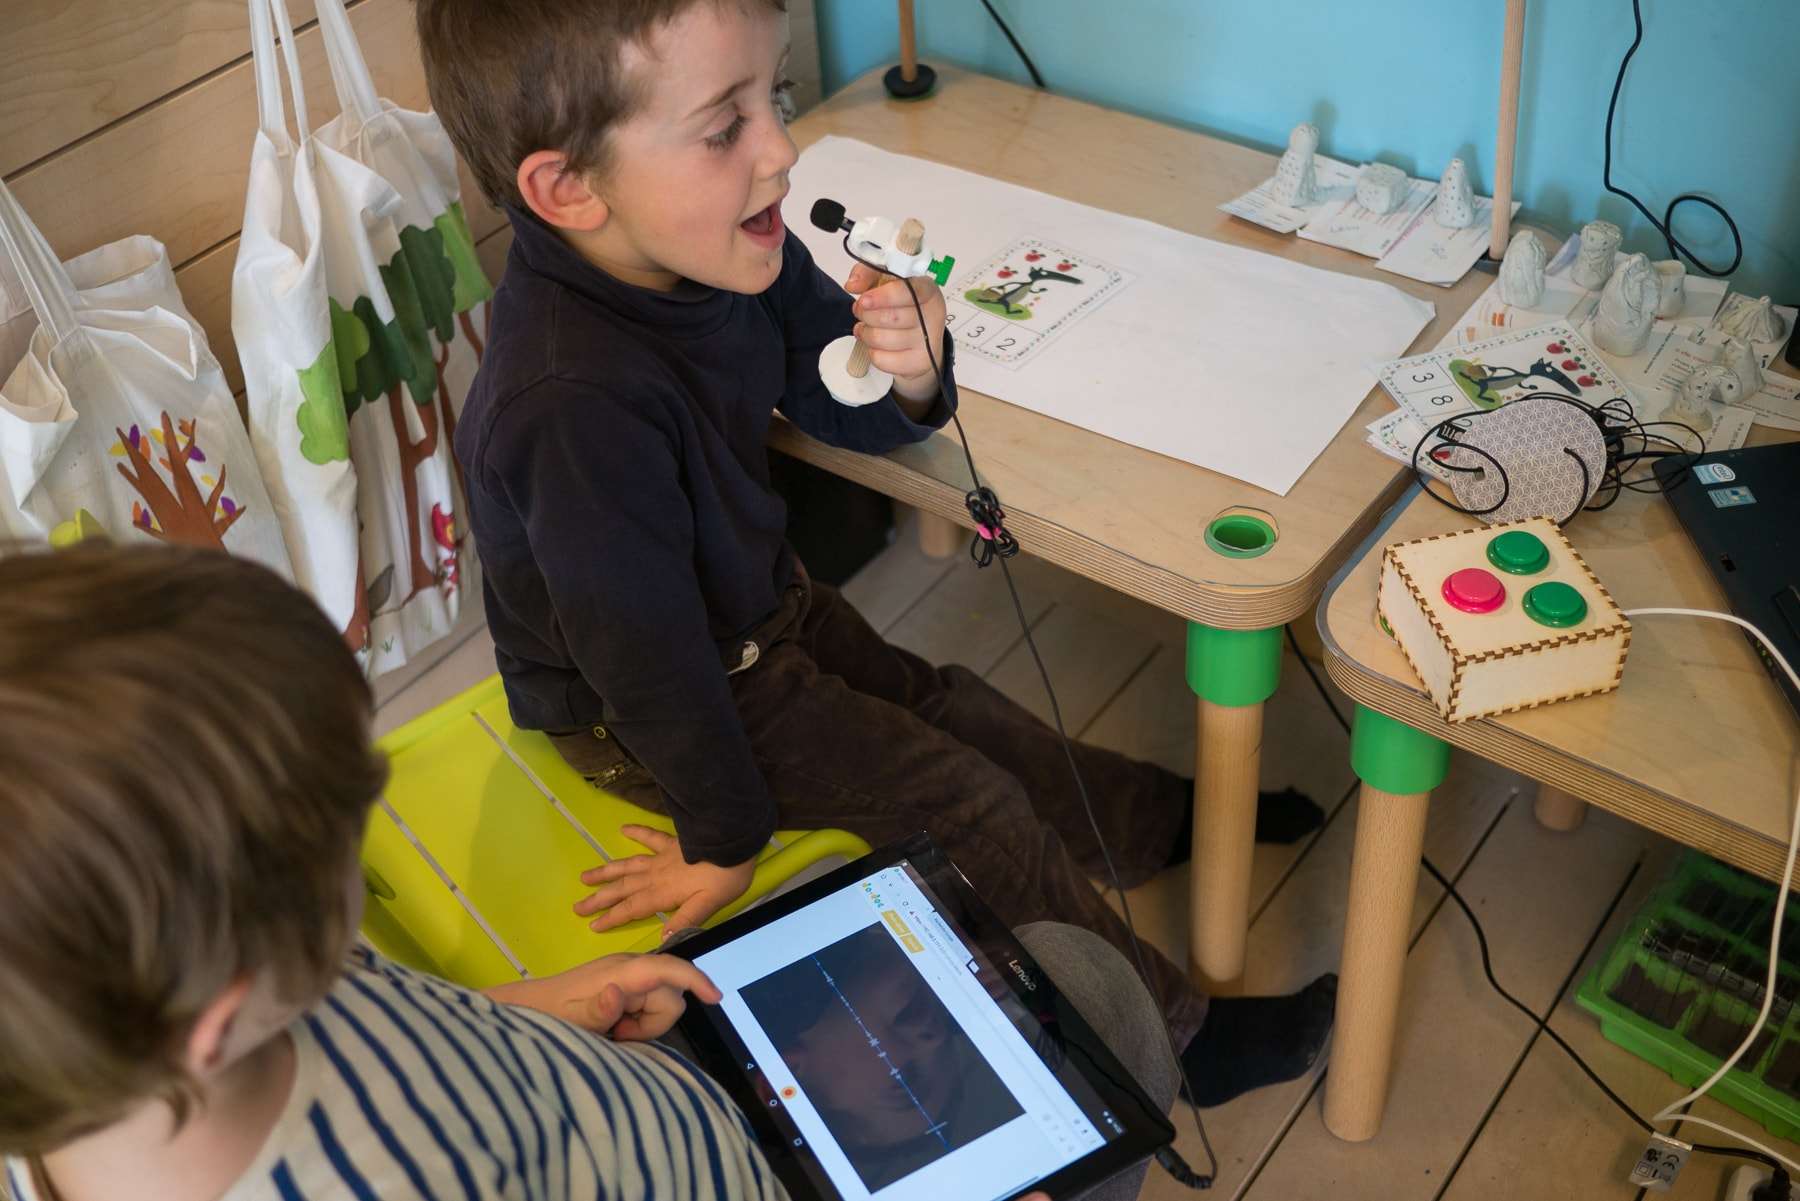
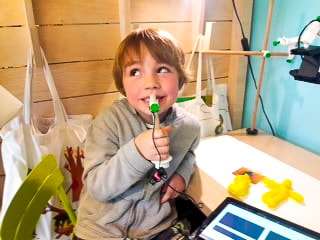
At the end of the day, we also invite a few groups of students to use do•doc at the station, in less guided activities. Audio recording seems to be very popular, thanks to the small microphone accessory and because the students enjoy hearing their voices and telling stories, bringing the objects at hand to life.

Friday April 13th
Finishing the station with the tag reader
The next morning, we finish wiring and coding the NFC reader, soldered to an Arduino. Here too, we decide to use the existing furniture and hide the reader in one of the green pots designed by matali crasset.

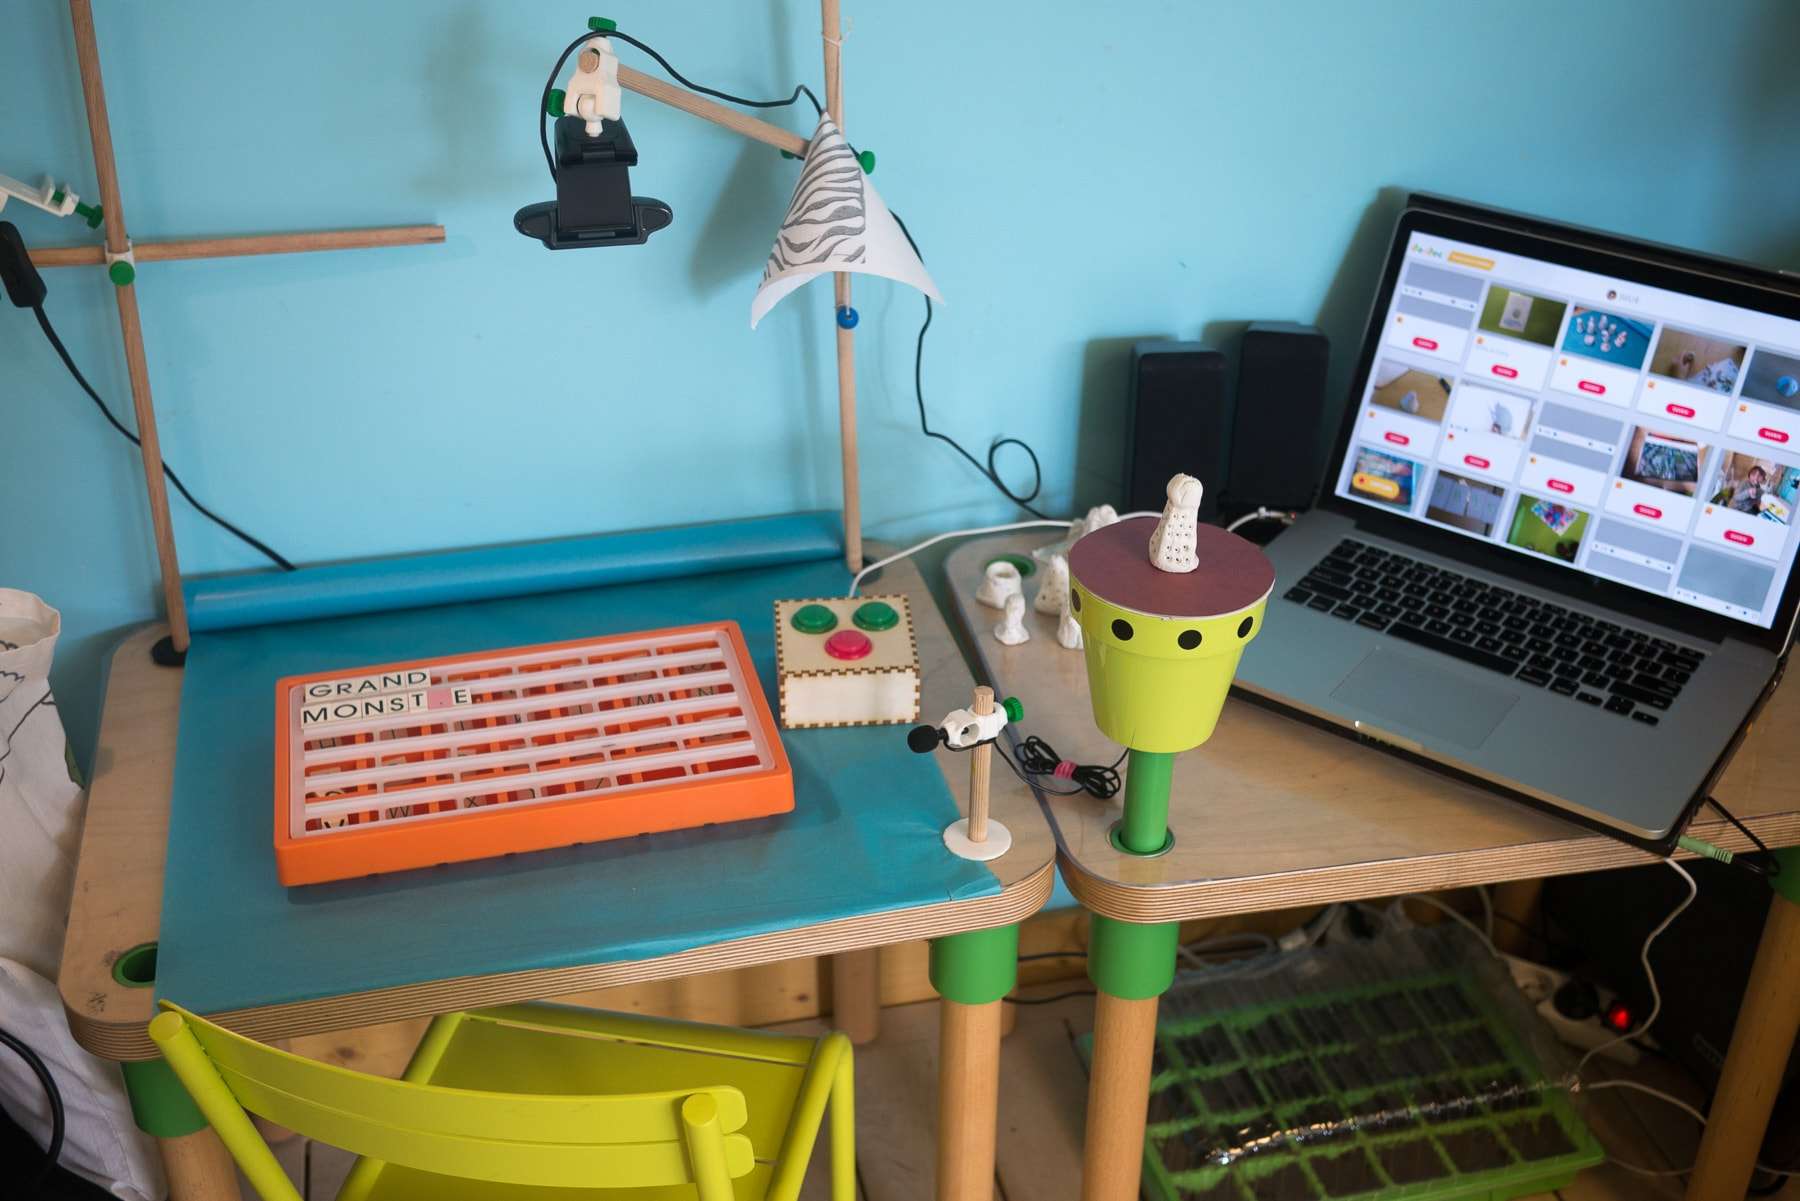
In the end, we will have to wait for another reader to be delivered to properly finish the setup, and Nolwenn and her students will be able to test it when school resumes in May (to be continued!).
Presenting do•doc to the other classes of the school
Finally, to end our residency, we visited the two other classes of the school to present both our tools and their specific adaptation for the Blé en Herbe school. We talked with the students and their teachers, Valérie and Yohan, to try to imagine what they might want to do with this kind of tool. Stop-motion is of course always a big hit, but other ideas came up, such as making reports or filming dance sessions. After this presentation, a group of students came to ask us precise questions about how to implement some of the ideas they had afterwards. Among them, the students’ great idea of triggering video recordings at certain times to collect data about school activities, and of collaborating with researchers based on this video data. They want to help better understand and improve the way we learn.
To be continued!...
Making Of
Overall: a great week! Many new features developed or in development, and lots of ideas for what comes next! Daily use in Nolwenn’s class will also help us see how all this continues over time.
Thanks to everyone -- and especially to the students -- for these wonderful shared moments.