Big Letters

Typeface creation and declination on multiple formats with first graders, in collaboration with a Fab Lab, the Carrefour Numérique2.

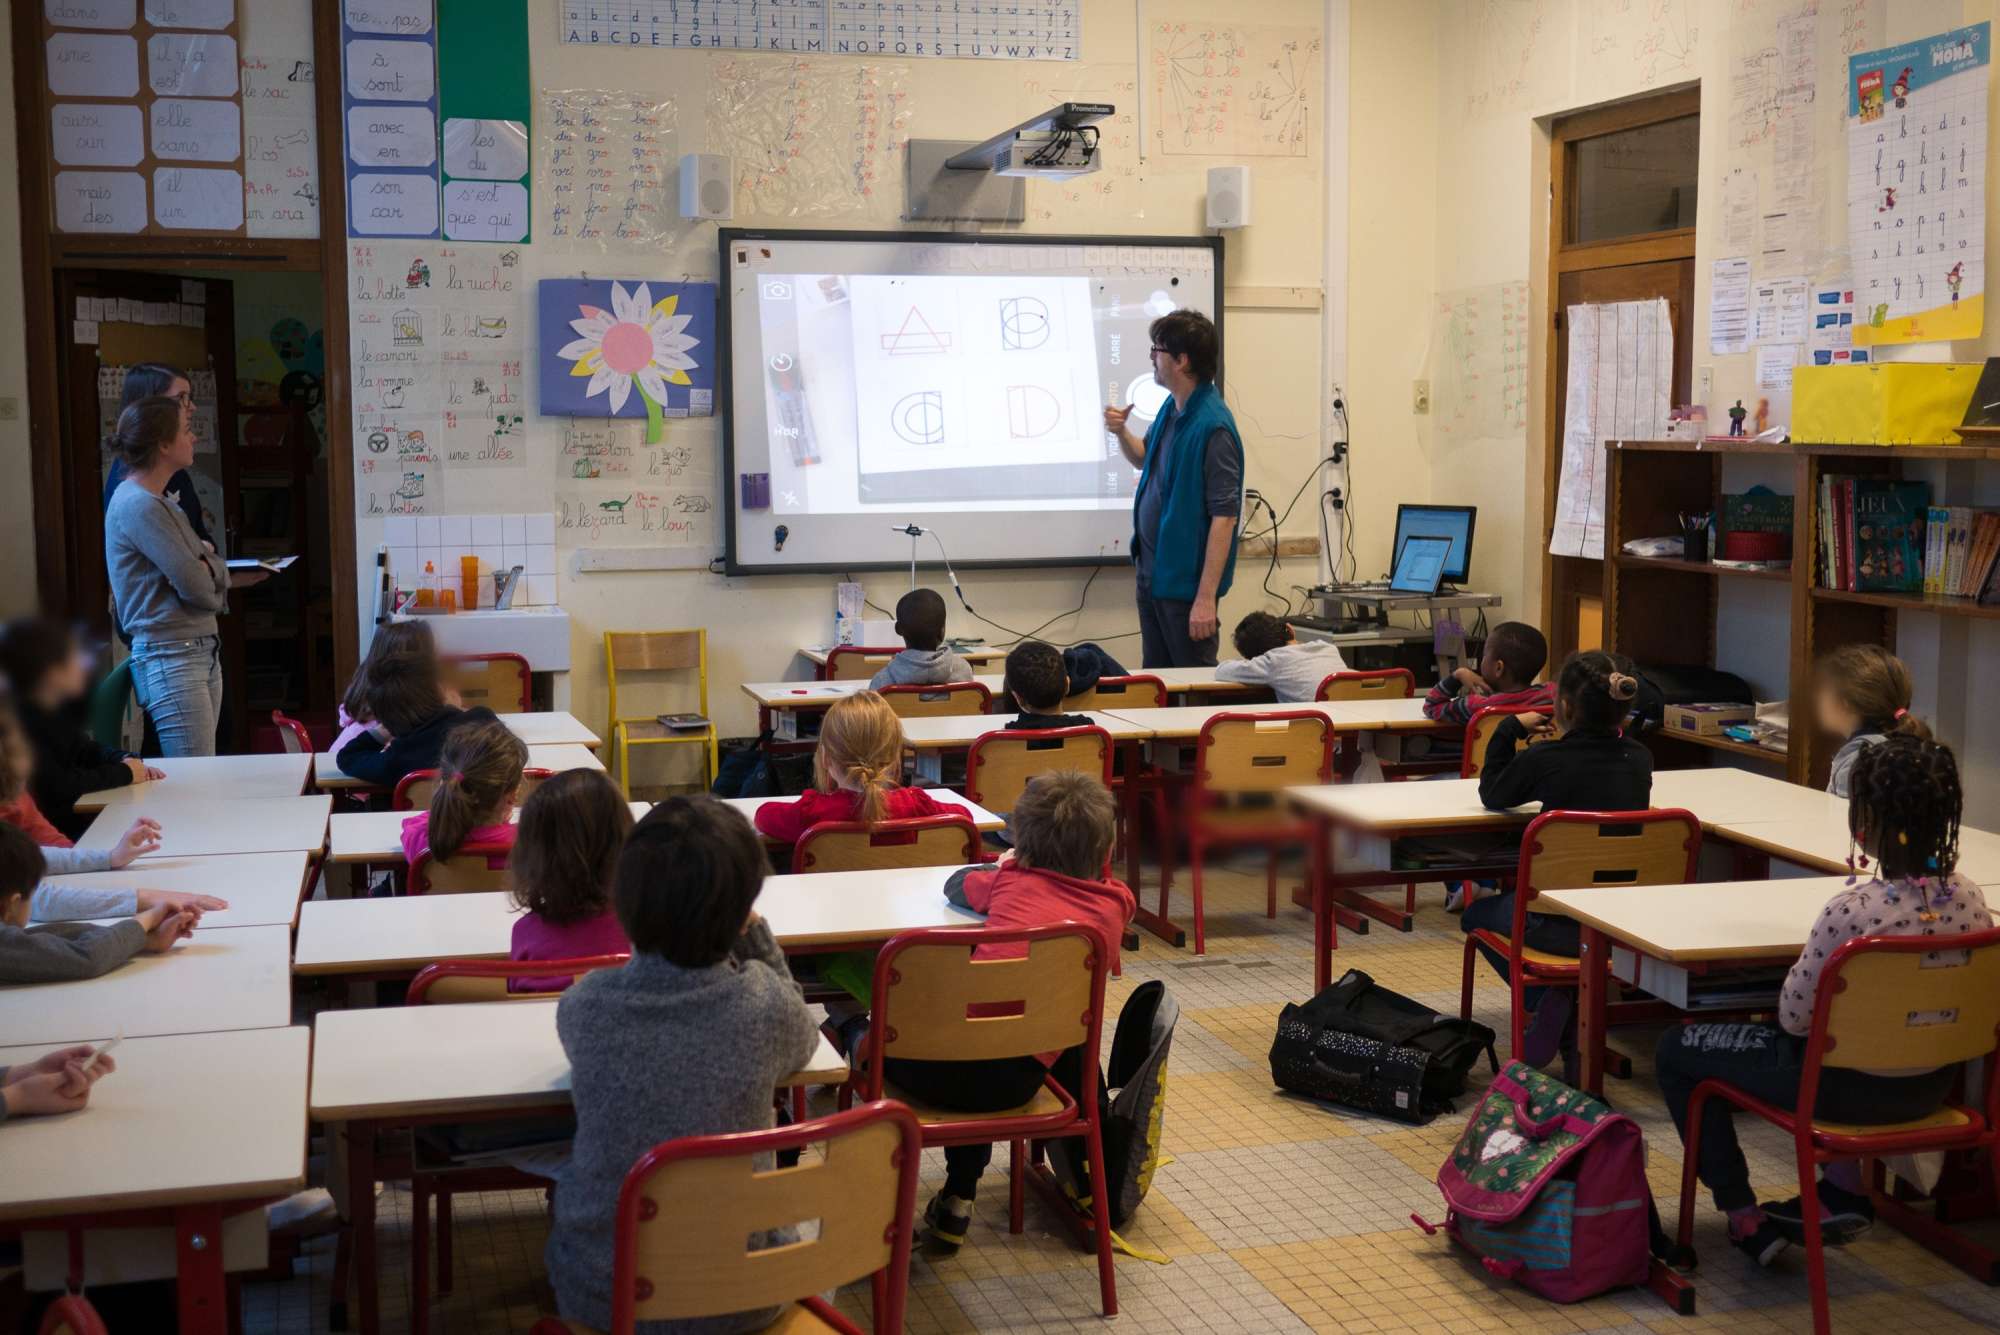
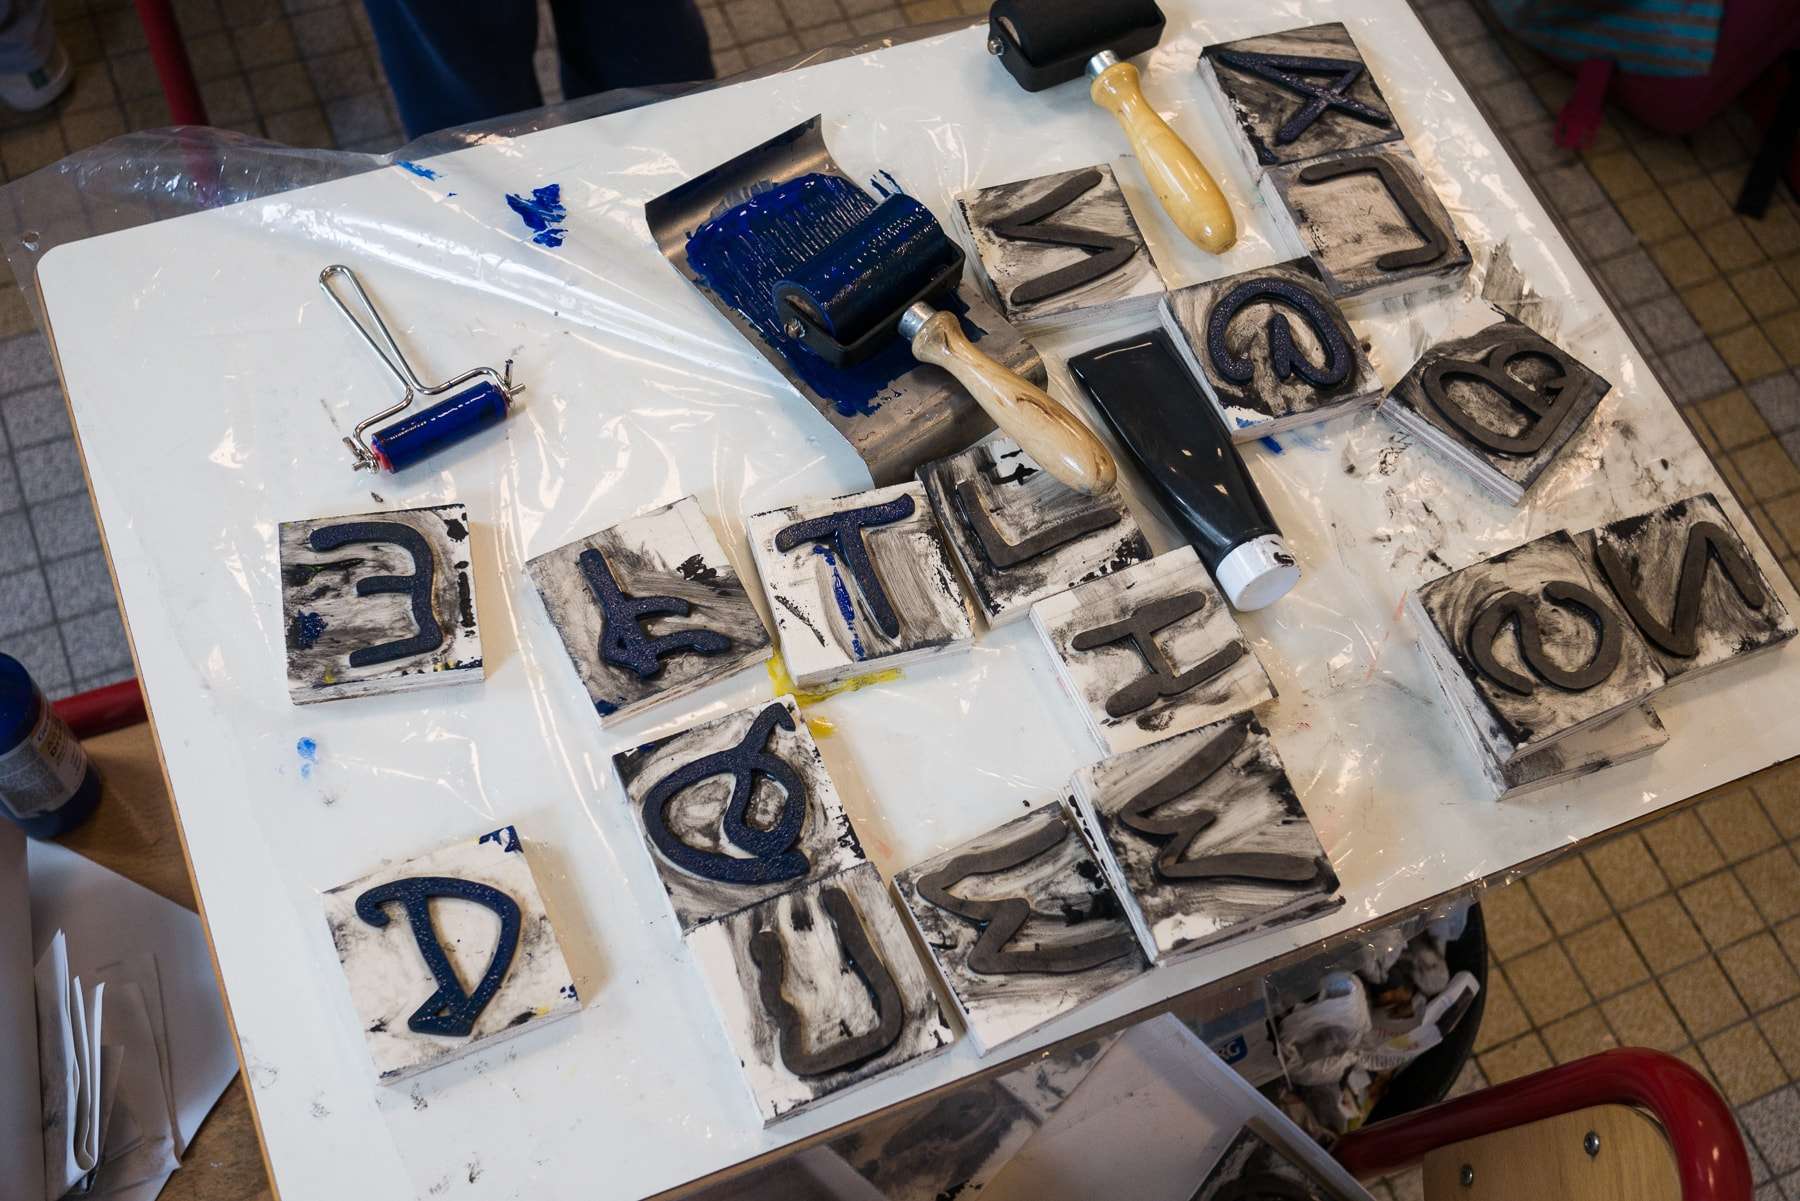
Series of workshops on typeface design, conducted with first graders. We used several tools that we developed along the design process ( do.doc and mobi•doc), as well as tools available in a Fablab (3D printers, laser-cutter and a plotter). The class ended up with big stamps and stickers to create posters and signs for their classroom.
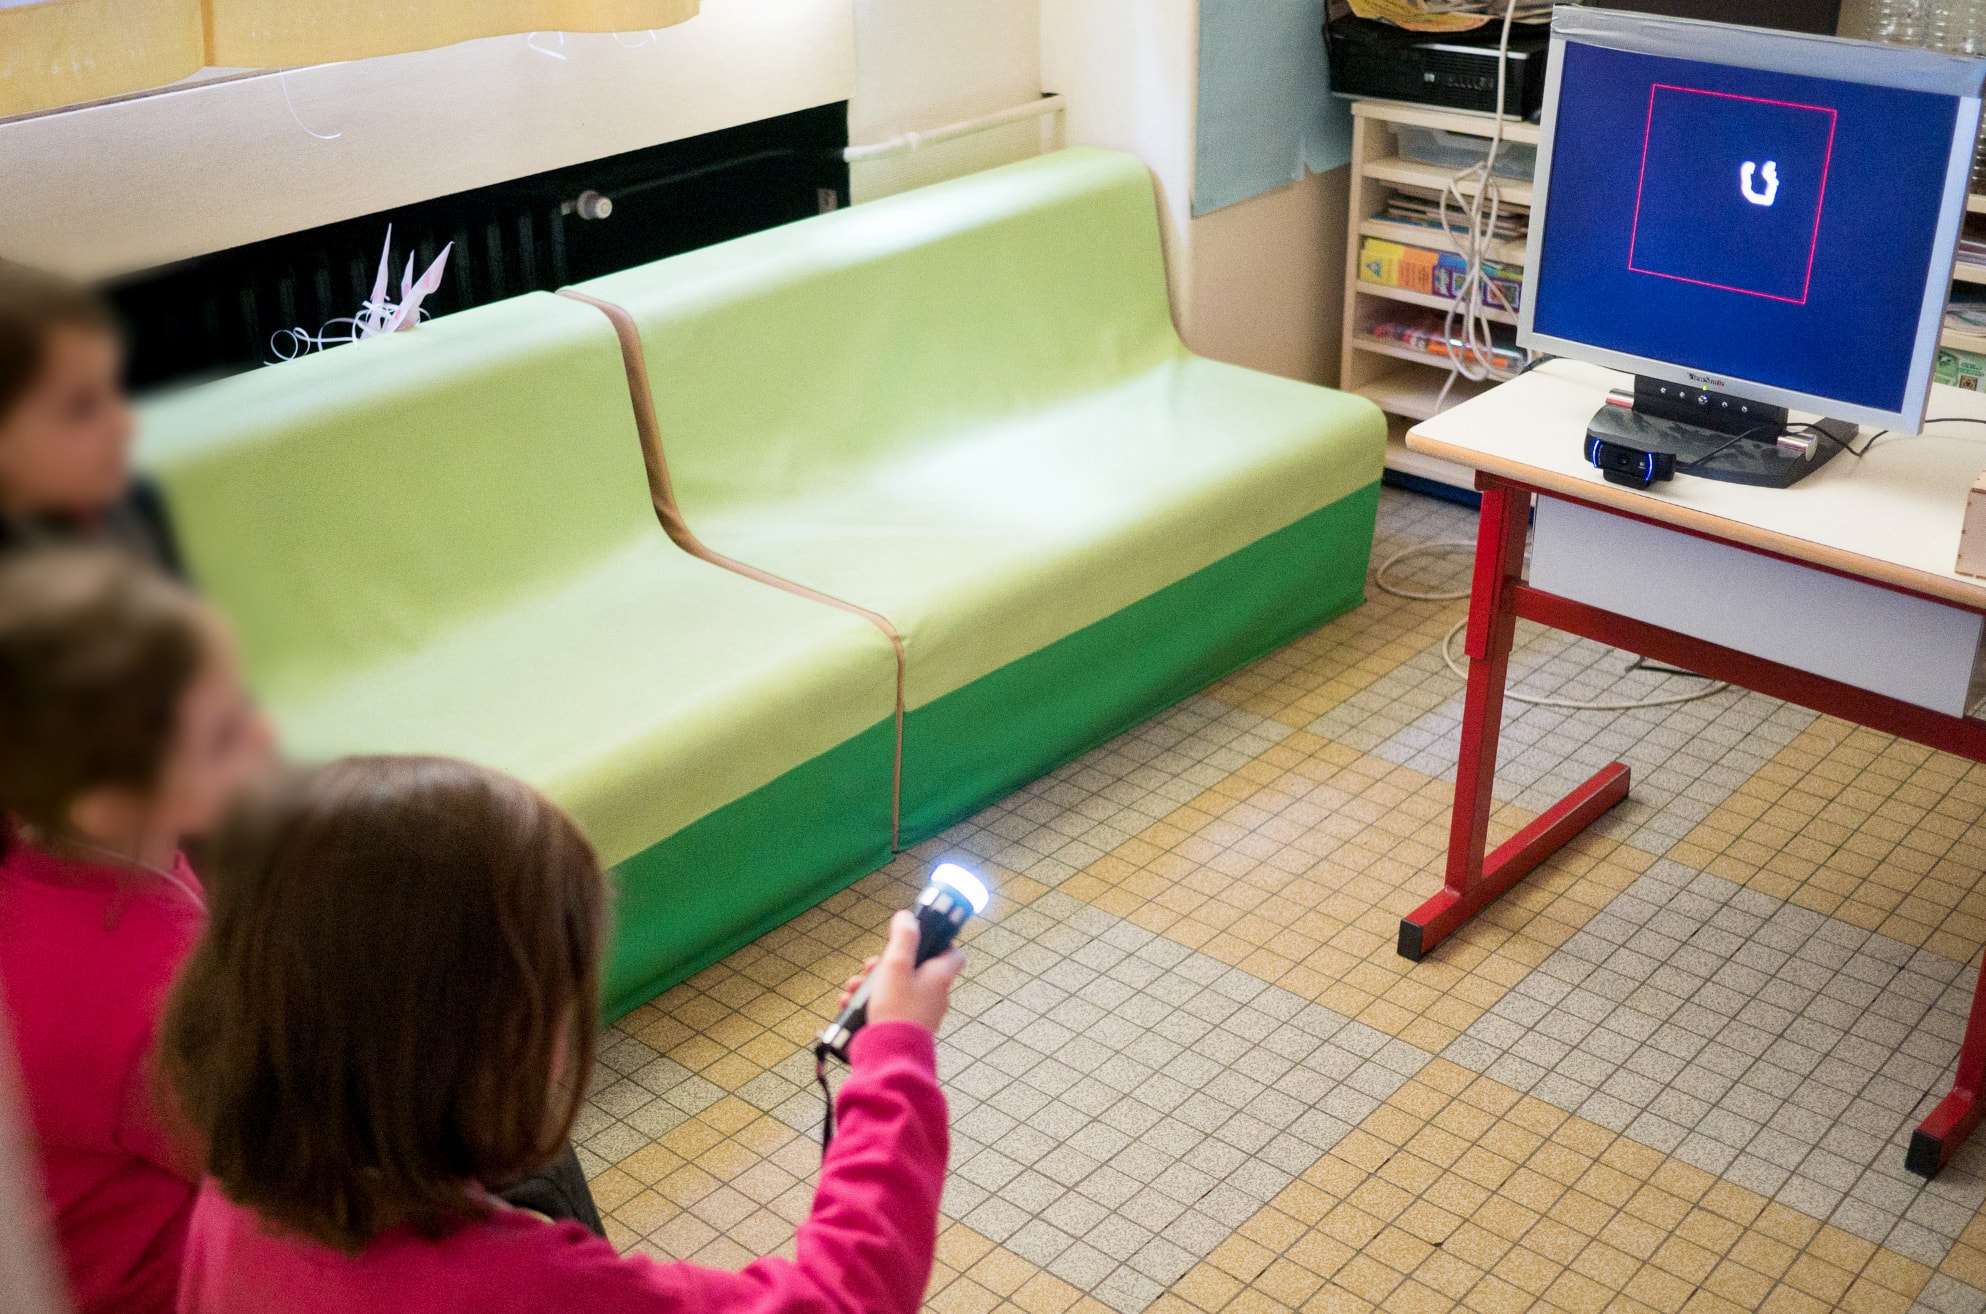
Before going to the fablab to make physical letters, the pupils worked on the design of their font using a gesture interface that we developed for the occasion. Facing a screen, they used a torch to trace letters in the air, and reproduce their gesture until they were happy with the results.
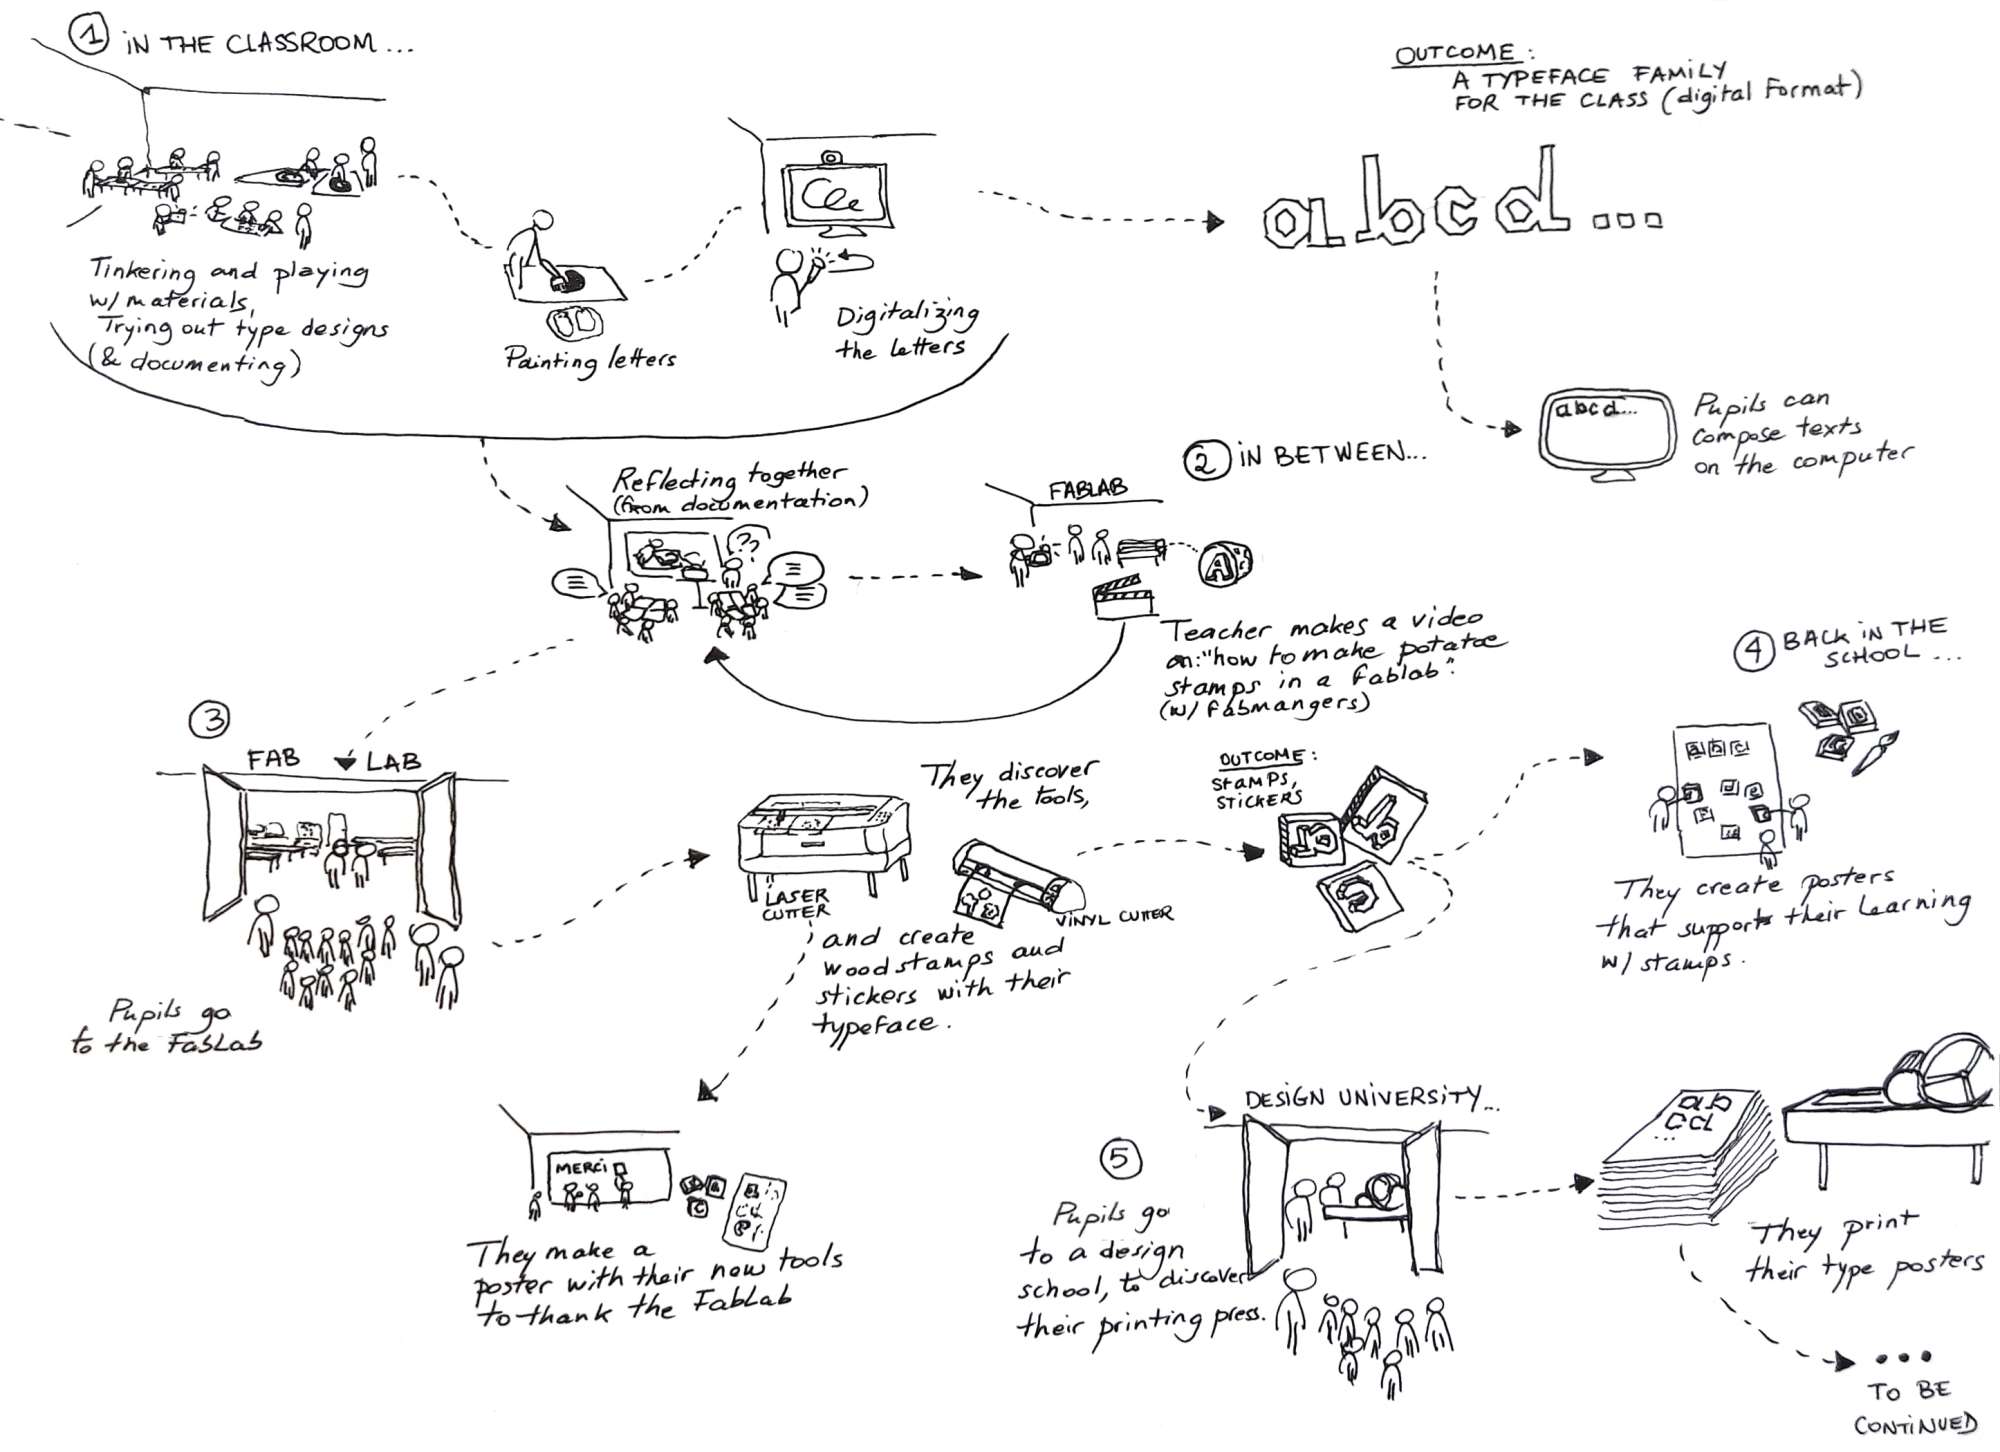
Diagram of the design process — zoom.

Workshop conducted by l’Atelier des Chercheurs in collaboration with :

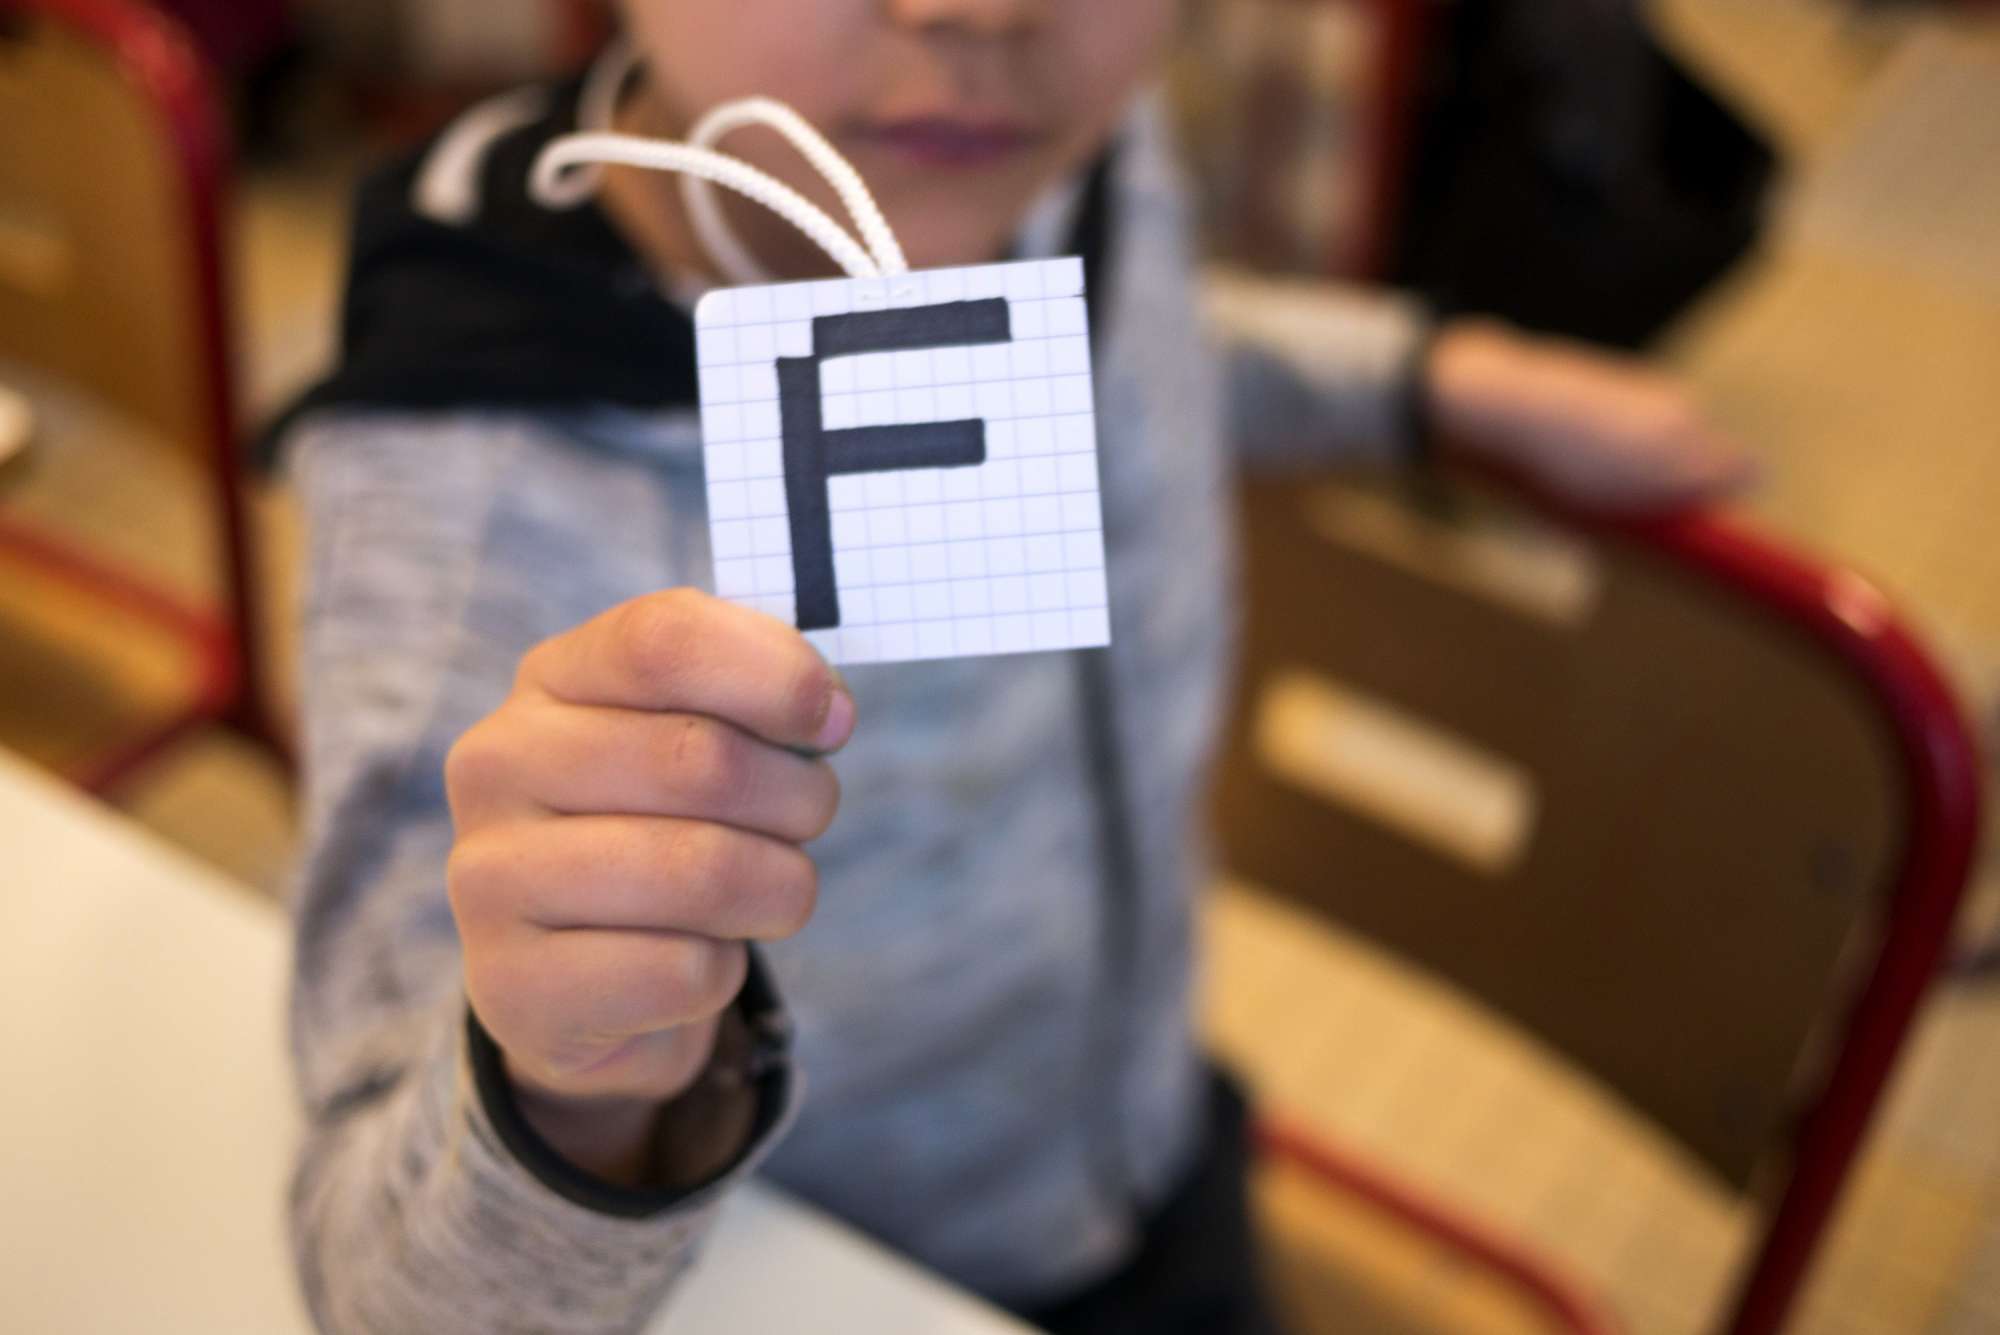
The badges used to assign the letters to the children.
Introduction to typography and key notions: serifs, modules, ductus and classification.
Assigning the letters to the children.
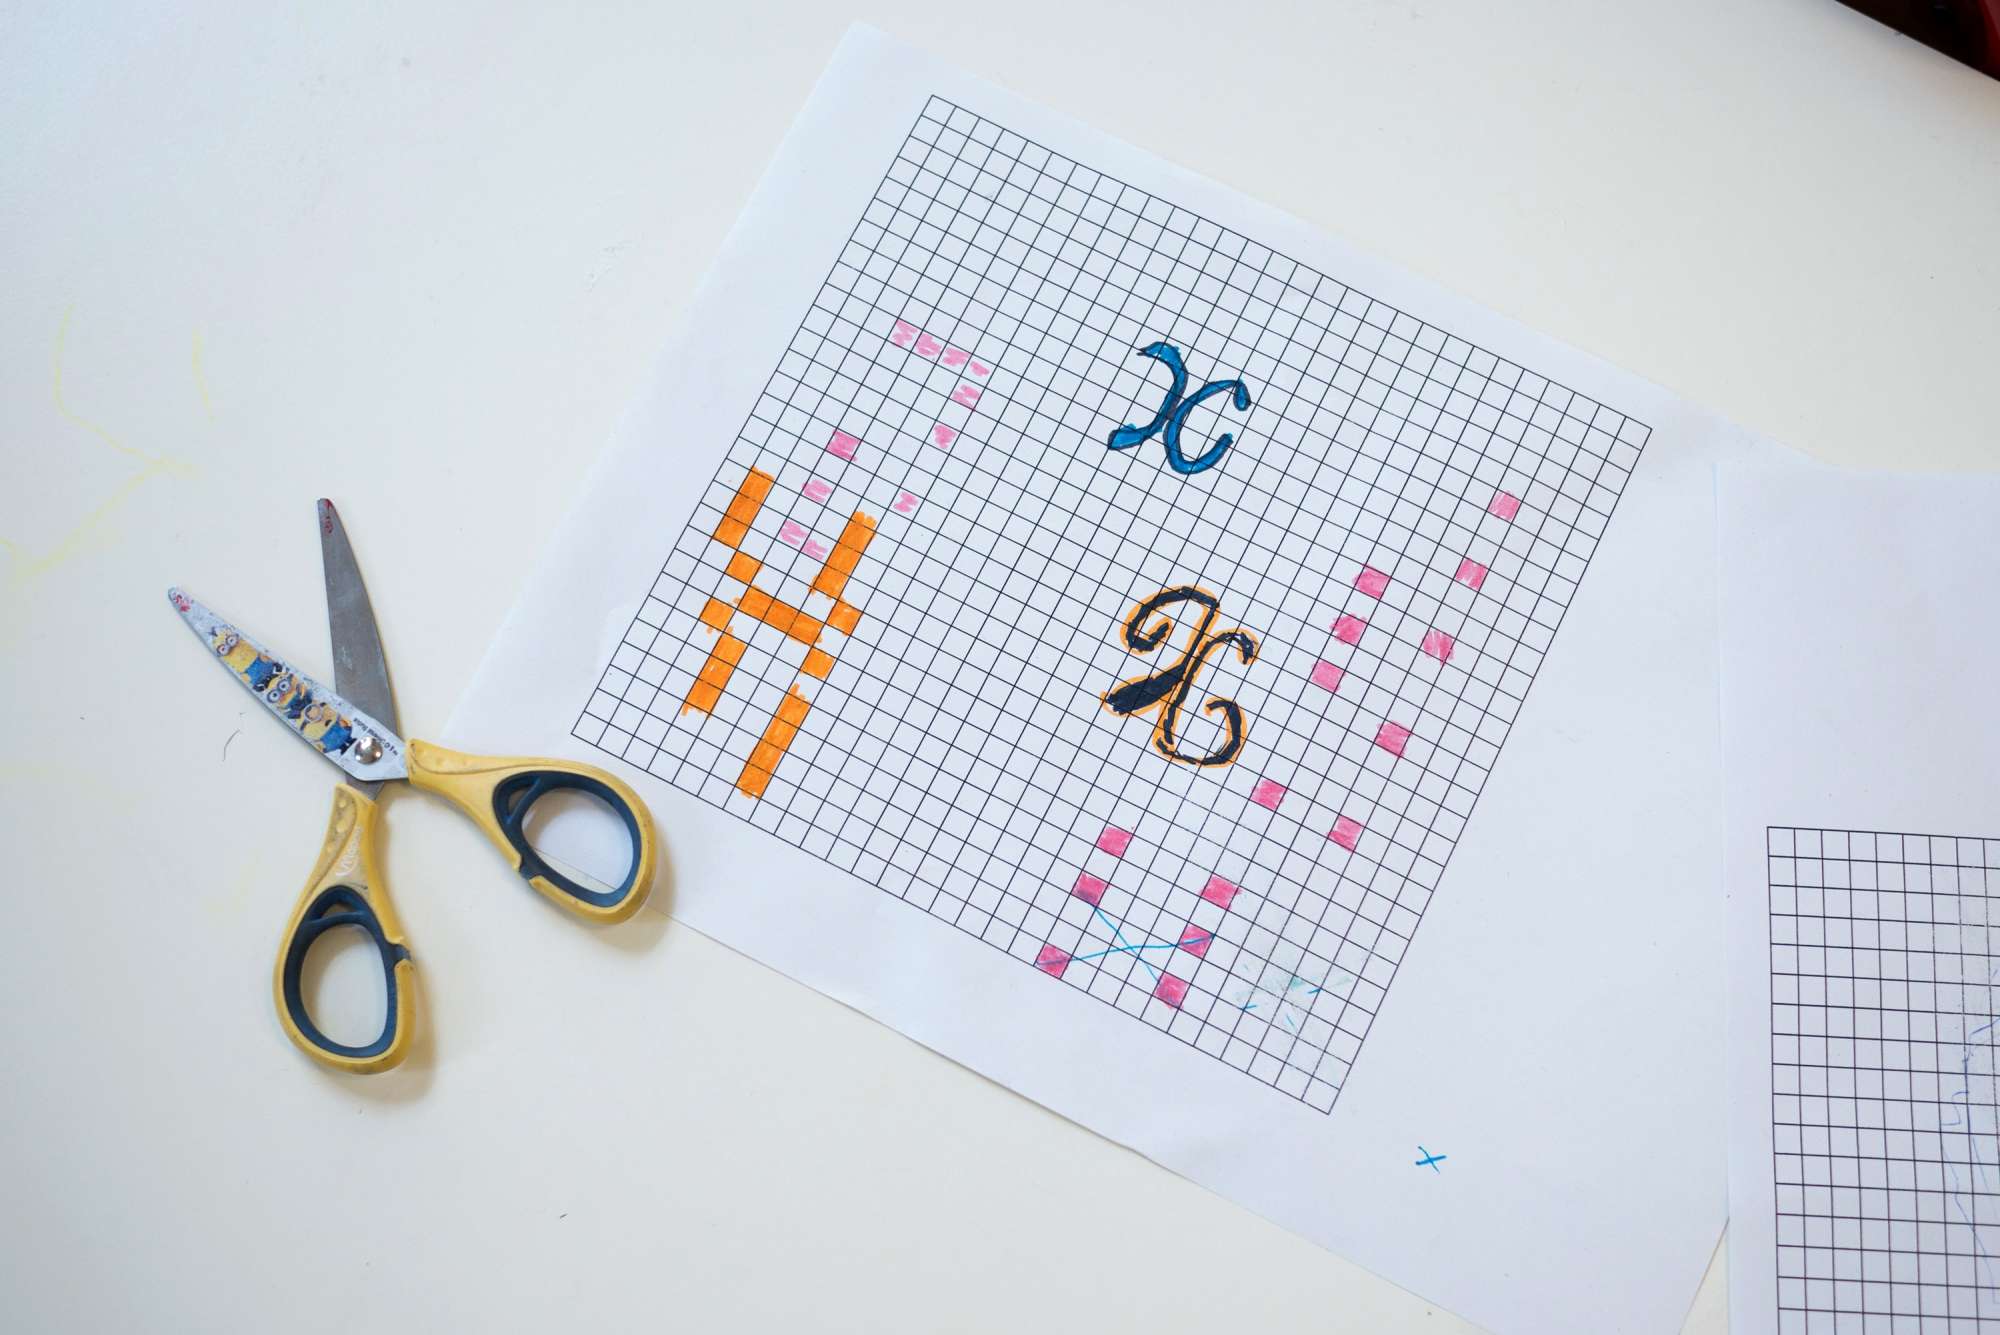
The grid and changes of scale make it possible to explore more expressive and personal variations.
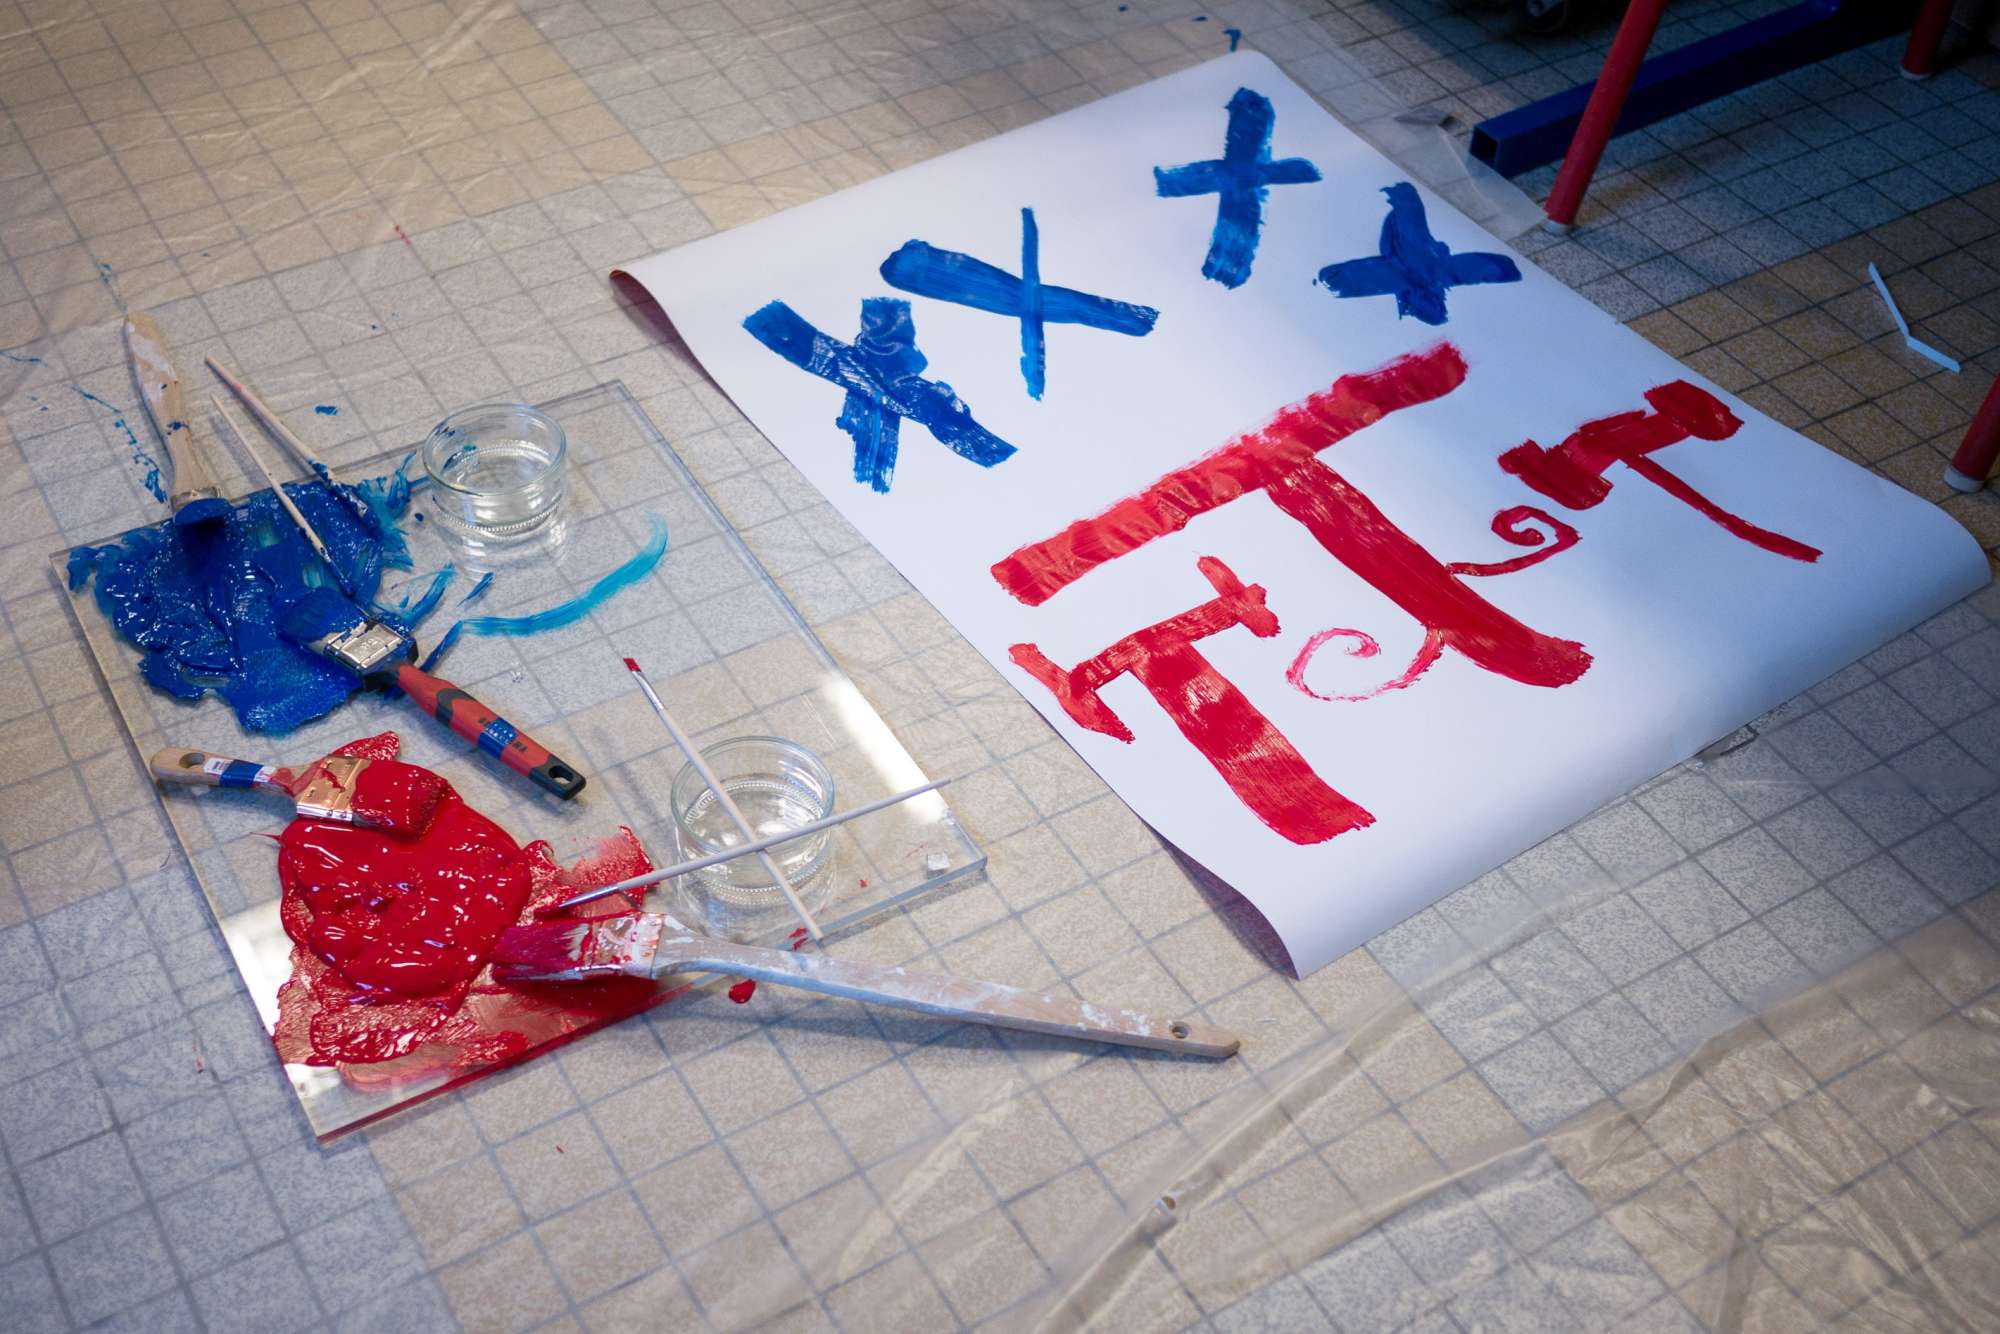
Painting standing up. Here, the arm does the work instead of the wrist. Discovering other ways of drawing letters and the importance of the ductus.
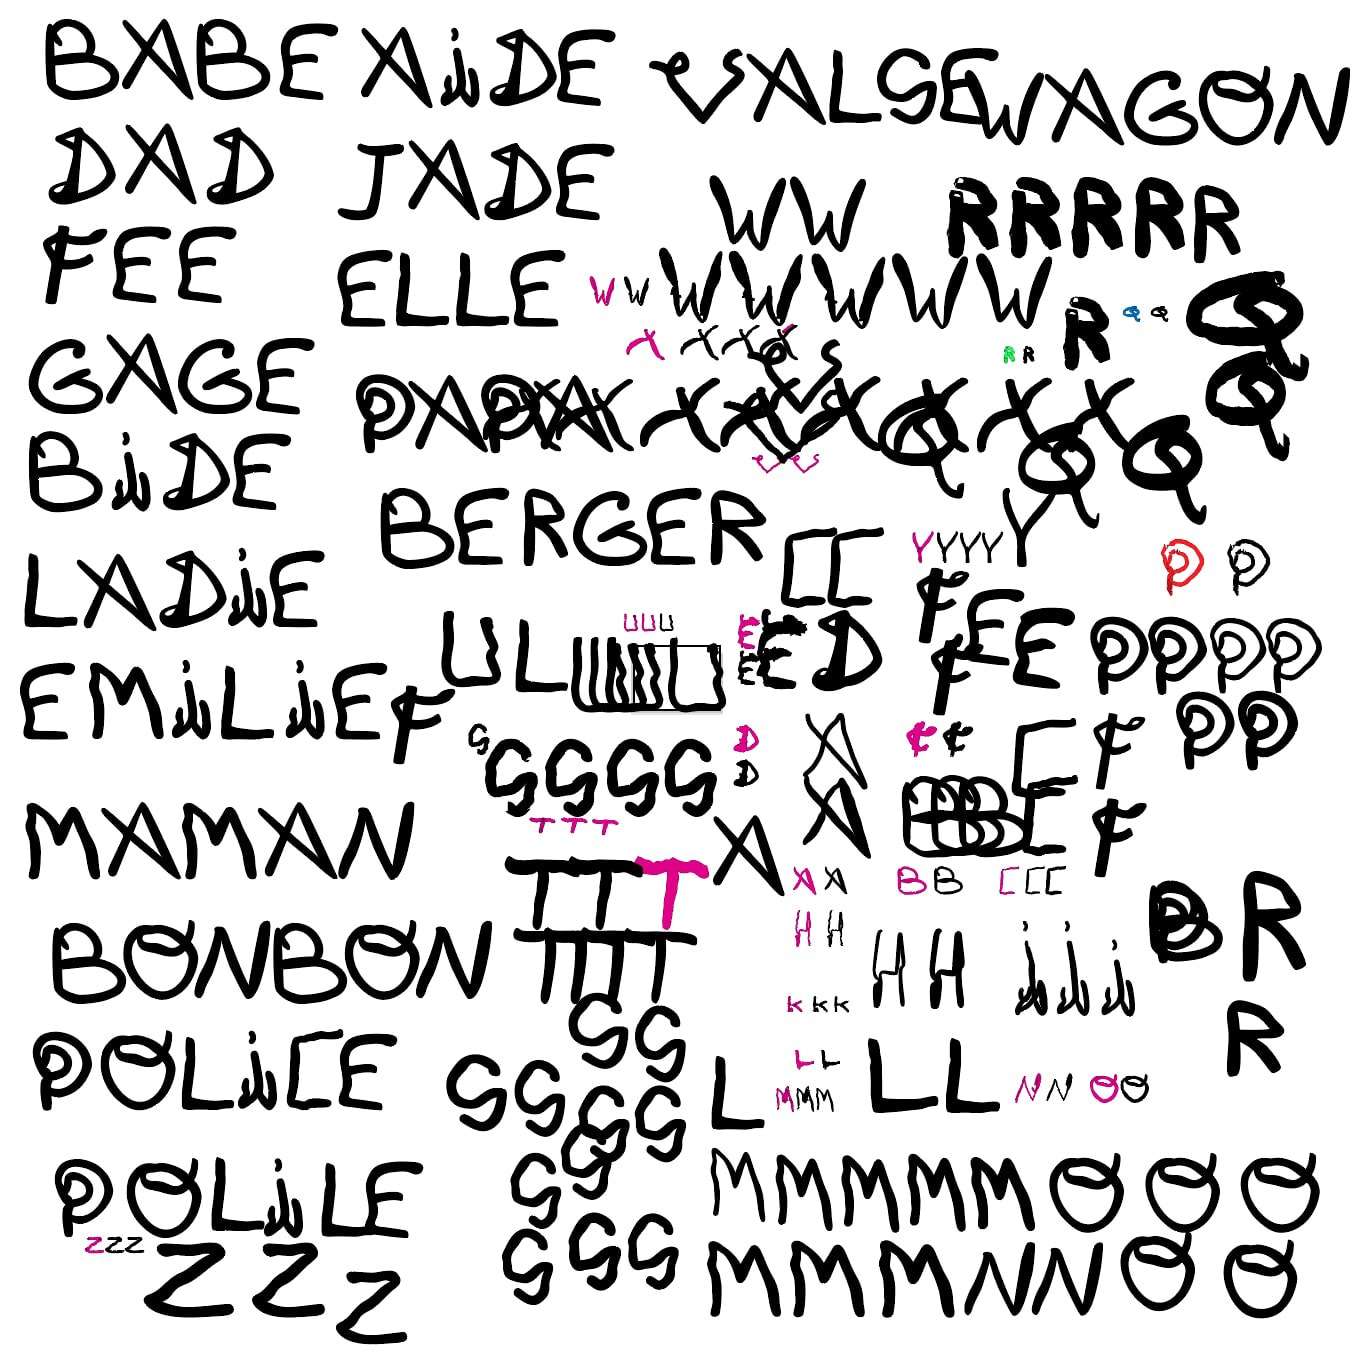
Some of the children’s work.
Drawing with light. With a flashlight, a webcam and a program made for the occasion, the children can try a form of light painting to draw their letters in the air.
From the original flashlight drawing of each letter, the team produced a new reworked shape to smooth out mistakes and prepare the next step: laser cutting the shapes in wood.
Research sheet while preparing the letter drawings.
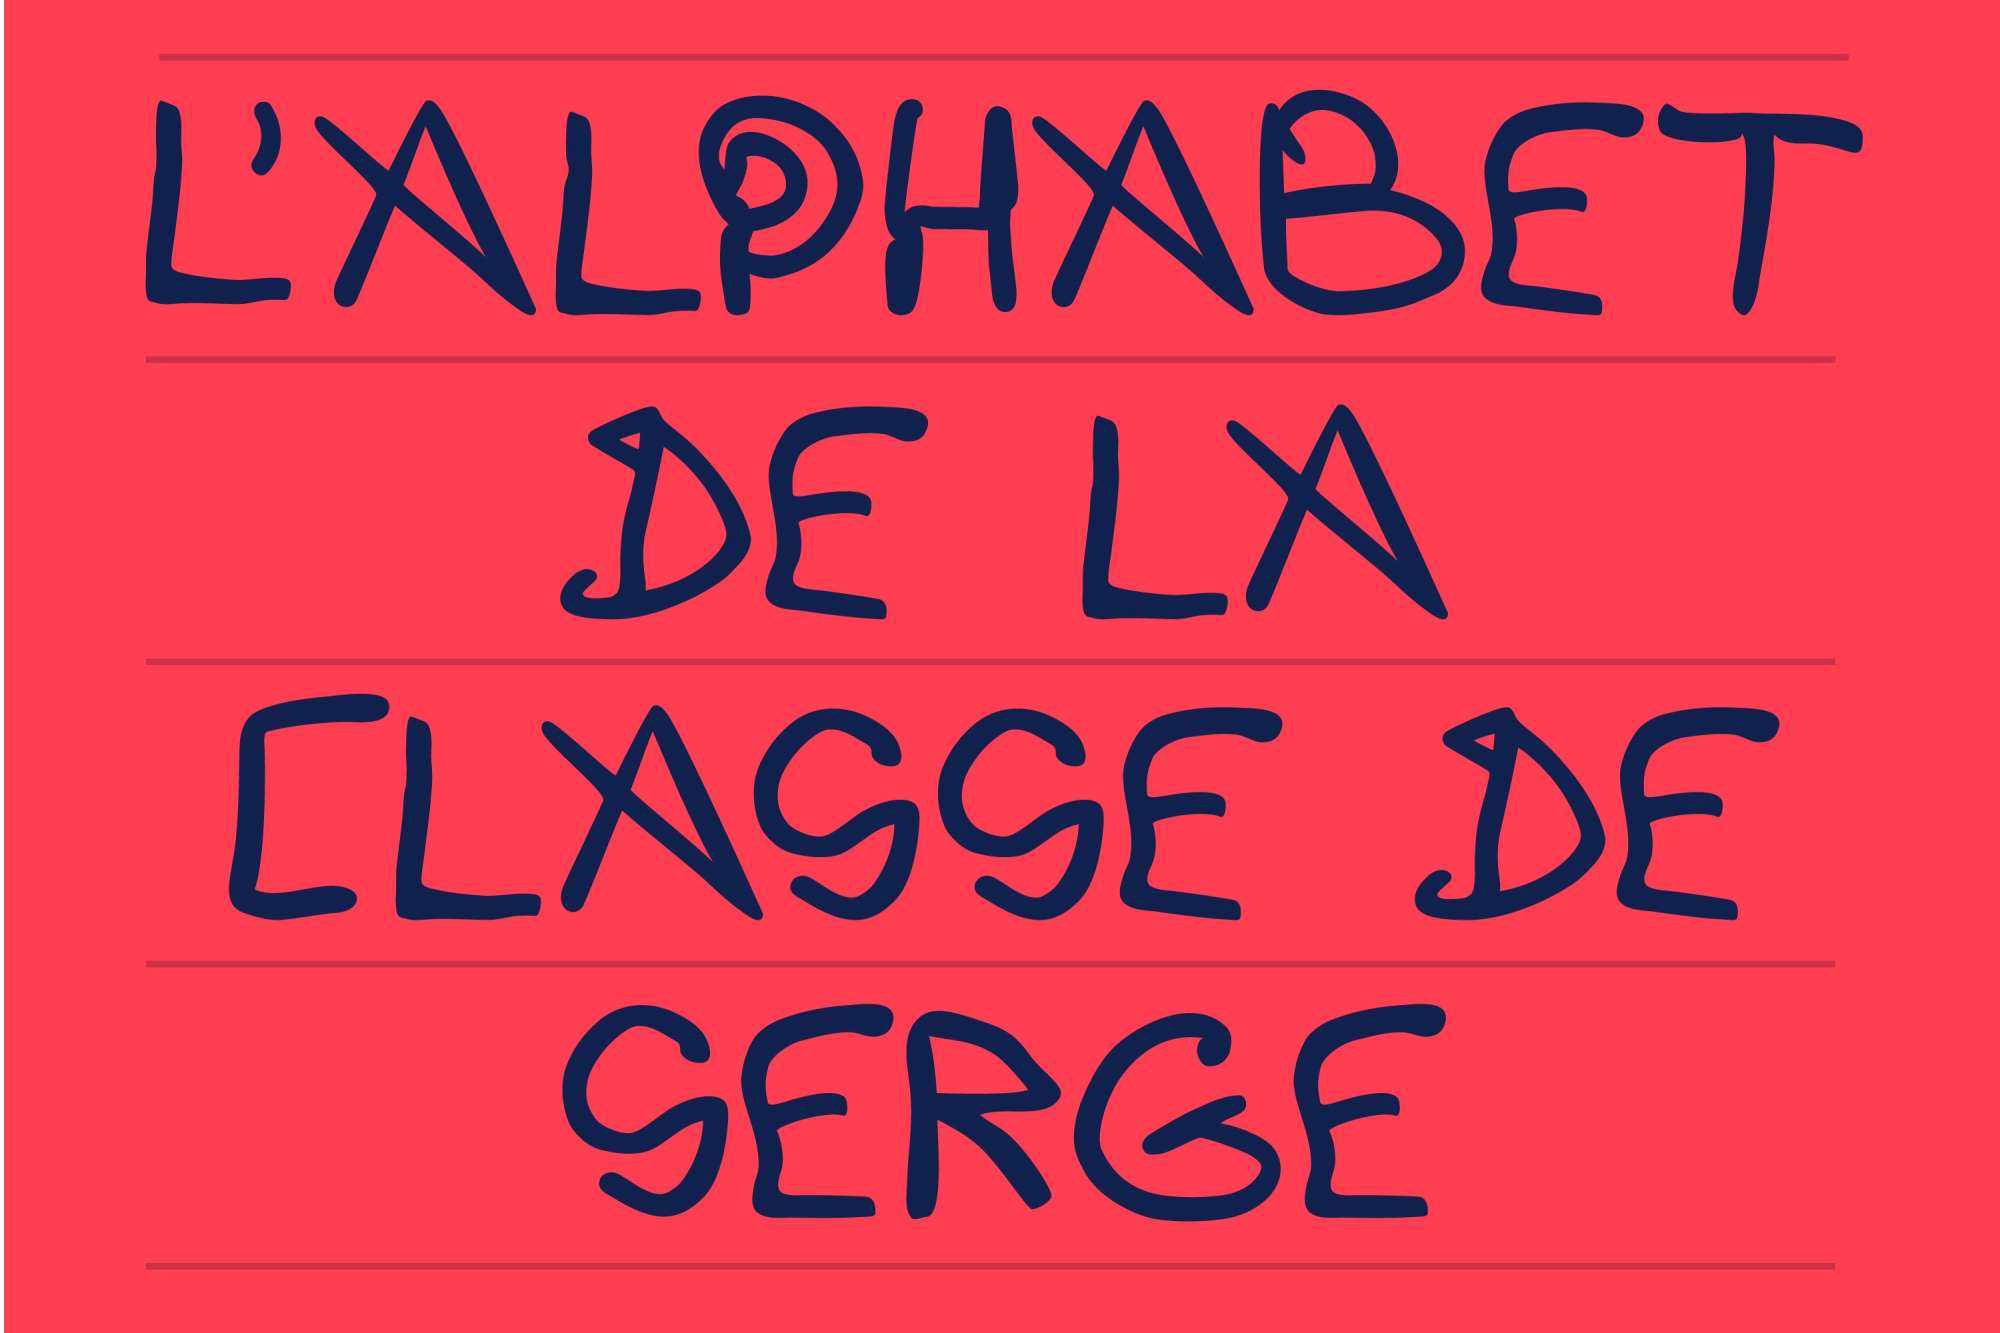
The class alphabet, cleaned up and assembled.
Second phase: visiting and using the Fab Lab. The children made a report about this day, supervised by Balla Fofana, journalist at the daily newspaper Libération. In the photo, Thierry Dassé …
Second phase: visiting and using the Fab Lab. The children made a report about this day, supervised by Balla Fofana, journalist at the daily newspaper Libération. In the photo, Thierry Dassé from the Fab Lab shows letters laser-cut into potatoes.
At the Fab Lab, Thierry Dassé and Hélène Malcuit present the laser cutter. The machine cuts out the letters drawn by the children in the previous workshop.
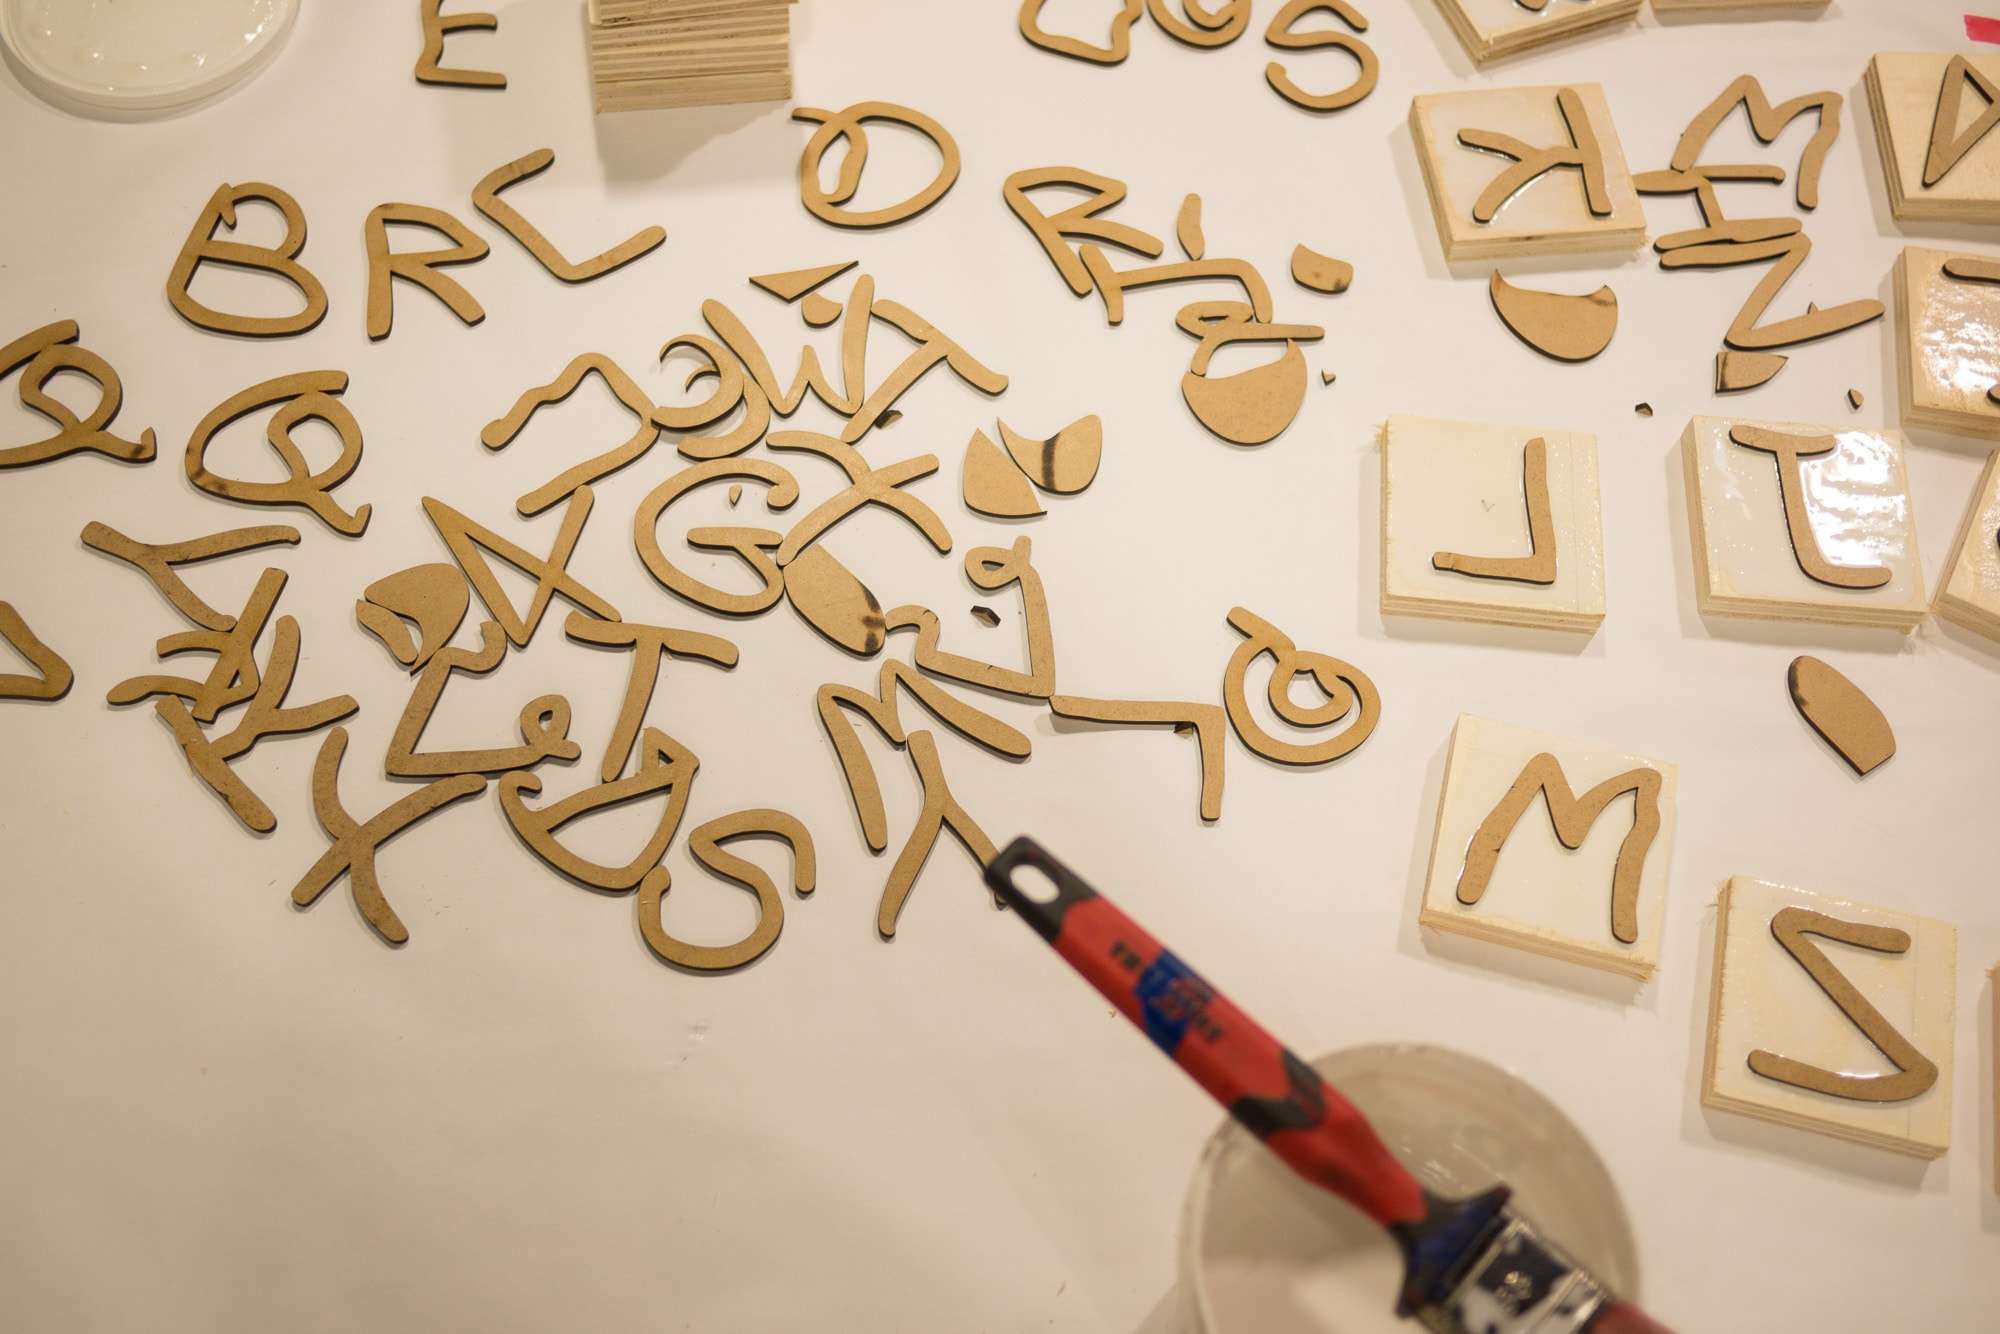
All the laser-cut shapes. 10×10cm wooden squares are then coated with wood glue and the shapes are glued on them upside down to make stamps.
Stamps drying.
Stamps drying.
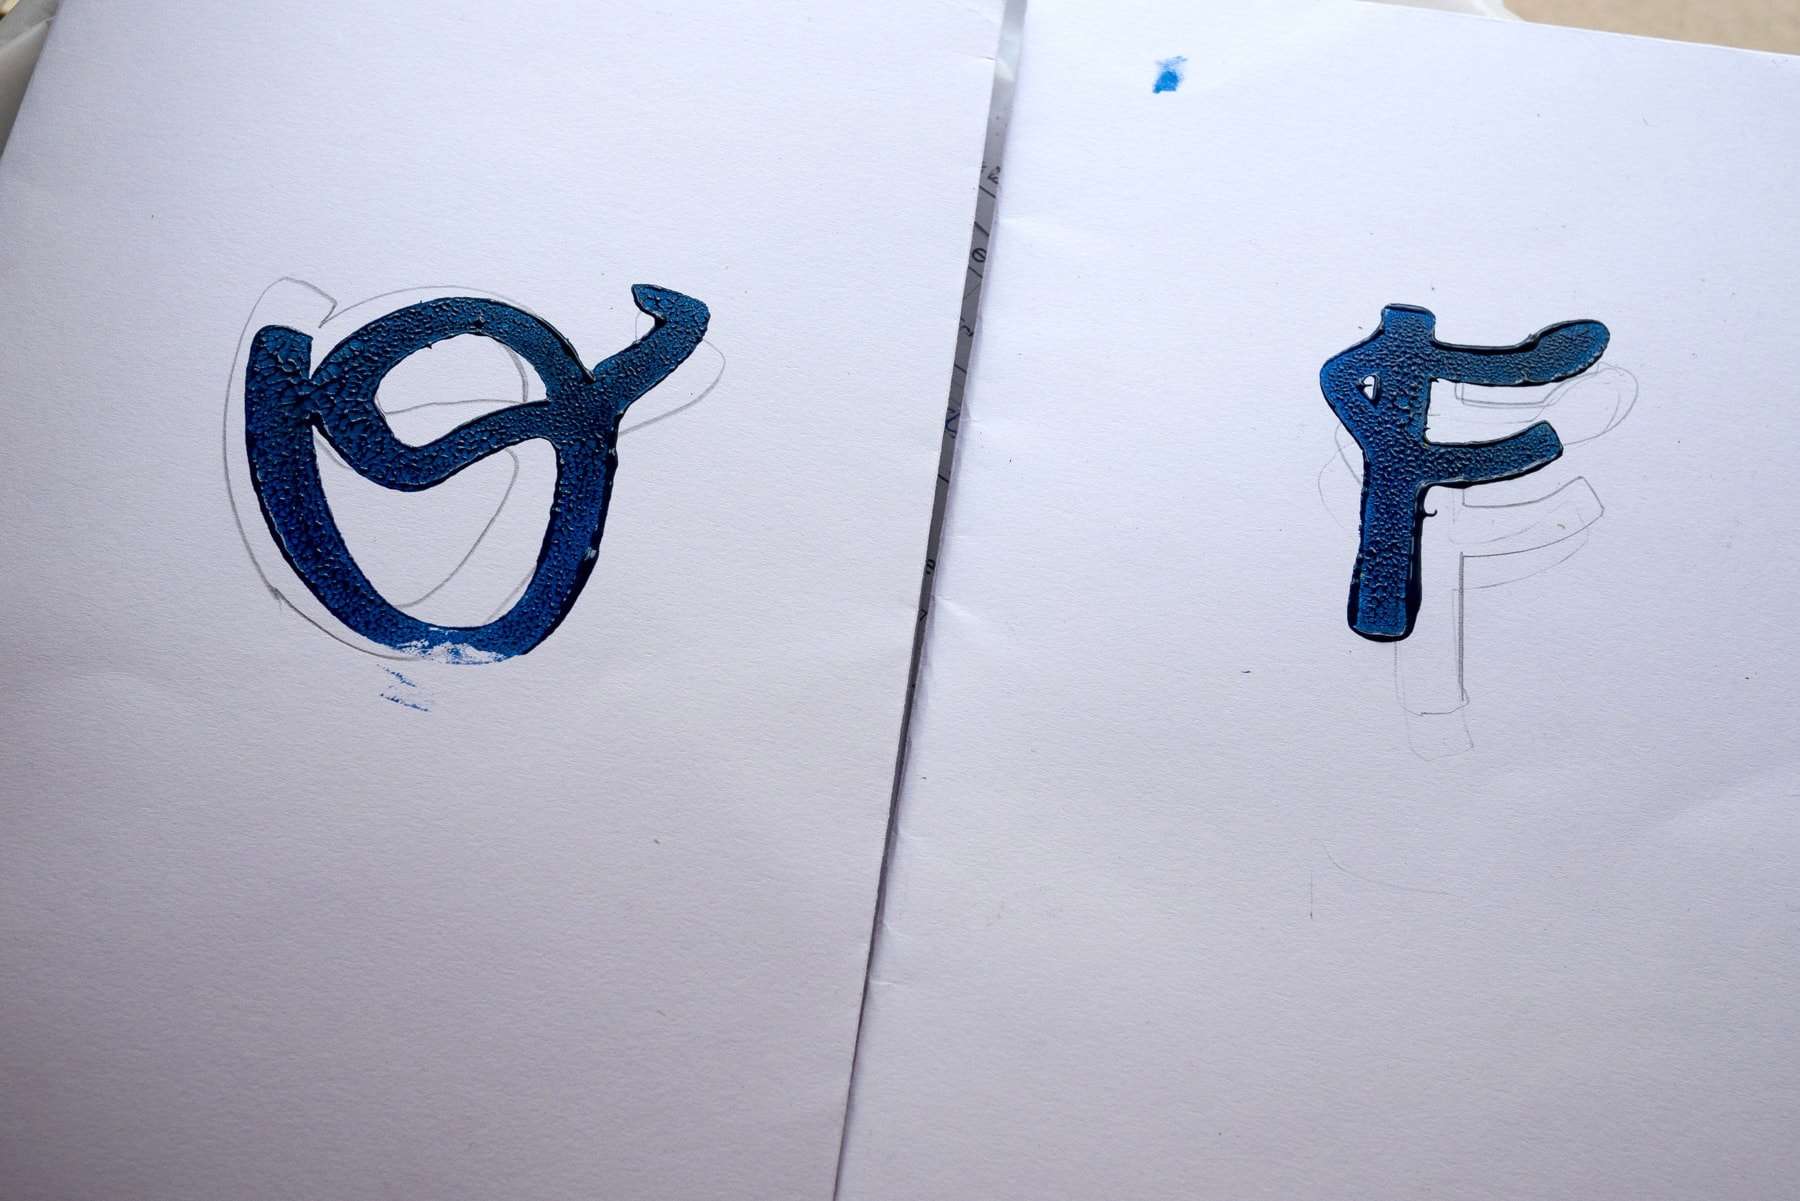
Third phase: using the stamps in class to make printed materials. Here, with ink and linocut rollers.
A few prints made by the children.
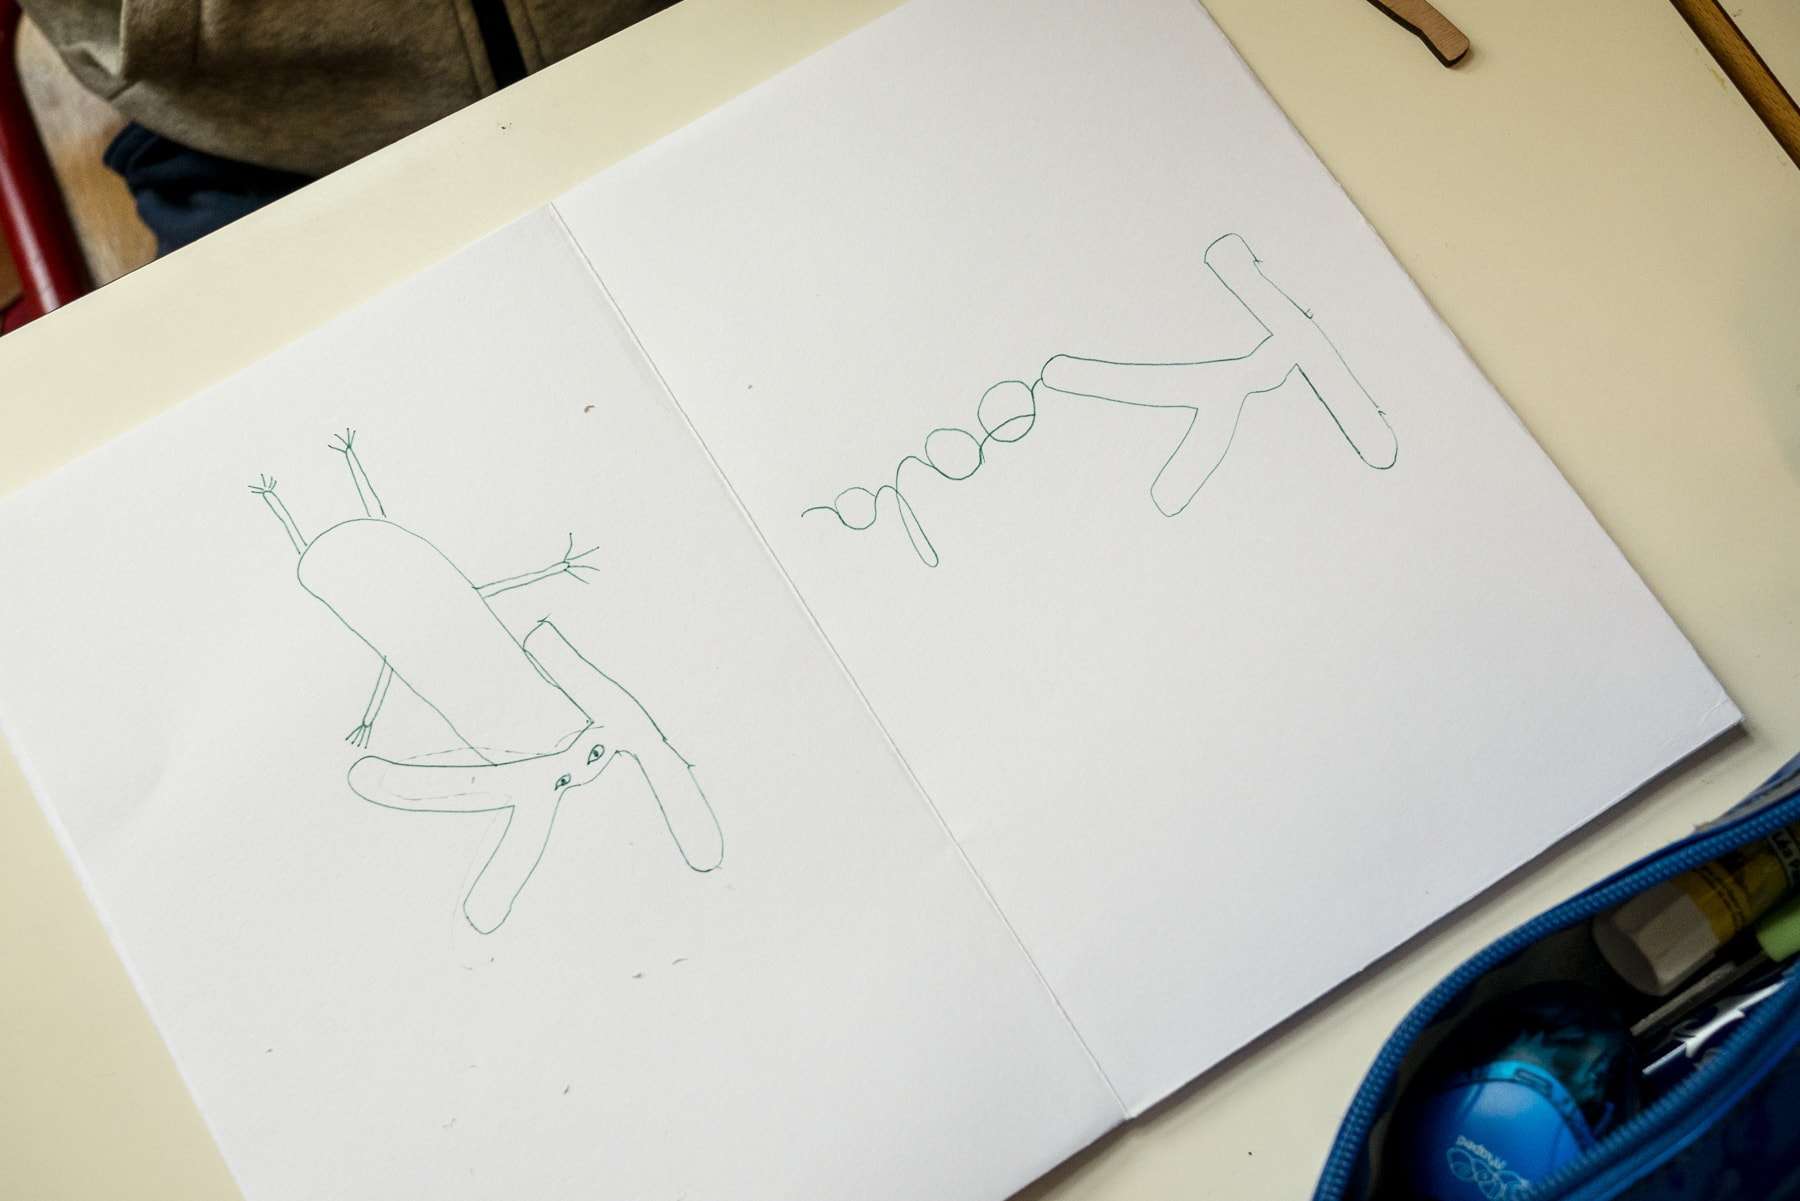
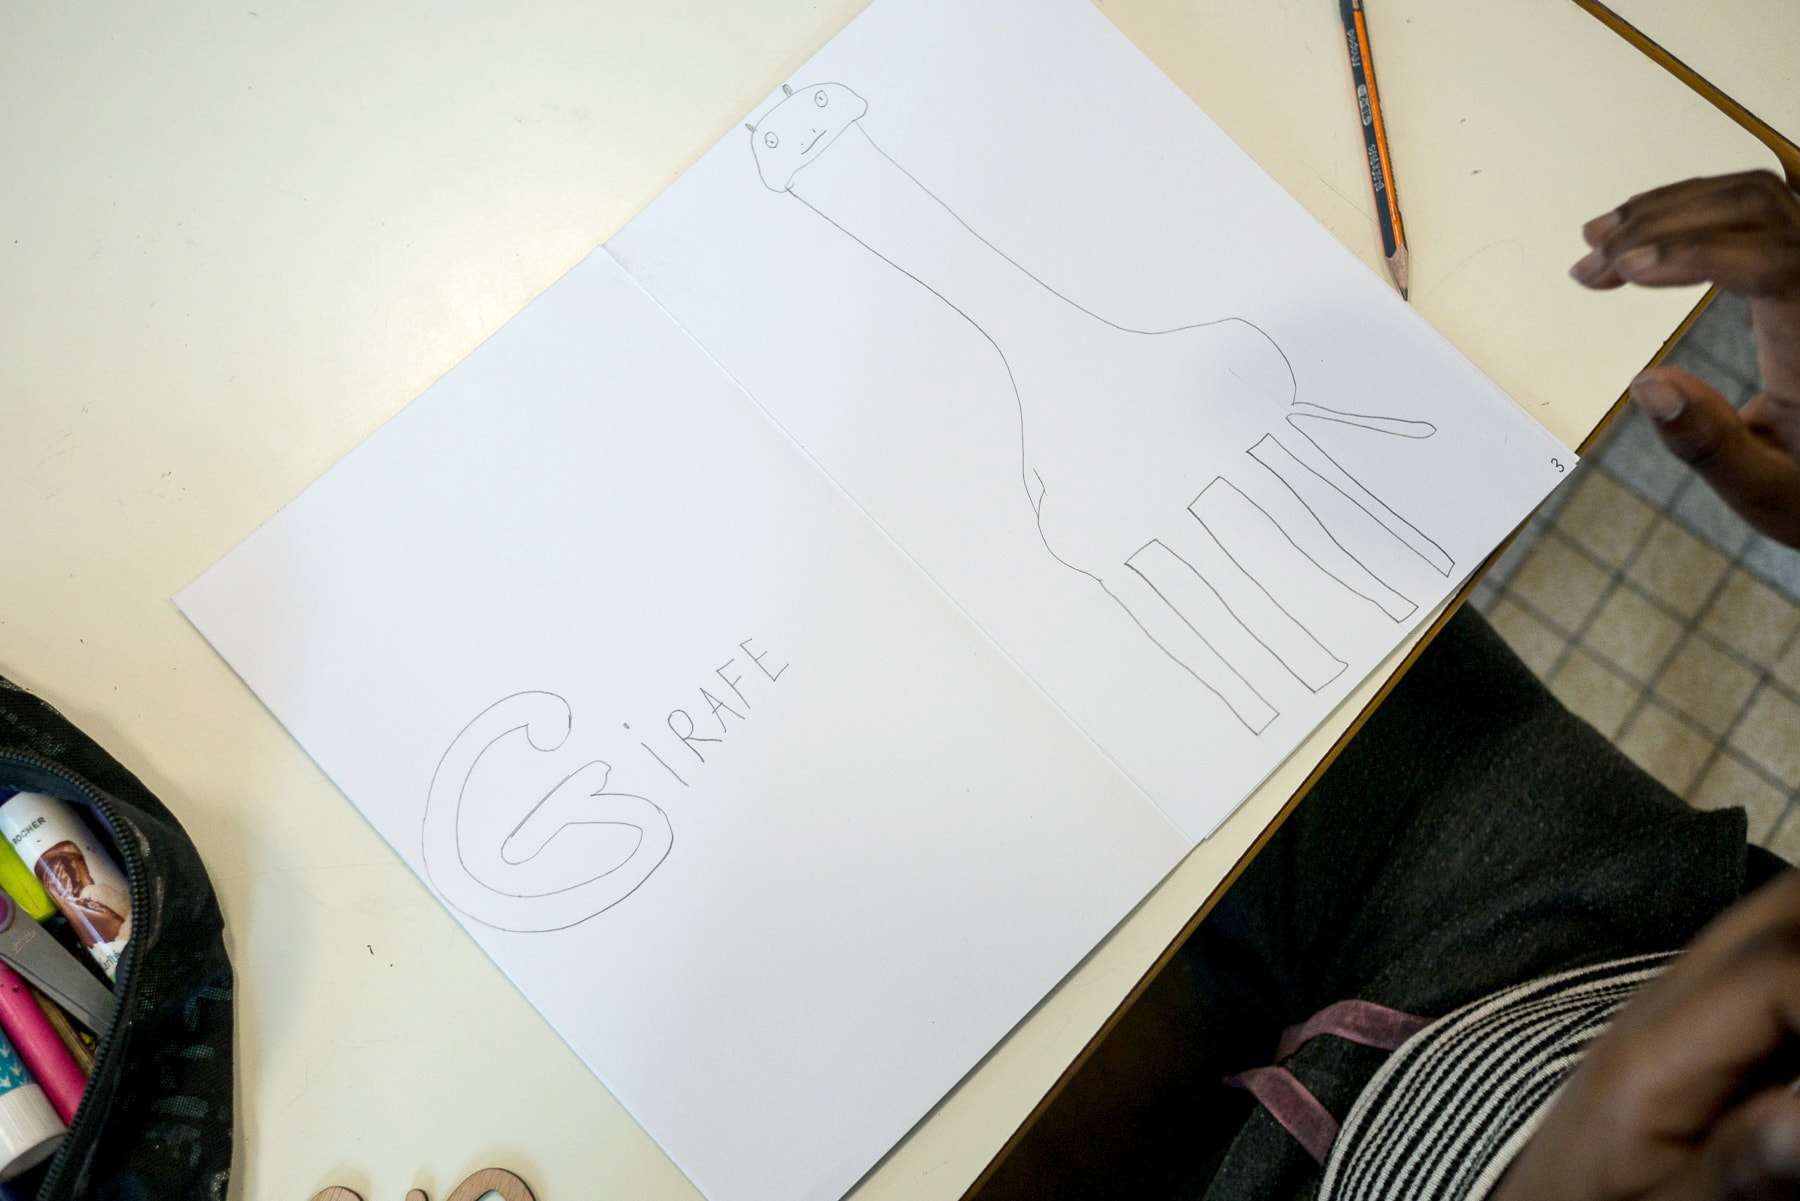
Another use of the shapes cut at the Fab Lab (but not glued): drawing an animal whose name starts with the letter used to represent it. Here, K for Koala.
G for Giraffe (Girafe).
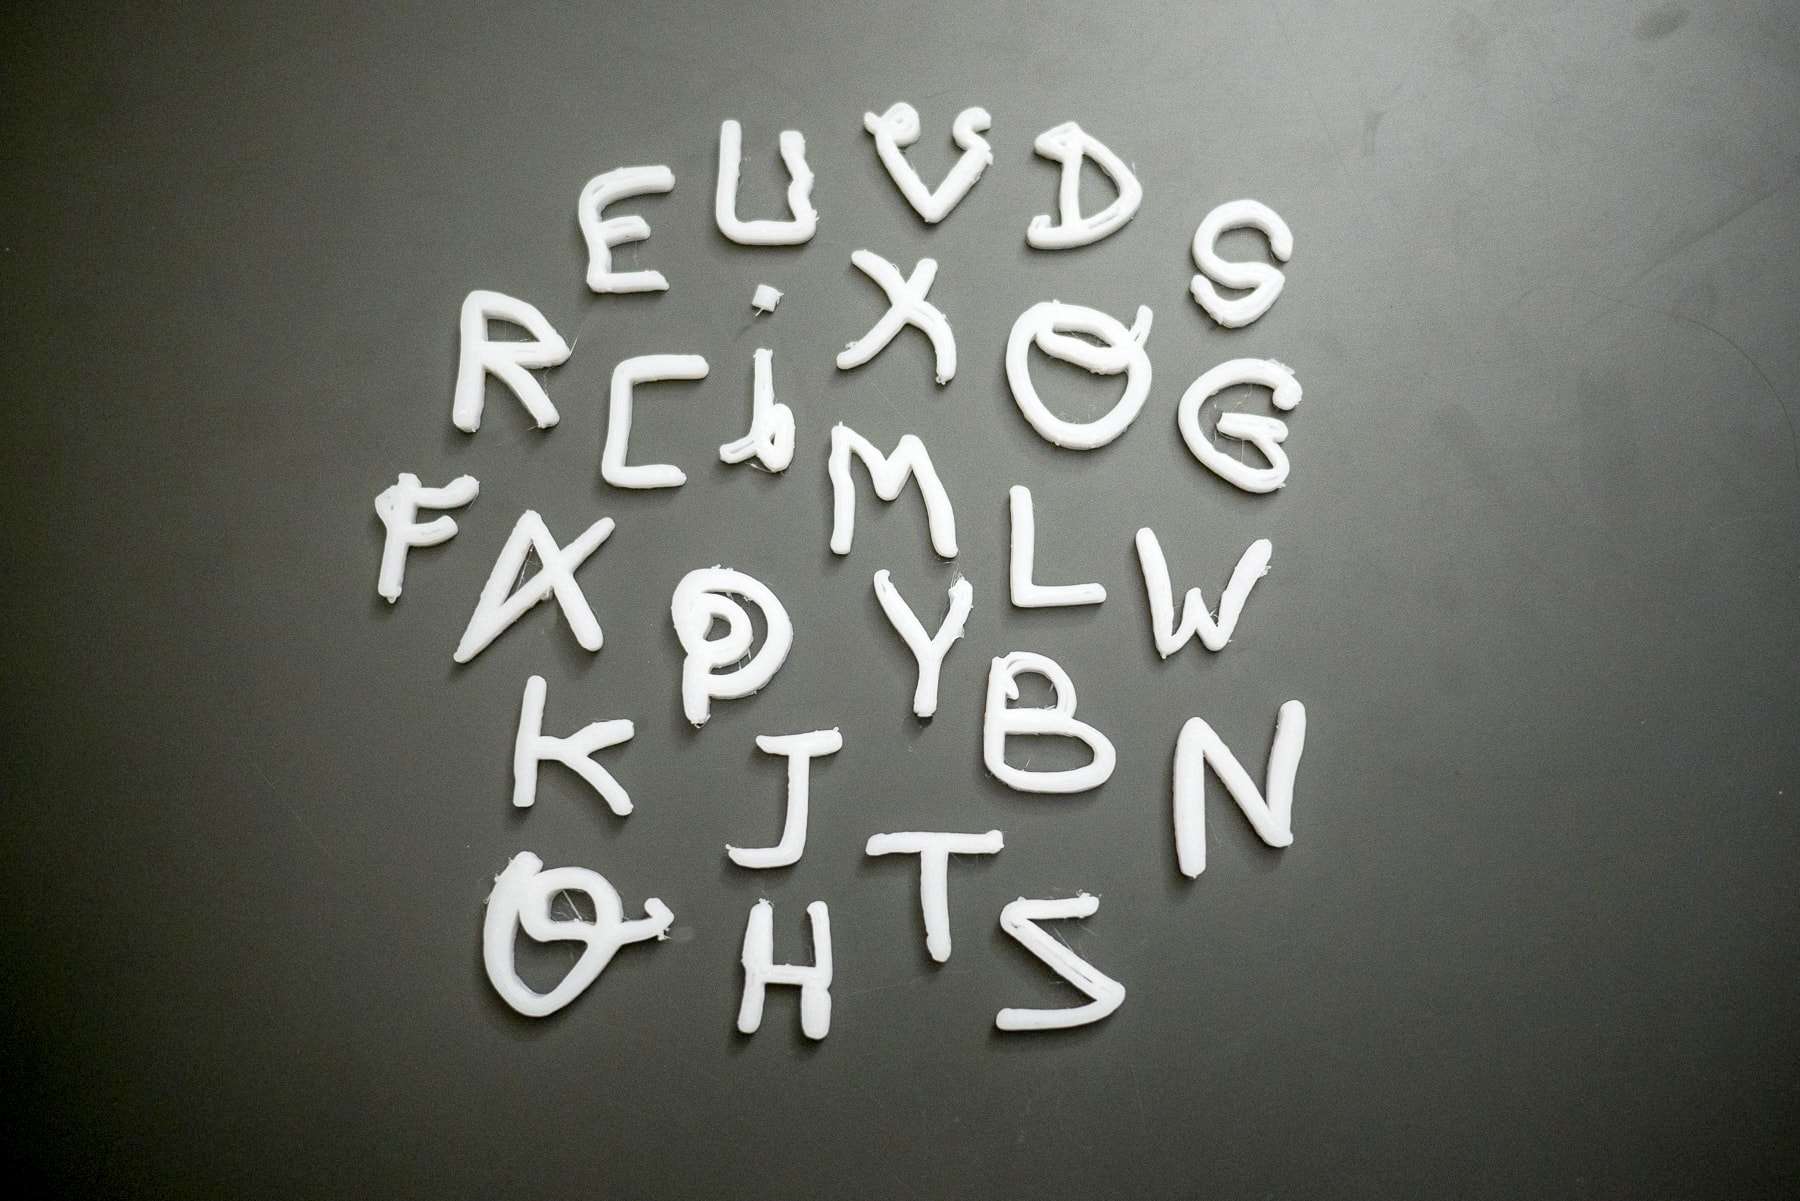
To take the materialization of the letters further, they were 3D printed.
At the end of the workshop, each child received their letter as a 3D print.
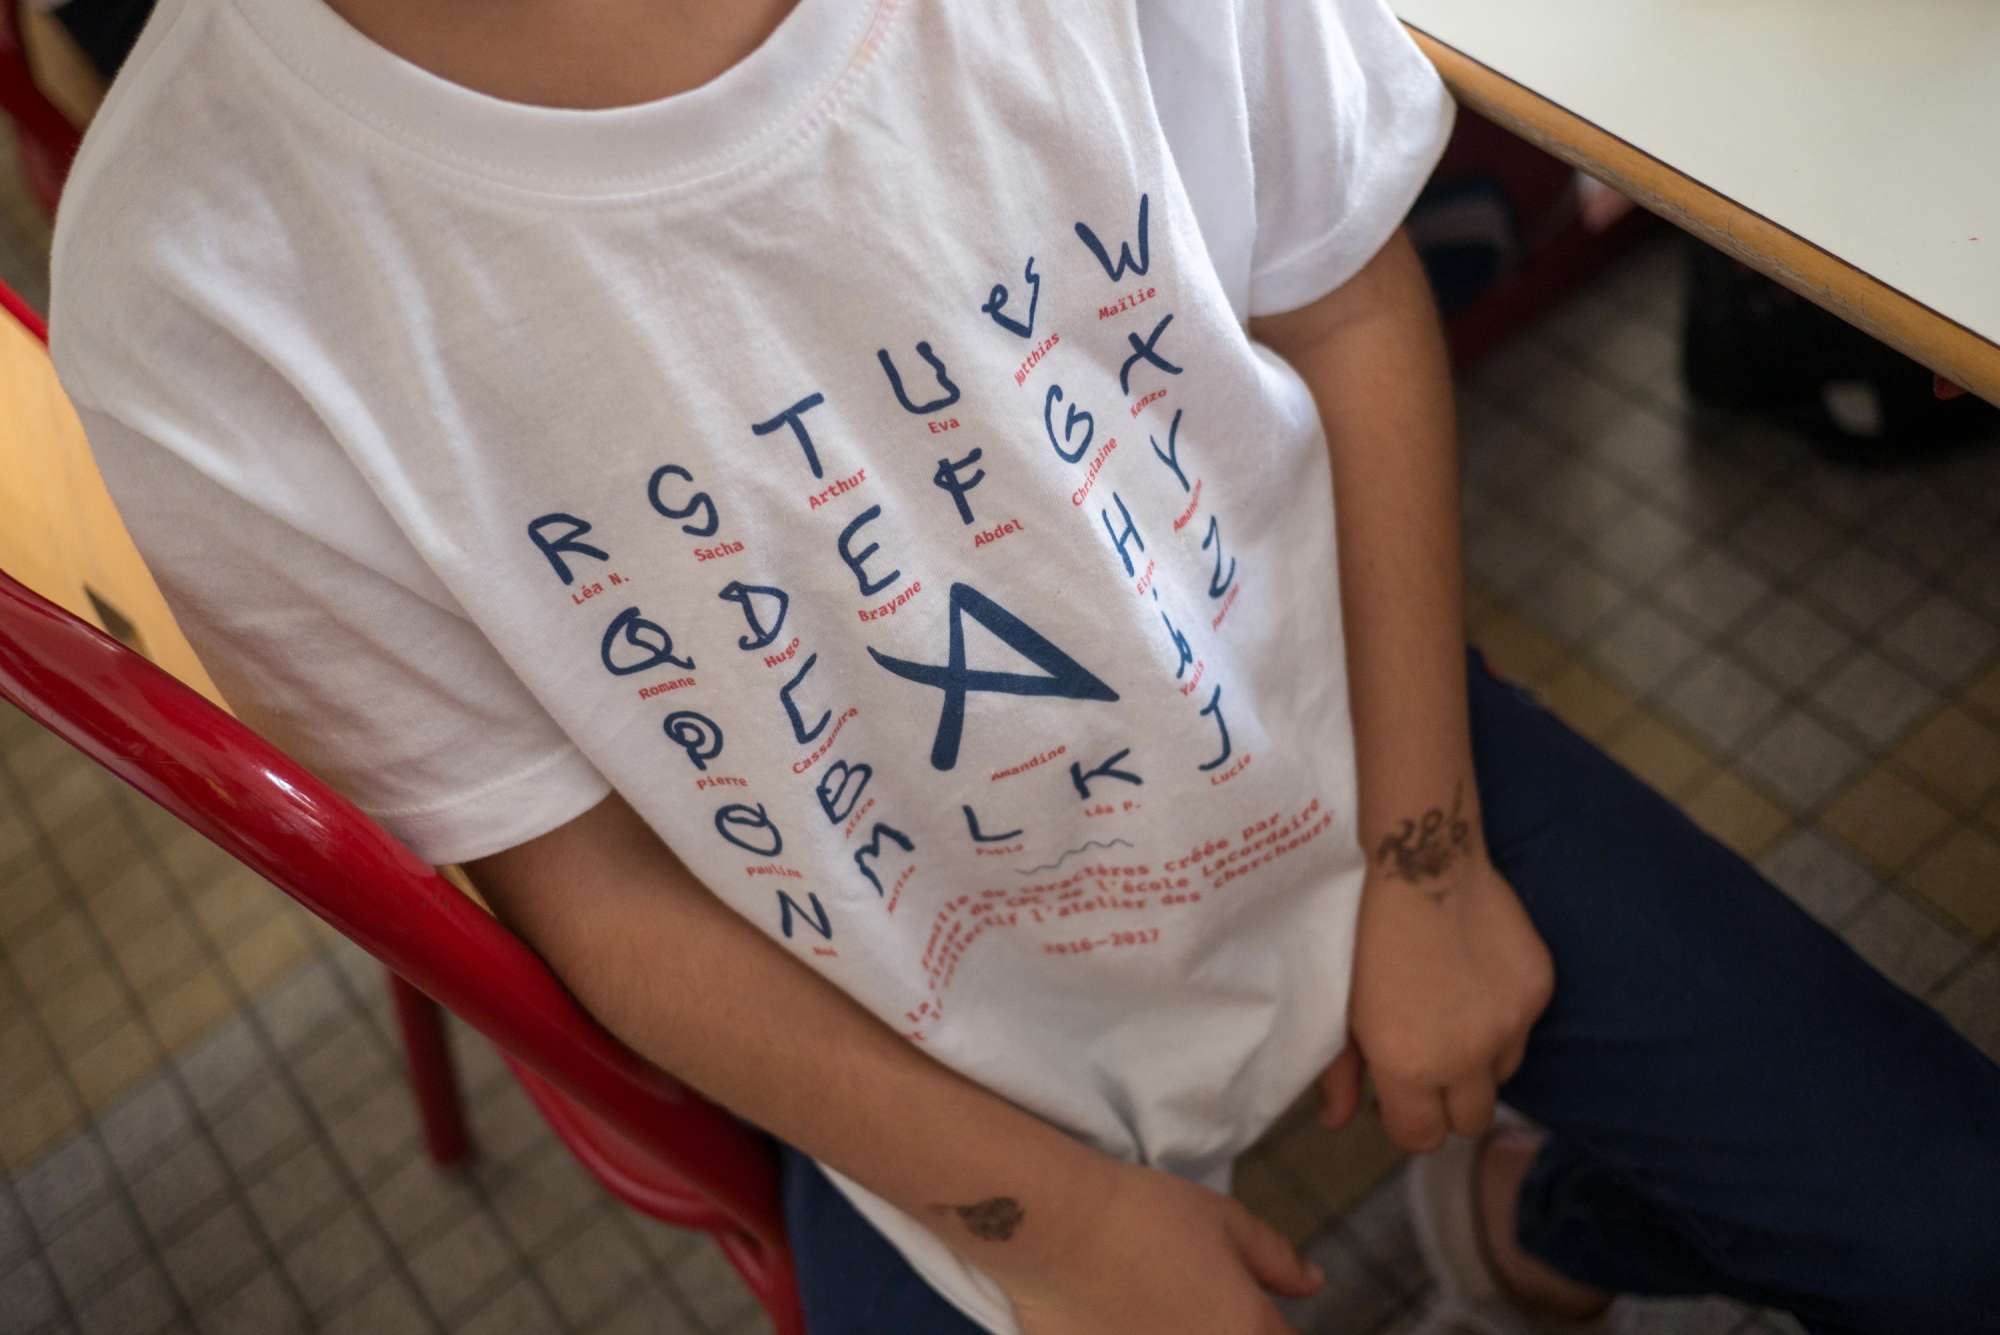
Finally, each child was given a t-shirt showing all the letters made, each with the first name of its author.